Learning how to make sushi rice is one of the first things that a sushi chef will teach you. It is rumored that a chef will only allow the apprentice to make sushi rice for several years – before ever allowing them to touch a piece of fish!
Luckily, you don’t have to do that at home! In fact, if you follow these simple steps you will be creating amazing sushi-grade rice in no time.
For this tutorial, you will need:
- Short grain rice (Medium grain also works. Terms like “extra fancy” or “Premium” may also be found on the bag)
- Rice cooker
- Measuring cup (larger than 1 cup)
- Large bowl or tray
- Large bamboo (or wooden) spoon
- Kitchen sink
How to make Sushi Rice: Washing the Rice
Every time you make rice for sushi, you must wash it. Washing the rice will ensure that it isn’t too starchy. This is a vital step to ensure consistency, texture and flavor. I always do at least three full washes/rinses for every 1 cup of rice I am cooking.
Each rice cooker will come with a metal bowl that has measurements on the inside. Remove the bowl and fill it with the desired amount on rice. I normally make between 2-4 cups at a time. 1 cup of cooked rice makes approximately 3 rolls.
Here’s how you wash the rice:
- Make sure your rice cooker is clean (if it’s brand new, wash it out before the first use)
- Add the desired amount of short grain rice
- Turn on your sink and fill the bowl with cold water until the water covers the rice by at least 1″ or more.
- With your fingers spread apart, swish your hand around the rice in a circular motion until the water turns cloudy.
- Then, gently pour out the water without letting any of your rice go down the drain.
- Repeat the above steps until you have done the whole process at least 3 times (if you are making more than 3 cups, do at least one rinse per cup of rice). The more you wash your rice, the better!
Traditionally, sushi chefs would wash the rice until the water ran clear. But that is a little bit extreme, it could take up to 30 min., and it’s not necessary for good-tasting rice. I usually wash my rice until the water is barely cloudy.
Once your rice is washed, fill the bowl to the marked line that corresponds with the amount of rice you put in. For example: if I added 3 cups of rice, I would fill the bowl to the line marked 3.
**Note: Rice cookers can be vastly different. Some even come with their own, proprietary measuring cup. Please read the manual that comes with your rice cooker before making a batch of rice. If the measuring cup that came with your rice cooker doesn’t use the same measurement system of your country, then use the proprietary measuring cup for measuring your rice – not the measuring cup you already have.
How to make Sushi Rice: Cooling and Seasoning
After your rice has finished cooking, it’s time to pull it out and let it cool down.
While the rice is cooling, it’s time to make the “su.” When you think about how to make sushi rice, most people don’t even consider seasoning the rice.
Su refers to the mixture of rice wine vinegar with salt and sugar. To make it, pour the vinegar into a pot and bring it to medium heat. Add the salt and sugar and stir until it dissolves. Then, let the su return to room temperature naturally.
Here is the standard ratio for ingredients in su:
- 4 parts vinegar (let’s say 4 cups)
- 2 parts sugar (2 cups)
- 1 part salt (1 cup)
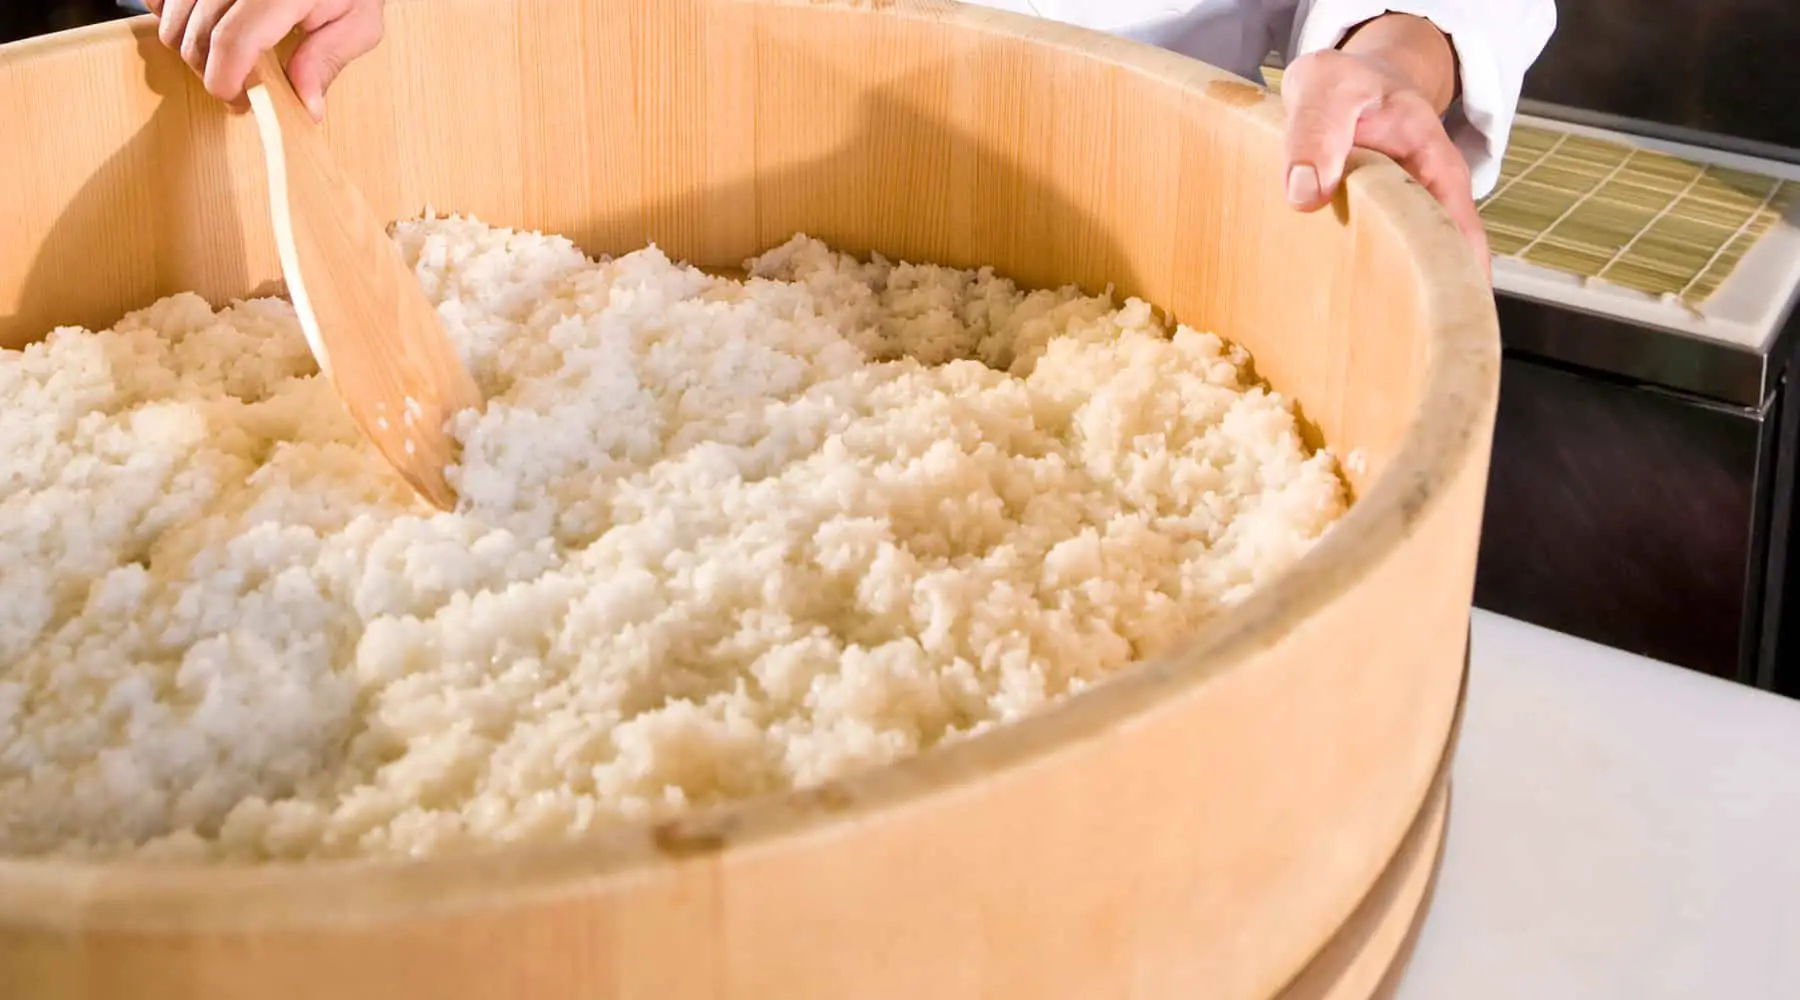
Now it’s time to lay the rice out to cool. You can use either a large bowl, a tray, or the traditional Hangiri (wooden rice bowl).
- Dump the rice into your container and bring all of the rice to one side.
- Add Su to your rice. 2 Tbsps per 1 Cup of rice (measured before you cooked the rice).
- Mix the rice with the su several times, making sure that every grain of rice is covered. This can be easily seen, as the rice breaks up from the clumps.
- Allow the rice to cool, until you can barely feel any heat coming off the rice (if you use the back of your hand, you will be able to feel the heat more accurately)
- Occasionally flip the rice, don’t mix it, until the rice is no longer giving off heat
Once you have flipped your rice 3-4 times, your rice should be ready to use! Feel free to follow any of these simple recipes for making sushi at home:


