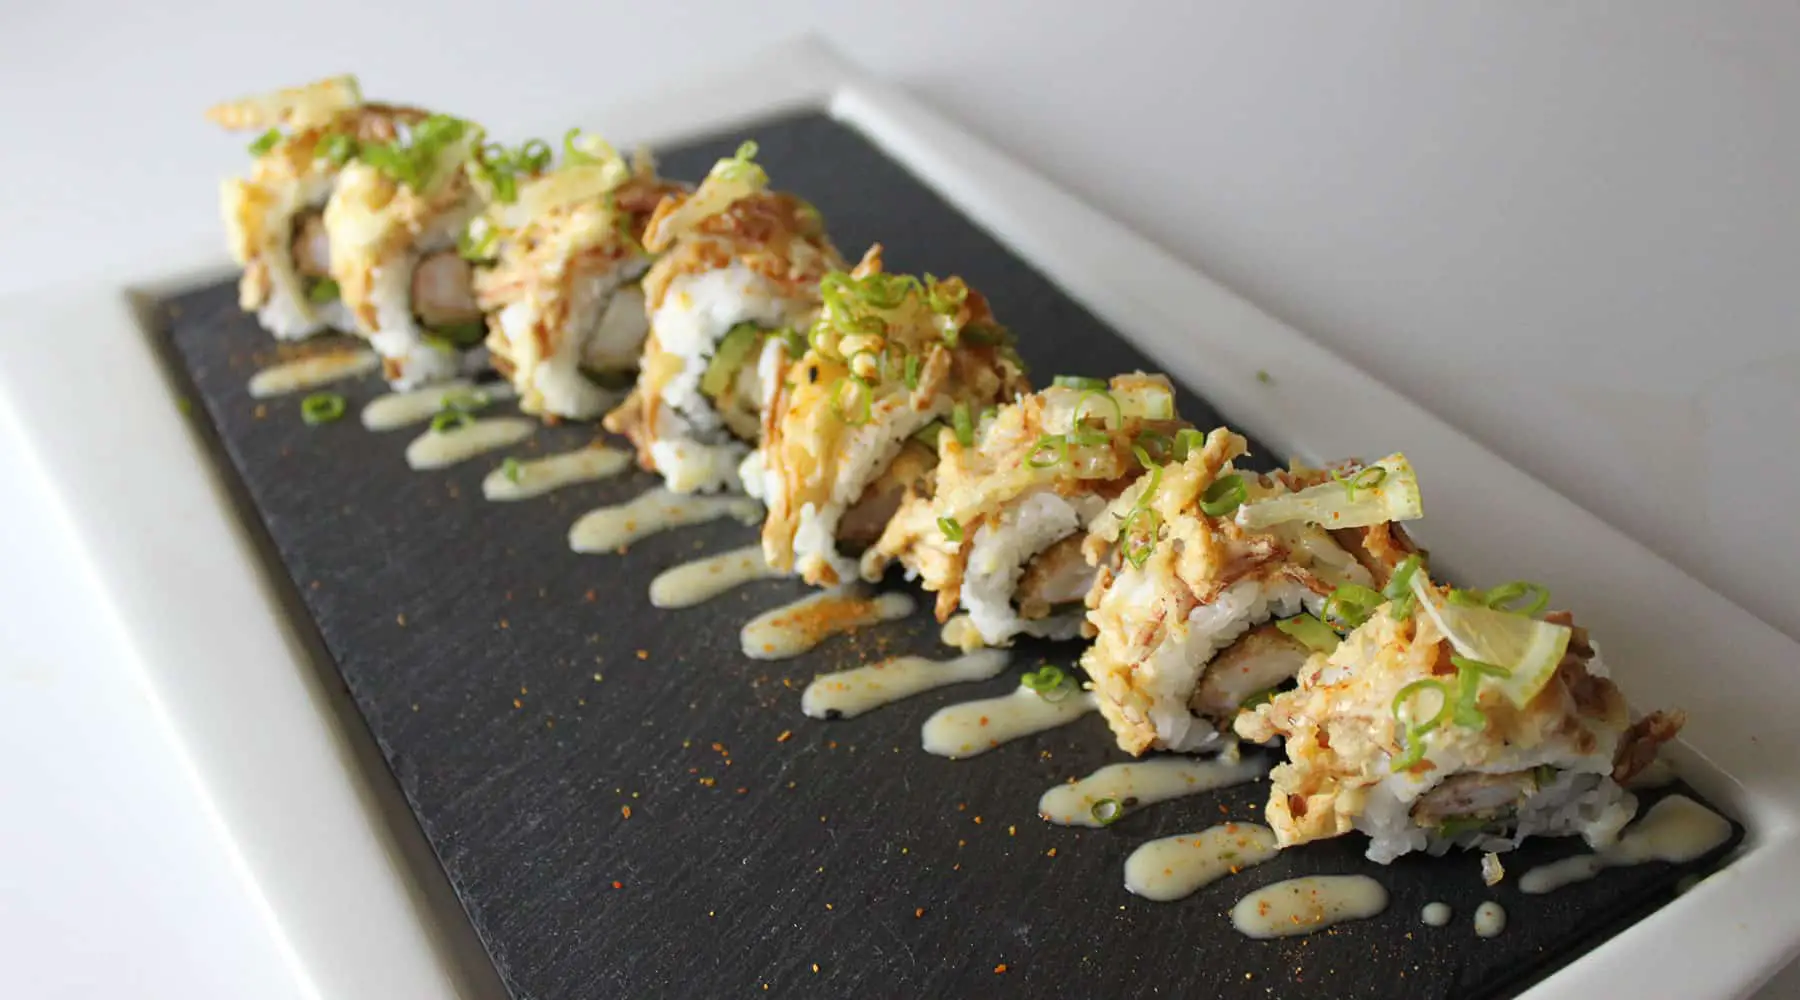
The Caterpillar Roll is a sushi recipe that shows off how to really use avocado on top of sushi. This roll is simple to make, beautiful to look at, and delicious to eat!
Its iconic appearance makes it a crowd favorite at sushi restaurants all across the United States and a commonly requested roll for people making sushi at home.
While the name and outward appearance are commonly used, the ingredients on the inside can vary greatly. Most of the recipes that I see incorporate unagi on the inside.
Now, freshwater eel is a delicious ingredient to use, but it’s also at severe risk of becoming an endangered species worldwide (it’s already an endangered species in the UK and in Japan!).
For more information about freshwater eel, why you shouldn’t eat it, and what you can do to help, click on my article about eel sushi.
Caterpillar Roll Recipe: Ingredients
So instead of using unagi, I’m going to use tempura shrimp for this tutorial/recipe! It’s tasty, way more sustainable, and easier on your wallet.
For this tutorial, you will need:
- 4 pieces of Tempura Shrimp
- Sliced Cucumber
- 1 Avocado
- 2 cups of Sushi Rice
- 2 sheets of half-cut Nori
- Eel Sauce
- Sesame Seeds
- 2 Makisu (one cellophane-wrapped bamboo mat and one that isn’t wrapped)
- Tezu (hand water)
- Sharp Knife
This recipe makes 2 Caterpillar Rolls.
How to Make the Caterpillar Roll
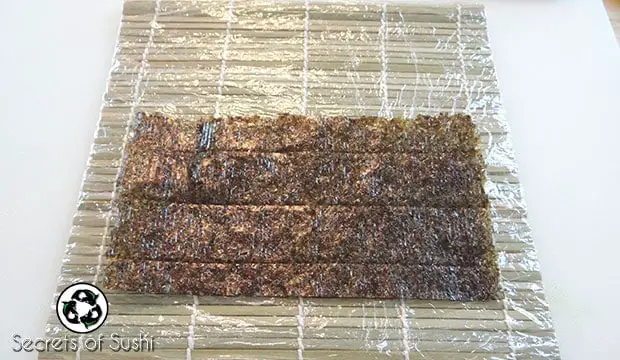
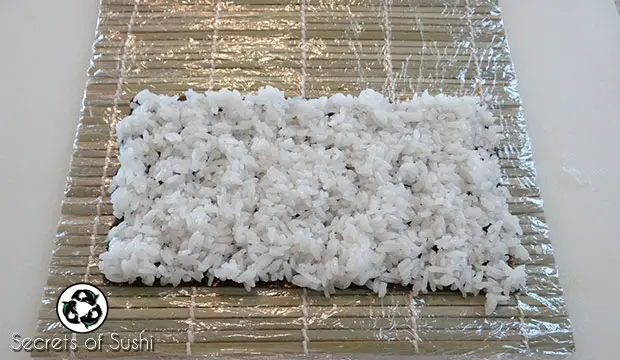
1. Let’s start by placing a sheet of nori on our wrapped makisu, rough side up:
2. Next, add roughly 2/3 cup of cooked sushi rice to the nori. Make sure that you roll the rice to each edge of the nori and that you’re not smashing the rice down.
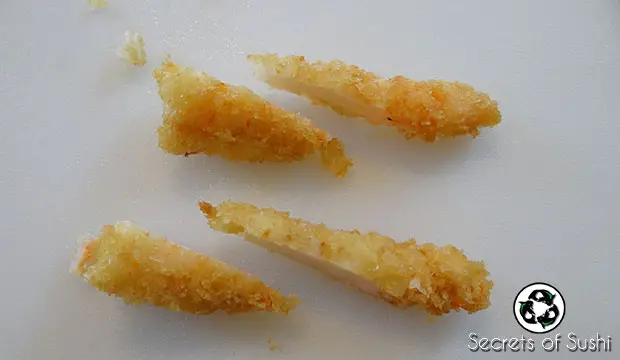
3. Take two pieces of tempura shrimp and slice them in half, diagonally. This will help make sure that the shrimp reach from one side of the nori to the other side.
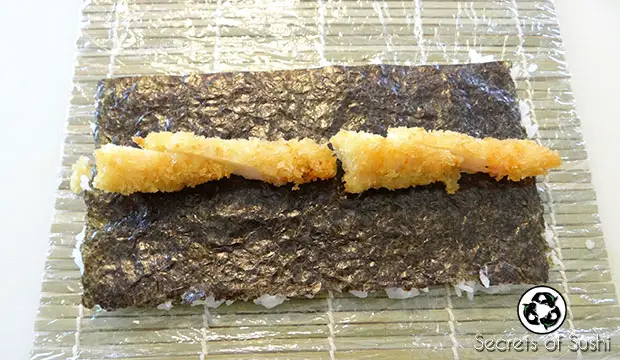
4. Flip the rice mat over and place the shrimp onto the rice mat along the center.
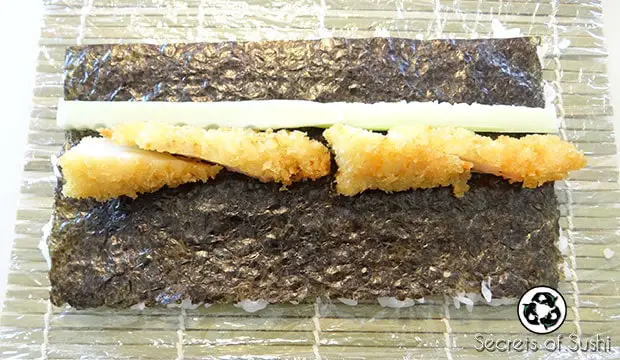
5. Add a few pieces of cucumber to the center as well:
6. Slide your thumbs underneath the makisu and use your remaining fingers to hold the ingredients in place. Slowly roll the rice mat over the ingredients until the edge is touching the nori side:
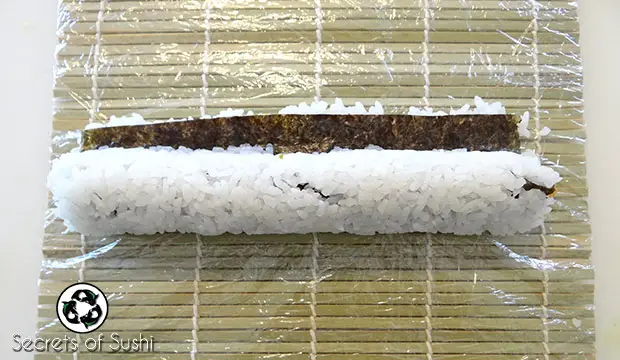
7. Finish rolling the caterpillar roll up by continuing the motion in step 6.
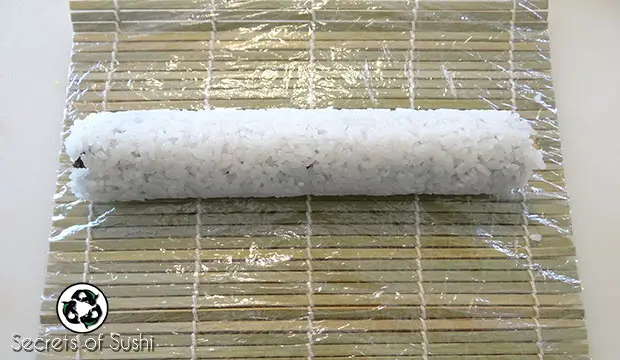
Putting Avocado on top of the Caterpillar Roll
1. Slice an avocado down the center and peel one half:
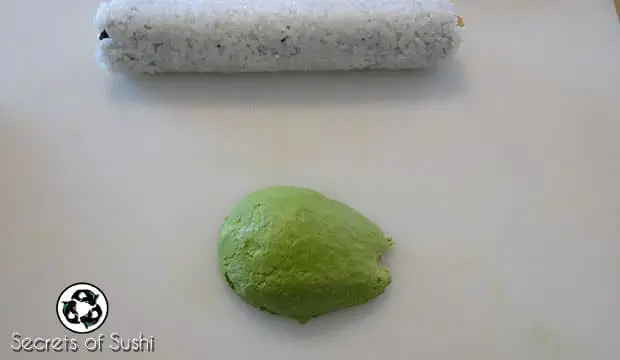
2. Making as thin of a slice as you can, slice the avocado from top to bottom.
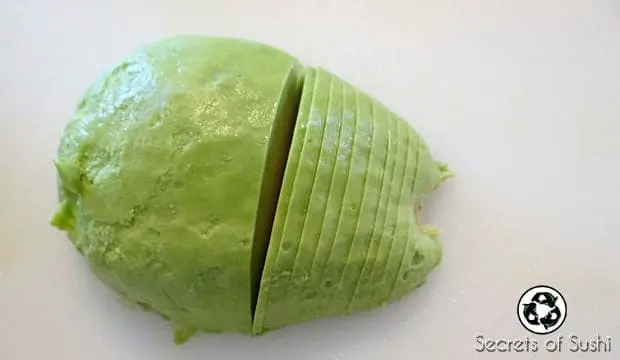
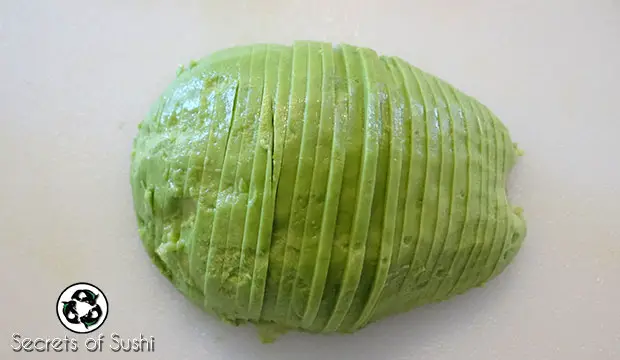
3. Using one hand to push the avocado slices to one side and the other hand to help the slices slide across the cutting board, slowly spread out the sliced avocado:
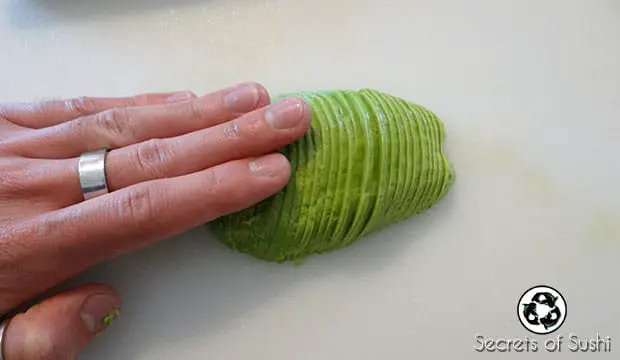
4. Keep pushing the slices until you can cover the length of the roll. Use the roll as guide for how long you need to stretch the avocado.
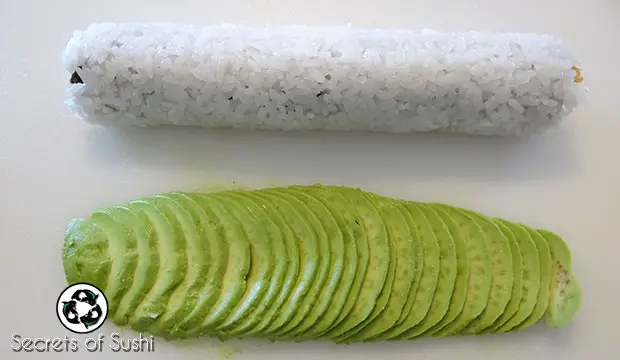
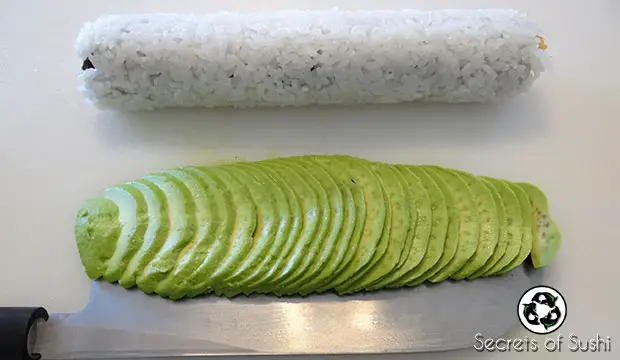
5. Slowly slide a knife underneath the sliced avocado. Use the knife to pick up the avocado slices and transfer it to the roll:
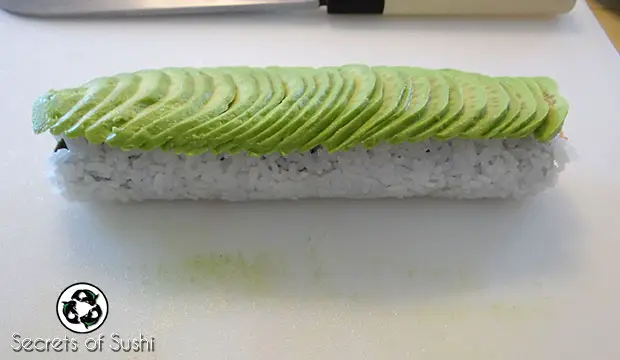
6. Place a piece of cellophane on top of the avocado and gently press an unwrapped makisu over the top of the roll:
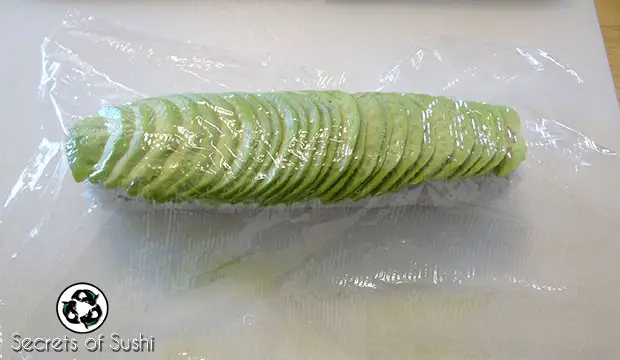
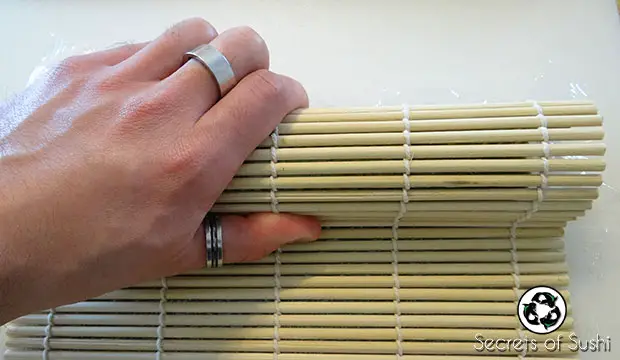
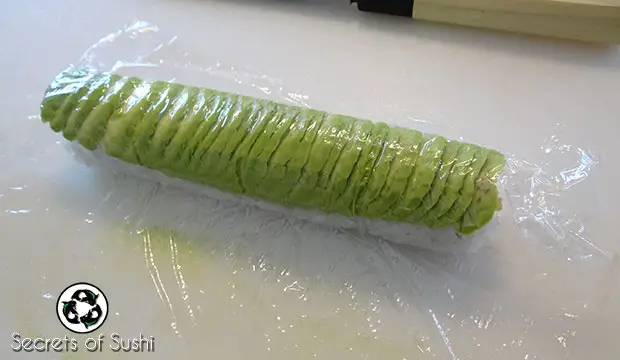
7. Slice the caterpillar roll in half. Make sure to use long, sawing motions to get through the roll.
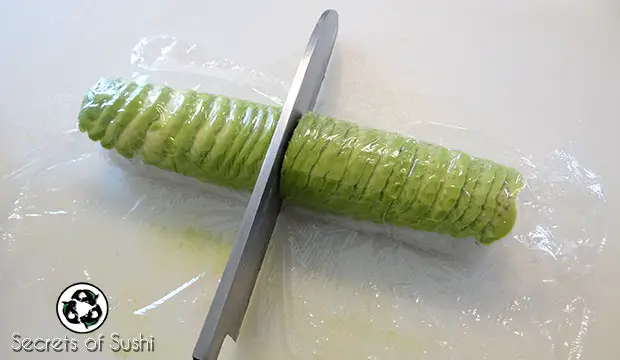
8. Then slice each half into four pieces, making eight pieces total:
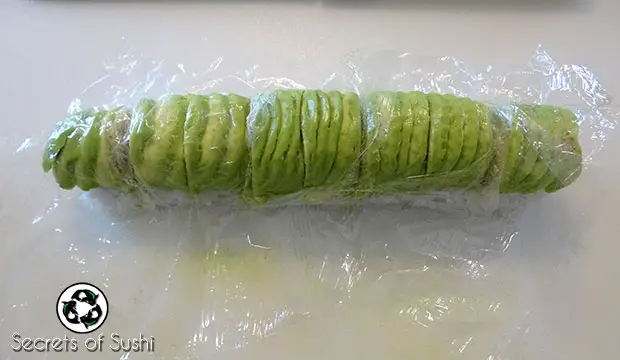
9. Remove the cellophane (make sure you don’t leave a piece on there!). Take four pieces and curve them into a partial circle:
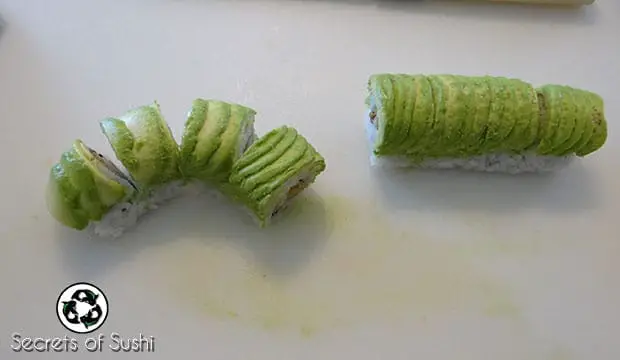
10. Take the remaining four pieces and curve them in the other direction:
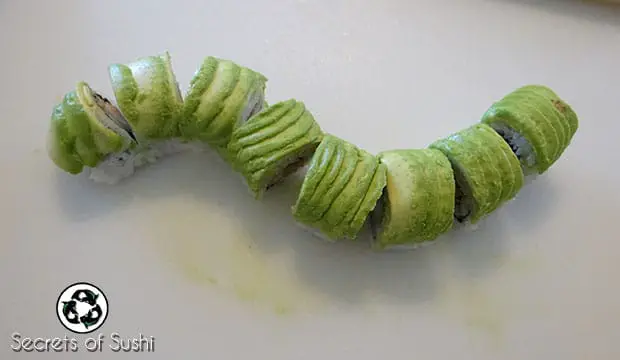
11. Transfer the pieces (four at a time) to a plate, drizzle some delicious eel sauce over the top, and finish it off with some sesame seeds.

It might seem like a lot of steps, but once you’ve done it once it becomes a lot easier to do it again. Don’t forget to garnish your plate with wasabi & ginger!
The ingredients are all pretty easy to find and it’s sure to impress your guests/family the next time you make sushi at home!
Let me know what you think of this recipe by leaving me a comment below!


