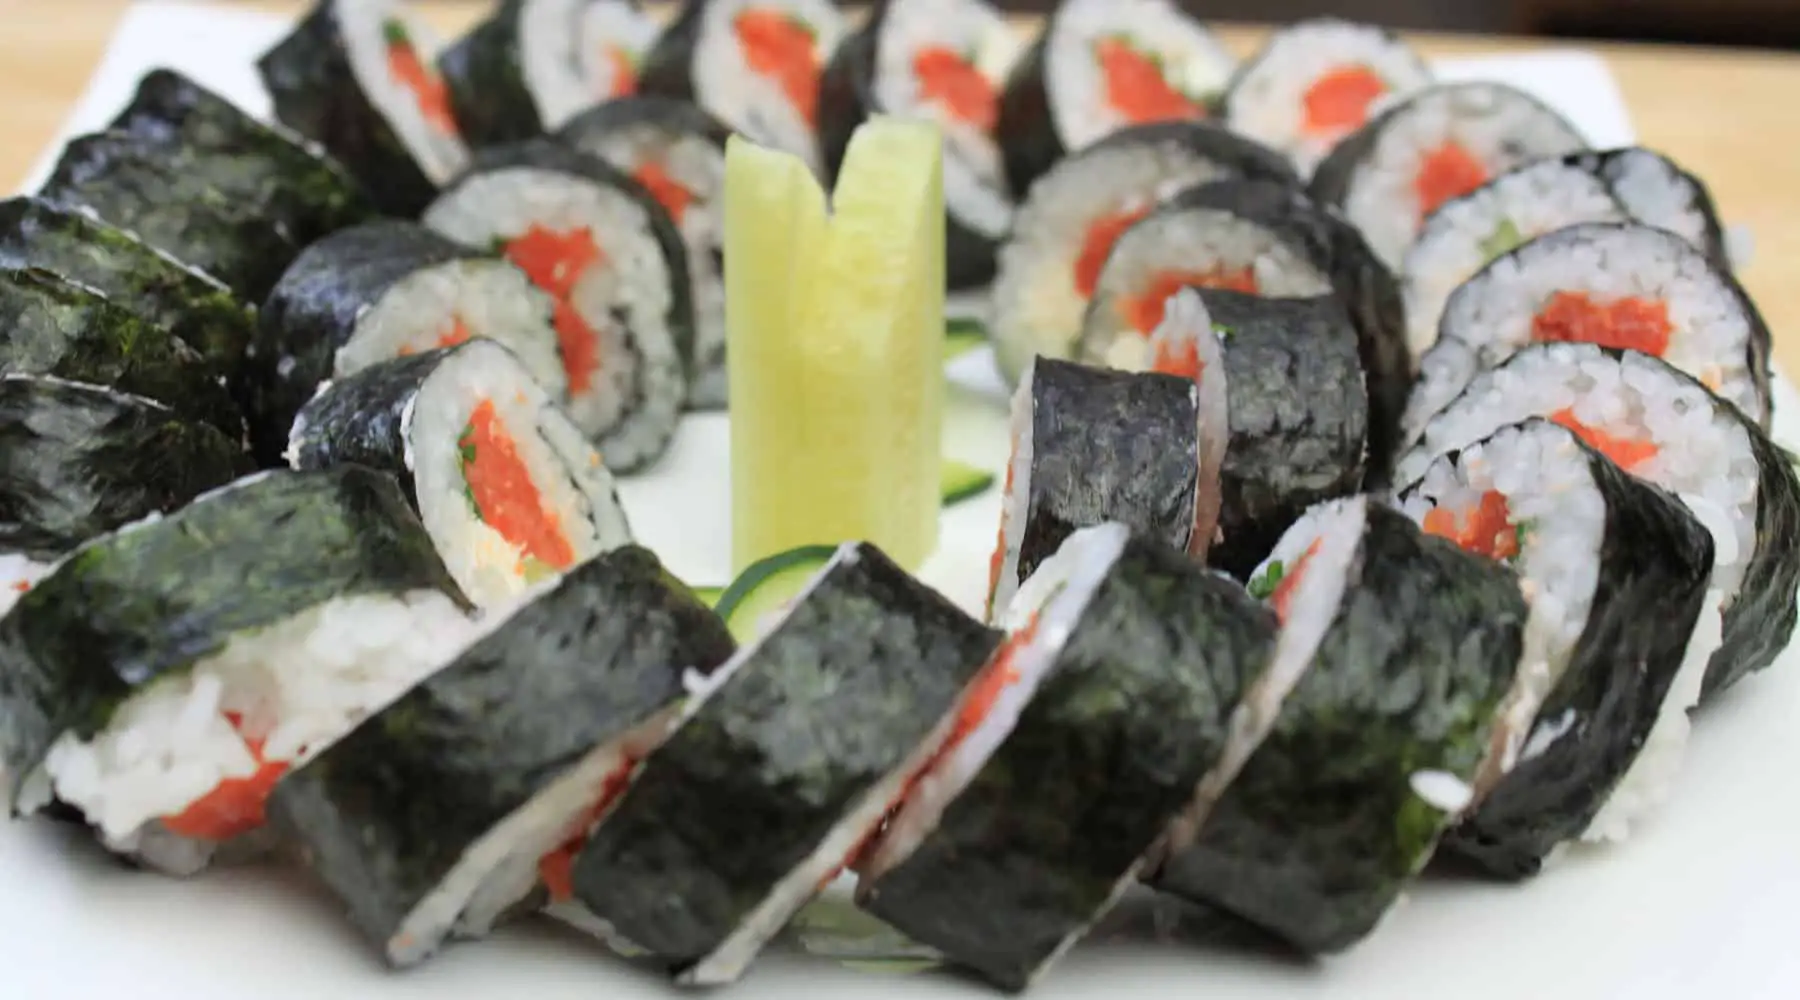
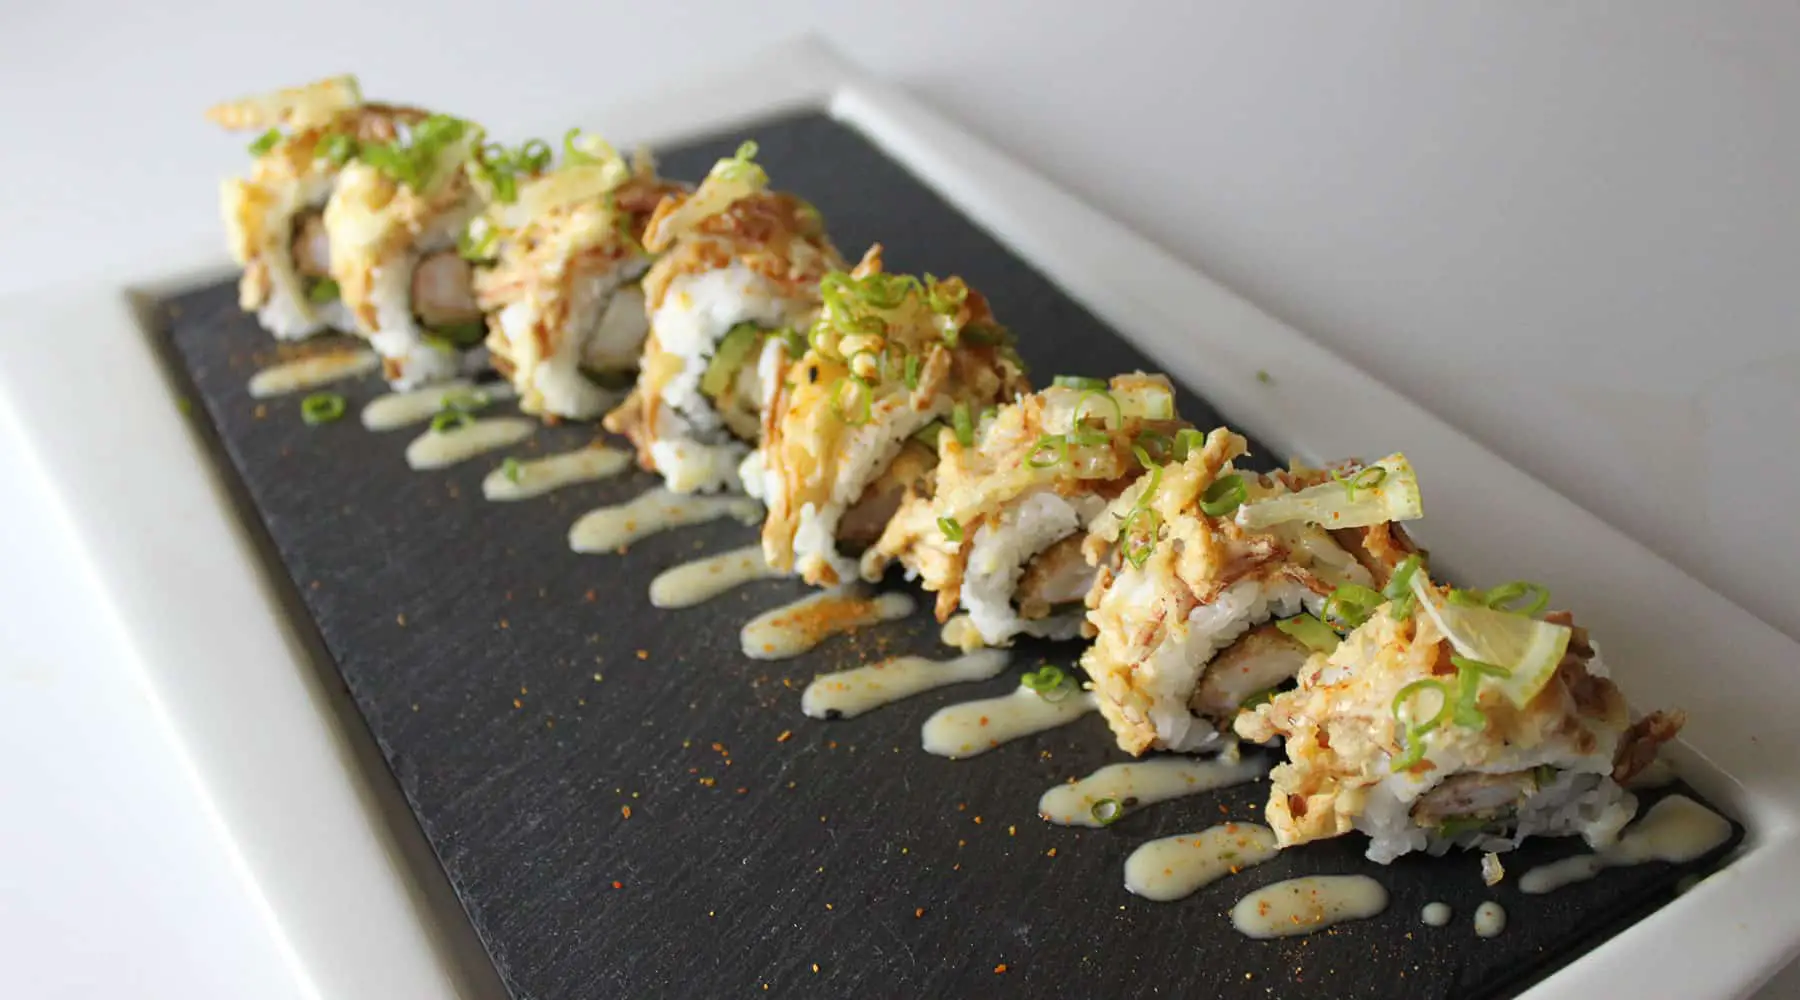
The New York Roll is perfect for making at home because you can find the ingredients in almost any local market. Most people are open to eating shrimp, so this makes it a great roll for beginning sushi consumers too!
For this tutorial, you will need:
- 1 Cucumber
- 1 Avocado
- 6 oz. (170g) of Farm Raised, U.S. White Shrimp (preferably with the shell on)
- 2 cups (475mL) of short grain rice (measured before cooking)
- Half-sheets of nori
- Bamboo skewers
- Large cooking pot or stalk pot
- Ice bath (bowl of ice with cold water)
- Sharp knife
- Cutting board
- Bowl of water
- Sesame seeds
- Spicy Mayo or other dipping sauce(optional)
This recipe makes approximately 5-8 New York Rolls.
New York Roll – Skewering Shrimp
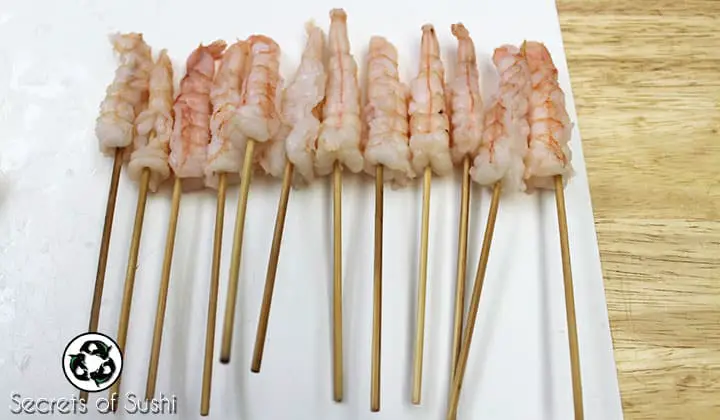
It’s important to make sure that your boiled shrimp stay straight (it’s difficult, but not impossible, to roll sushi with curled shrimp). To do this, you will need to skewer the shrimp with the shells still on.
Cooking shrimp with the shell on will increase the flavor of your shrimp! You can boil them with spices, lemon, salt… It’s really up to you. I live to boil my shrimp with a whole lemon (cut in half and squeezed), some salt, and paprika.
1. Soak your bamboo skewers in some room temperature water for a couple of minutes. This helps prevent the shrimp from sticking to the skewers too much during the cooking process.
2. Using your thumb and fingers, straighten out a shrimp with one hand while inserting the skewer with the other – make sure to skewer from head to tail.
3. Repeat the previous steps until you have skewered the amount of shrimp that you want to roll with.
Hint: It takes 2-3 shrimp, depending on their size, to make one New York Roll.
I accidentally grabbed shrimp that were already shelled and deveined. While it’s possible to still skewer the shrimp, it is much more difficult.
4. While your water is coming to a boil, make an ice bath by filling a mixing bowl with ice and cold water. Set the bowl aside for now.
5. After your water has come to bowl, add your skewered shrimp. Shrimp only take 2-3 minutes to cook, so keep a close eye on them!
6. After a few minutes, pull the shrimp out and immediately place them into the ice bath. The ice bath will stop the cooking process and prevent the shrimp from becoming “rubbery.”
7. As soon as the shrimp become cool to the touch, you can start removing the skewers. Grab a shrimp with one hand and slowly twist and pull the skewer with the other.
8. Now its time to peel and devein the shrimp. If you purchased shrimp that have already been peeled and deveined, you can skip this step.
- Start peeling at the belly (or legs) of the shrimp and work your way to the top. For this tutorial its okay to remove the entire shell.
- Using a small, sharp knife, make a very shallow incision along the length of the shrimp’s back. Peel away the two sides and look for a dark vein; this is essentially shrimp poop and needs to be removed for obvious reasons. You can simply wipe it away with your finger or rinse it off with water.
Time to Roll!
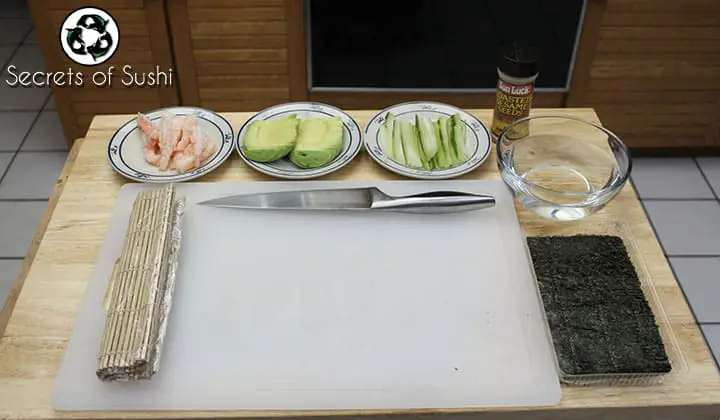
After setting up your sushi station (cutting board, bowl of water, makisu, etc.), cut and peel your cucumber and avocado.
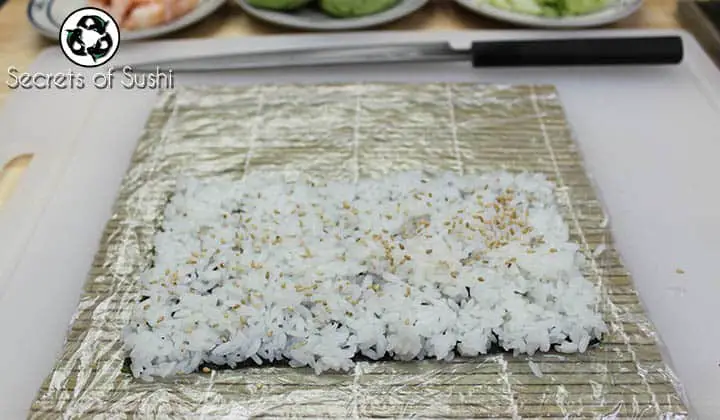
1. Apply a small amount of seasoned sushi rice to your half-sheet of nori. Feel free to sprinkle some roasted sesame seeds onto the rice as well.
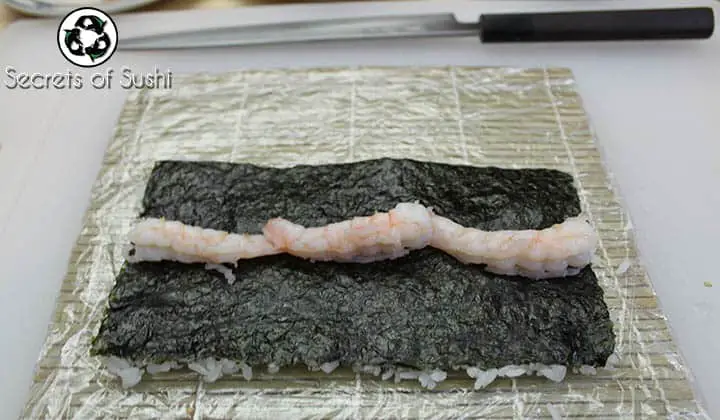
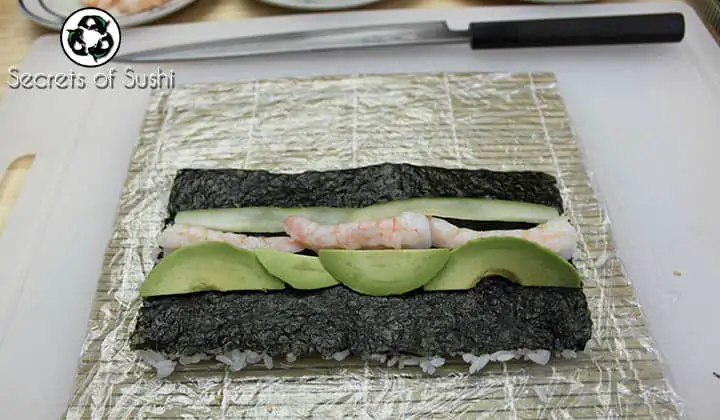
2. Flip the rice mat over and apply 2-3 shrimp (depending on size) along the center of the nori.
3. Add a few pieces of your cucumber and avocado. I always place my avocado slices on the side closest to me. I find that it make the rolling process easier when the “squishy” ingredients are rolled up first.
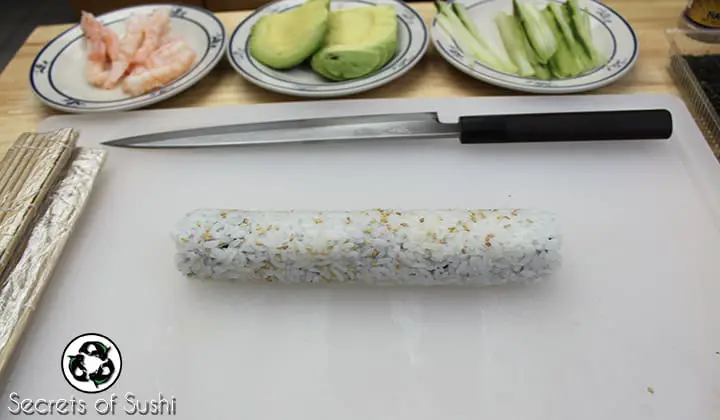
4. Now roll it all up using your thumbs underneath the makisu and your fingers on the far side of the ingredients.
5. Cut your roll into 8 pieces and enjoy your New York Roll! Feel free to plate it with some spicy mayo, garlic mayo, ginger, and/or wasabi.

