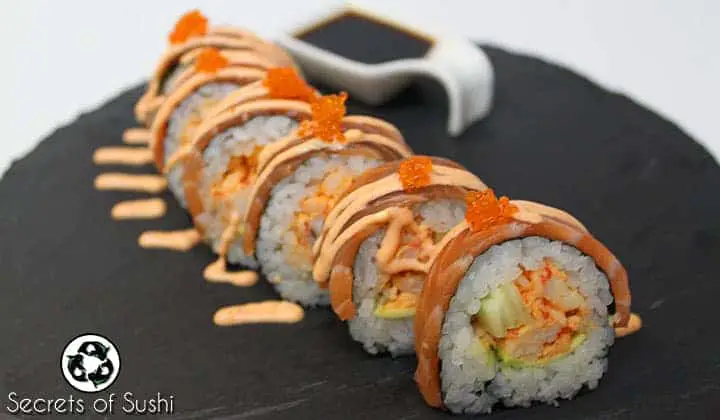
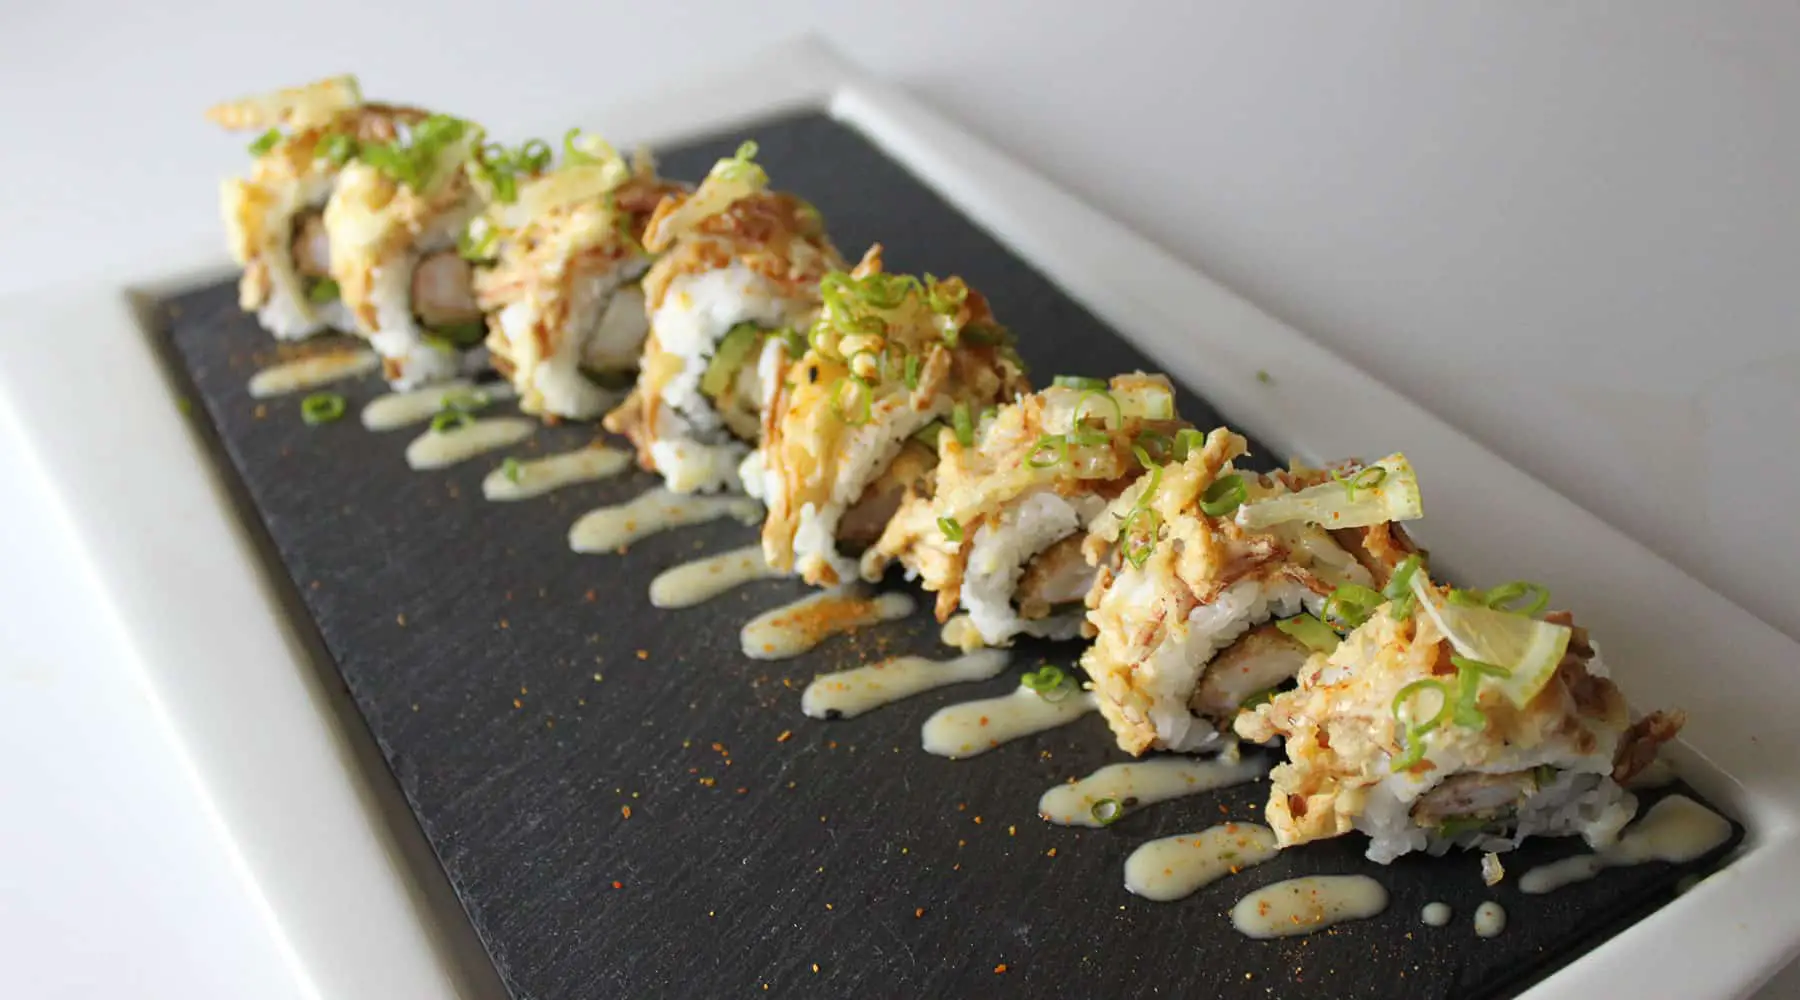
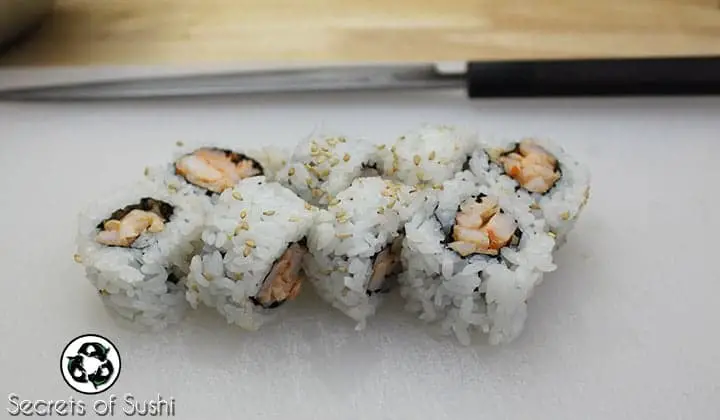
The spicy shrimp roll is another contemporary, American recipe that is great for those who are a bit skeptical to try sushi for the first time. This lightly spicy roll consists of only shrimp, but it’s full of flavor.
U.S. farm-raised shrimp are produced under some strict environmental regulations. This makes them far more sustainable than imported shrimp. For use in sushi, I recommend using Pacific White Shrimp, West-Coast White Shrimp, or Black Tiger Shrimp.
Black Tiger Shrimp are generally considered unsustainable. However, in certain occasions, imported and farm-raised Black Tiger Shrimp can be found in sustainable fisheries; specifically in fisheries using The Selva Shrimp (R) Criteria for mixed shrimp/mangrove systems. These small, generally family owned, farms can be found in the mangrove forests of Southeast Asia.
**Please note that unless the Black Tiger Shrimp are labeled as Selva Shrimp Certified or Aquaculture Stewardship Council (ASC) Certified, they should be considered unsustainable!
For the Spicy Shrimp Roll, you will need:
- 12 oz. (340g) of Farm Raised, U.S. White Shrimp (preferably with the shell on)
- 2 cups (475mL) of short grain rice (measured before cooking in a rice cooker)
- 1 tsp Sri Racha
- 1 Tbsp Kewpie Mayonnaise
- 1/2 tsp ShichimiTogarashi (Japanese 7 spice)
- 1/2 tsp Masago
- Large pot of boiling water
- Cutting Board
- Sharp Knife
- Sushi Mat (Makisu)
1. The first step is to make sure that the shrimp is thawed and ready to cook. If your shrimp is frozen, run room temperature water over the sealed bag of shrimp until they are thawed completely.
2. While the shrimp are thawing, put a pot of water on the stove and bring it to a boil.
3. Once the water is boiling, you can add your thawed shrimp. I like to add a pinch of salt, paprika, and lemon to the water while the shrimp is boiling. I find that this helps bring out the flavor of the shrimp.
Shouldn't I remove the shells before boiling the shrimp?
You could, but cooking the shrimp with the shells on will increase the flavor of the shrimp, prevent them from curling up too much, and make the process of removing the shells easier. It’s really up to you when you want to remove the shells.
4. While the shrimp is boiling, prepare an ice bath by filling a bowl with ice and then filling it with cold water. Be careful, as shrimp only need to cook for about 120 seconds before they are done. Once the shrimp are done, generally signified by forming a “C” shape (making an “O” shape could signify that they are overcooked), take the shrimp out of the boiling water and place them into the ice bath – this will stop the cooking process entirely.
5. Now it’s time to peel and devein the shrimp. If you purchased shrimp that have already been peeled and deveined, you can skip to step 6.
- Start peeling at the belly (or legs) of the shrimp and work your way to the top. For this tutorial, it’s okay to remove the entire shell.
- Using a small, sharp knife, make a very shallow incision along the length of the shrimp’s back. Peel away the two sides and look for a dark vein; this is essentially shrimp poop and needs to be removed for obvious reasons. You can simply wipe it away with your finger or rinse it off with water.
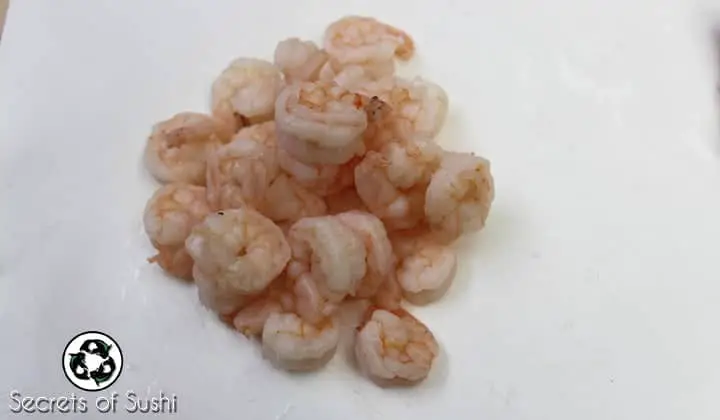
In the pictures for this tutorial, I used shrimp that were already peeled and deveined. This resulted in my shrimp curling quite a bit.
6. Lay the shrimp neatly onto a paper towel and cover them with another paper towel. Gently press down on the top to absorb any excess water. This is a very important step! Let the shrimp dry for about 5 minutes before slicing.
7. Now we are ready to slice up our shrimp. For consistency, I like to slice the shrimp from head to tail before slicing them into smaller pieces.
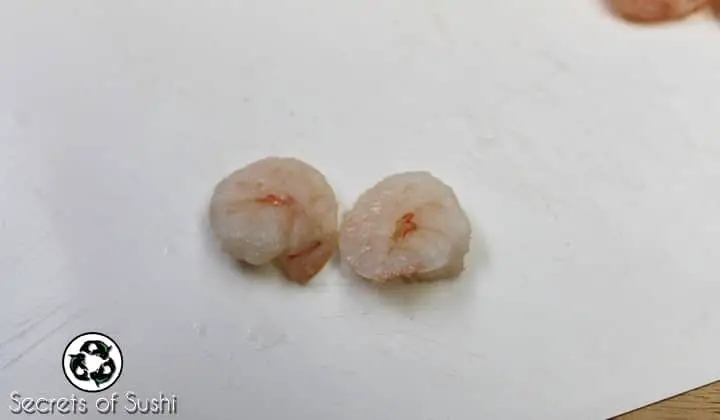
8. Slice the shrimp into smaller pieces. I tend to make 4-5 slices on each shrimp. Longer pieces are easier to work with while rolling.
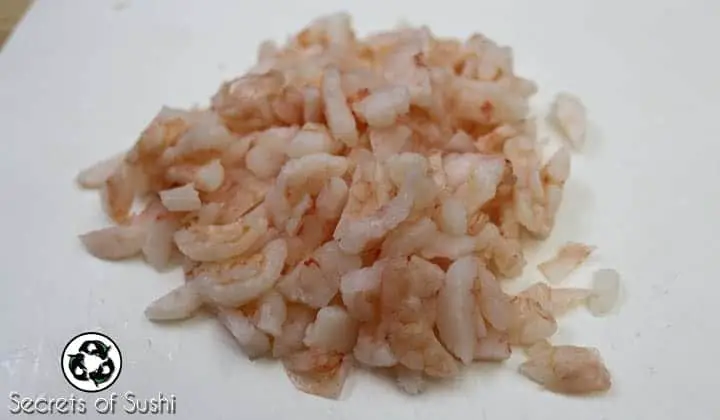
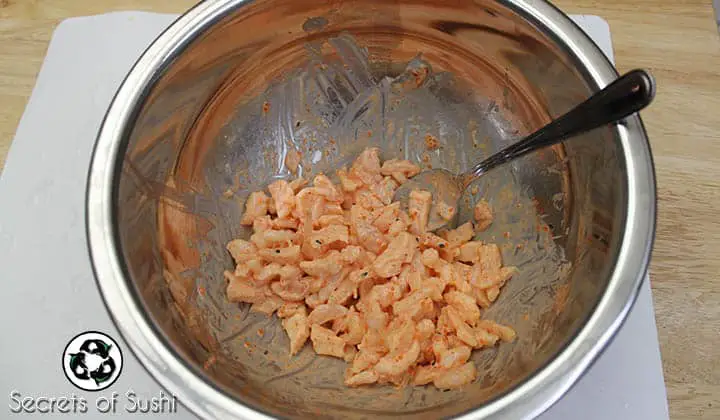
9. Now put your sliced shrimp into a mixing bowl and add your Kewpie mayonnaise, sri racha, togarashi, and masago. Mix thoroughly with a spoon.
Create your Spicy Shrimp Roll
Generally, the Spicy Shrimp Roll is made as Uramaki (inside-out roll), but you are welcome to try it as Futomaki as well!
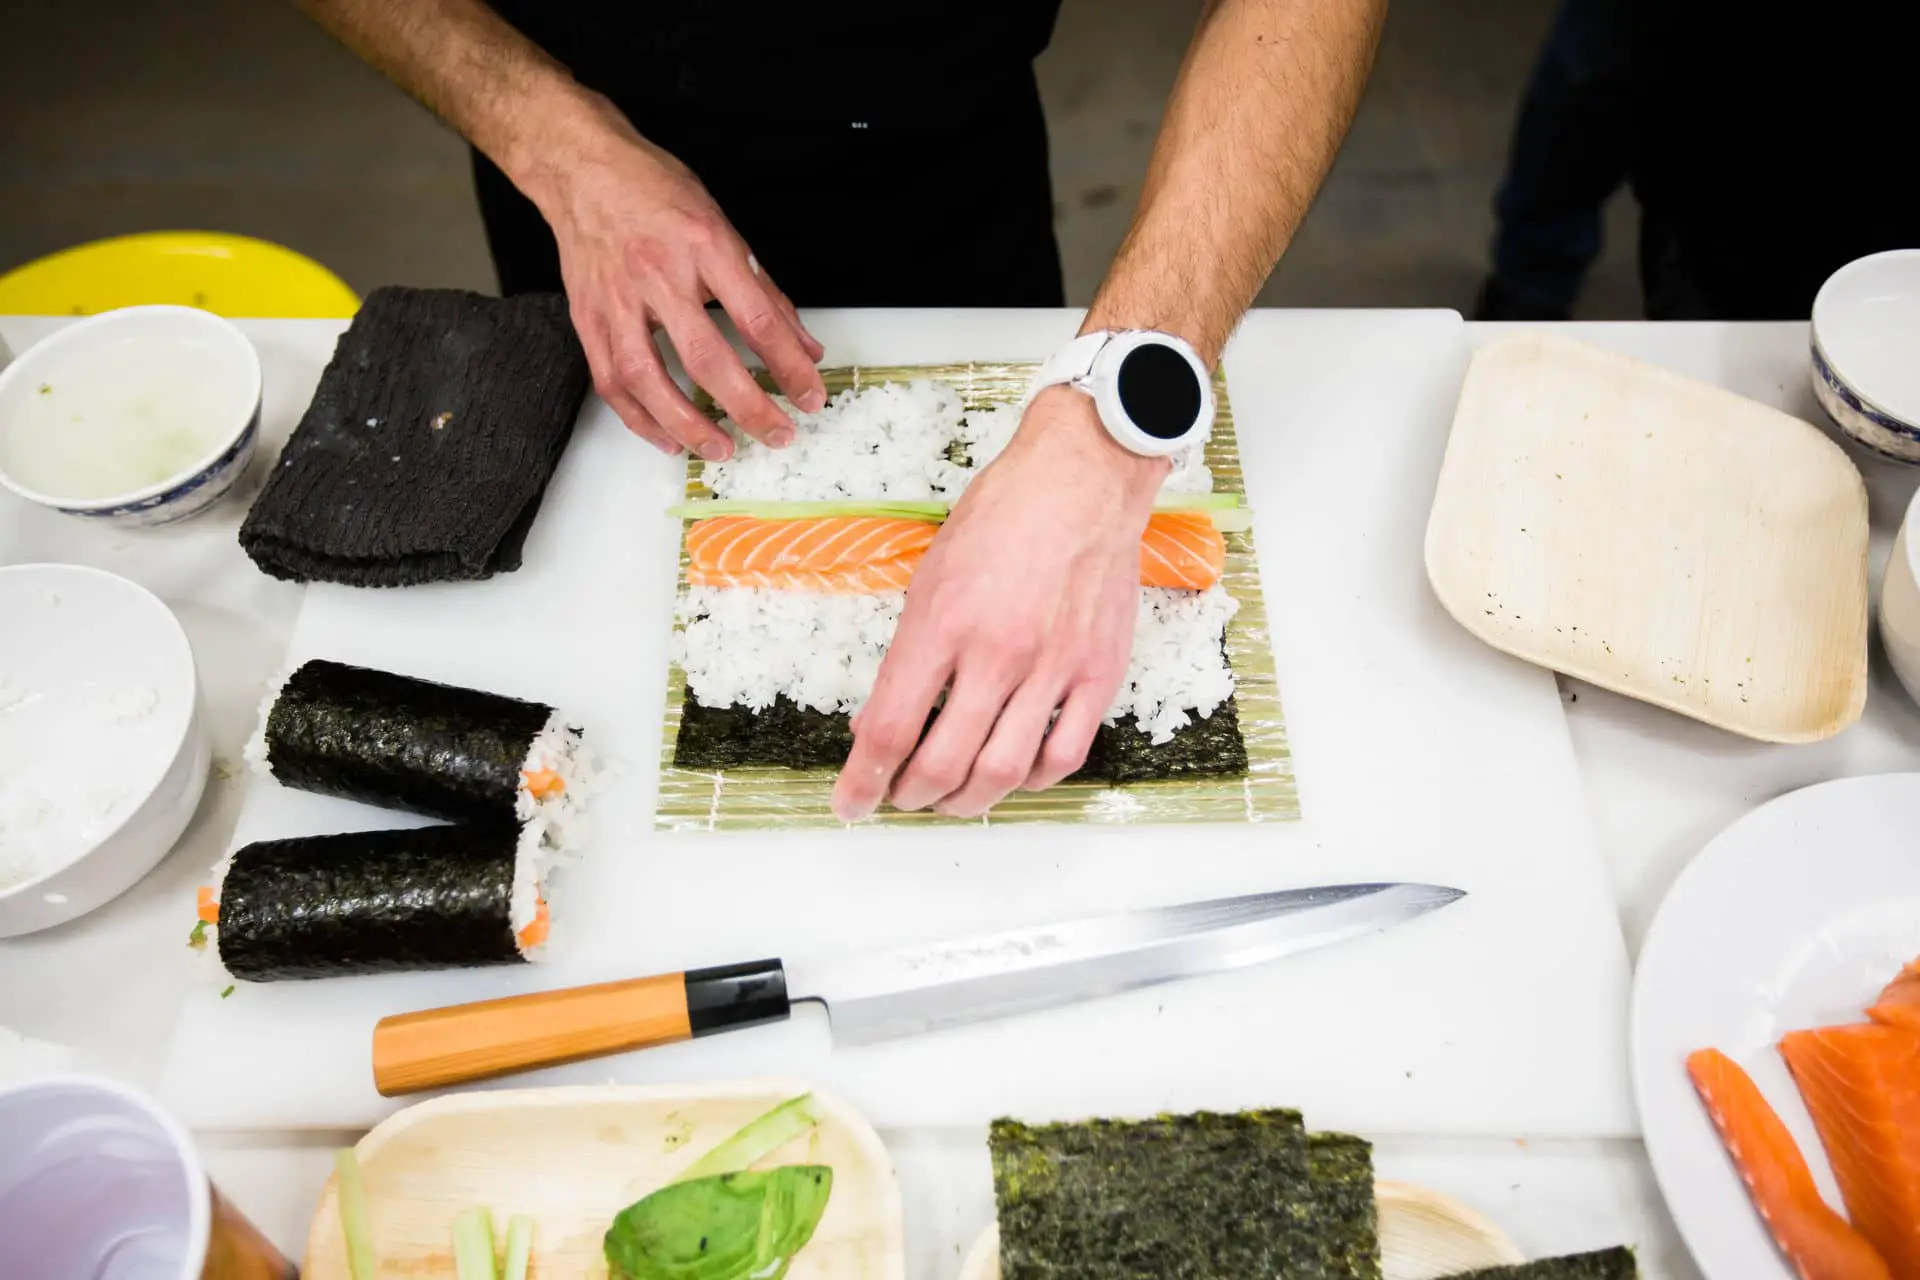
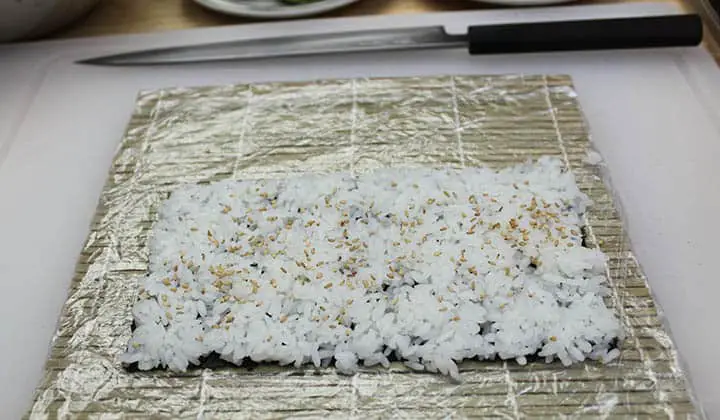
1. After you have your sushi station set up (cutting board, knife, a bowl of water, rice, etc.), put your seasoned rice on a half sheet of nori and sprinkle some roasted sesame seeds.
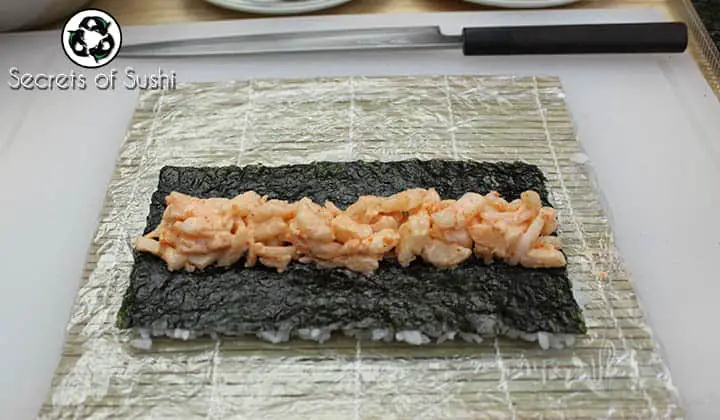
2. Flip over your rice mat and spread some of your spicy shrimp salad along the center. Make sure that your shrimp salad has a diameter no larger than approx. 2 cm.
3. Now it’s time to roll. Using your thumbs underneath the sushi mat and your fingers along the spicy shrimp salad, roll it up. For more detailed instructions on how to roll, check out the How to Roll Sushi page.
Remember mentioning how important it was to dry the shrimp? Here’s where you will notice the difference. If your shrimp is too wet, rolling will be extremely difficult: your shrimp salad will squeeze out the ends of the roll, your nori will become soggy, and your roll will completely fall apart when you cut it.
However, if the shrimp is dry before mixing it with the rest of the ingredients, then you won’t run into any of those problems.
4. After your roll is complete you can cut it into 8 even pieces, put it on a plate, and enjoy your Spicy Shrimp Roll.
Let me know what you think! If you like this roll, you’ll love the Darkside Roll.


