The asparagus roll is another very simple roll that you can make at home. There is only one ingredient inside the roll and the rest of the ingredients are commonly found in supermarkets – so it makes for a great recipe to practice your rolling technique!
For this tutorial, you will need:
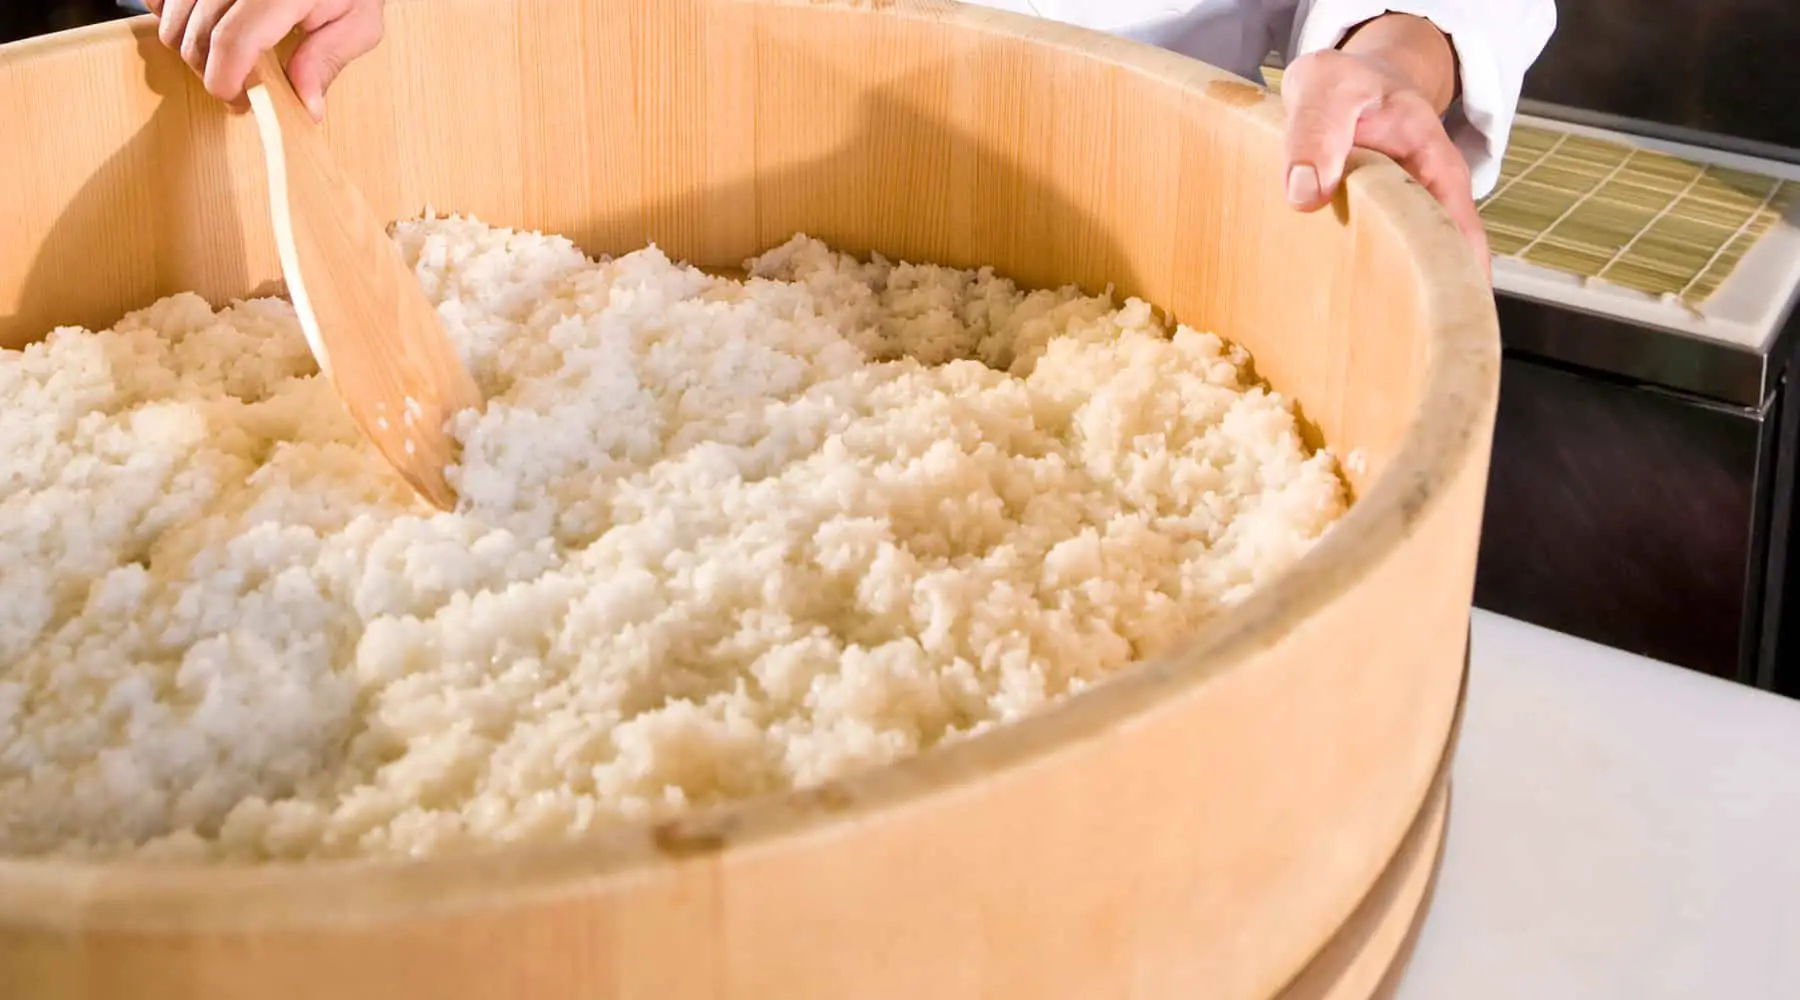
- 1 Cup of Seasoned Sushi Rice (190 grams)
- Half- cut sheets of Nori
- Makisu (wrapped in cellophane, preferably)
- 2-6 pieces Raw Asparagus
- Sharp Knife
- Cutting Board
- Bowl of water (hand water, or Tezu)
- Paper towels
- Medium pot or sauce pan
- Medium bowl
- Ice
- Tongs
Cooking Asparagus
Cooking asparagus is fairly simple and straightforward. When preparing asparagus for sushi, I like to blanch it and then dry the pieces. But before we get to blanching, be sure to cut the asparagus down to the same length as our half-cut sheet of nori.
1. To blanch asparagus (or any other vegetable), bring a shallow pot or sauce pan of water to a boil.
2. As the water is heating up, prepare an ice bath by dropping several pieces of ice into a large bowl and then filling it with cold water.
3. Once the water has come to a boil, add the asparagus and boil it for 60-90 seconds. You should see the water turning slightly green and the asparagus should be soft enough to poke a fork into it with ease – this is a good way to test if the asparagus is done!
4. Using a pair of tongs, grab the asparagus and place it into your ice bath.
5. After the asparagus is cool to the touch, pull them out of the ice bath and place them on some paper towels and pat them dry.
Making an Asparagus Roll
I like to make the asparagus roll as a hosomaki (skinny roll). Since there aren’t many ingredients in this roll, it makes for great practice!
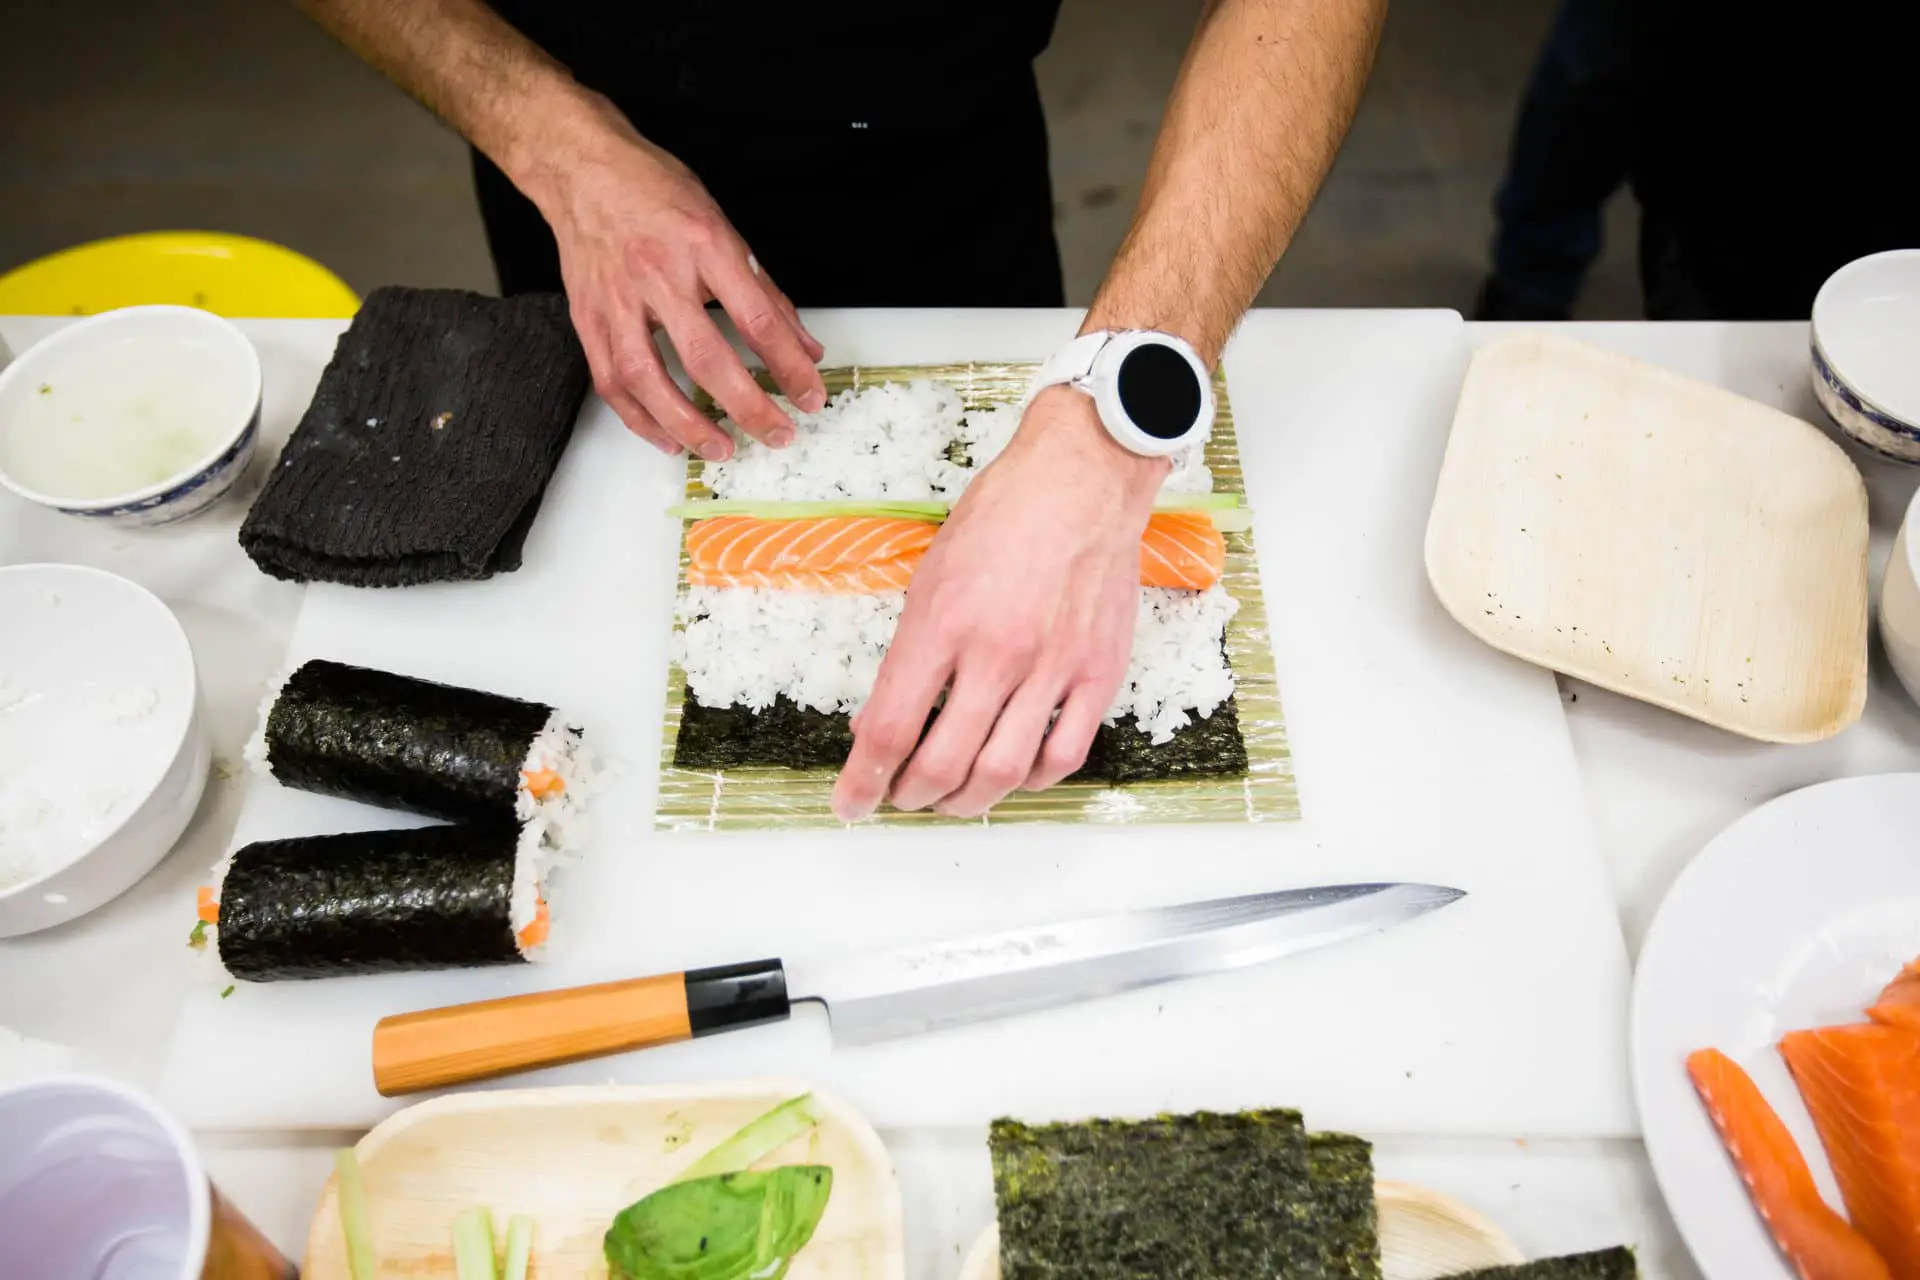
1. Add a small handful of rice to the rough side of the nori, making sure to leave roughly 1cm of nori exposed towards the top.
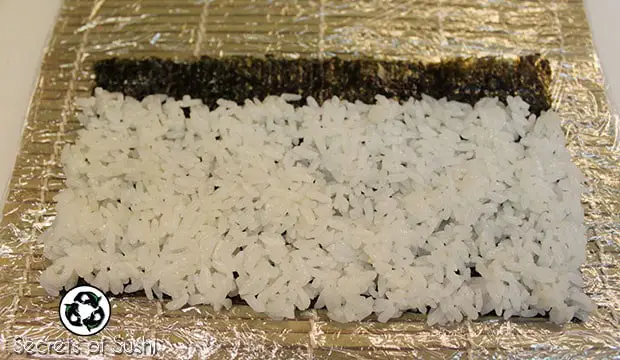
You want to make sure the rice is evenly spread across the nori and that there is a bit of space in between the grains of rice.
2. Slice your asparagus in half, lengthwise.
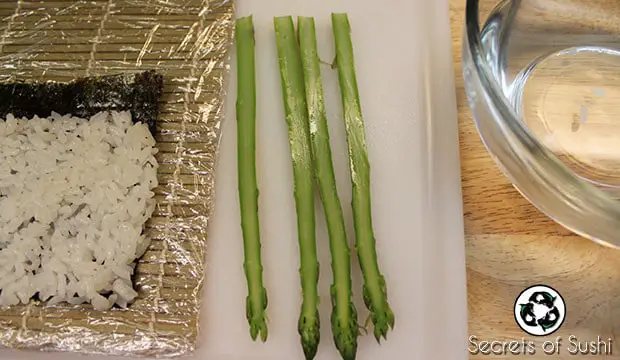
3. Place two halves in the center of the rice. I like to slice the asparagus in half and lay them out like this because it helps keep a consistent amount of our main ingredient throughout the roll.
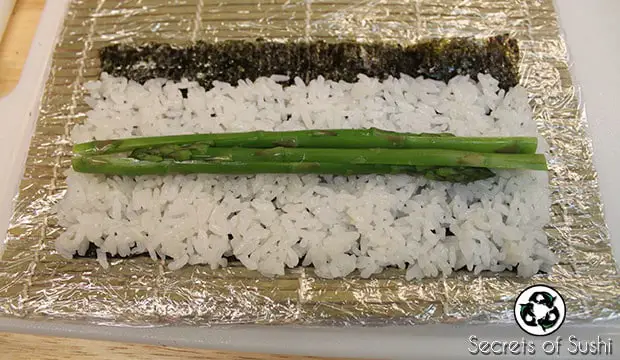
When I was making this tutorial, I made the mistake of cutting my asparagus too short! As you can see above, the pieces are about an inch (2.5cm) too short. Don’t do this at home! You can use a piece of nori to measure how long to cut your asparagus.
4. Now comes the difficult part: You have to roll it up before the nori becomes soggy… the nori needs to be wet in order to stick to itself!
Dip your fingers into your bowl of water and transfer that water to the exposed portion of the nori. While the nori is wet, slide your thumbs underneath the makisu (bamboo rolling mat) and roll it over the asparagus. You can use your fingers to hold the ingredients in place while you roll.
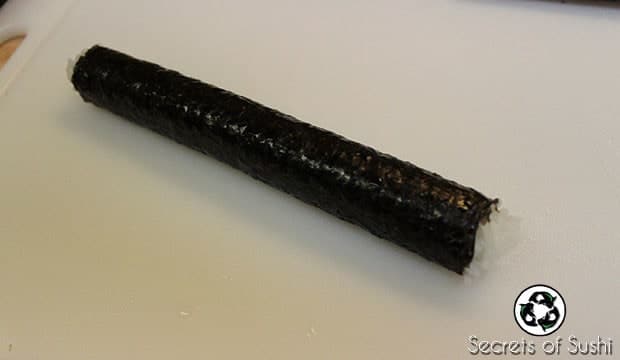
Once you have rolled it up, let it sit (with the wet portion facing down) for a minute or two.
5. While you wait, you can use the makisu to “tuck the ends.” Place the makisu over one end the roll and apply very light pressure with one hand. Use 1-2 fingers (on your other hand) to push any rice and/or ingredients back into your roll.
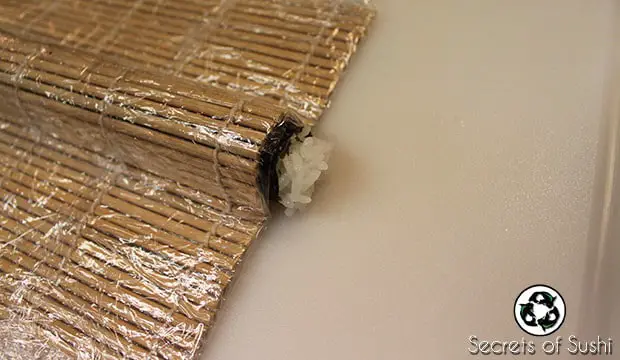
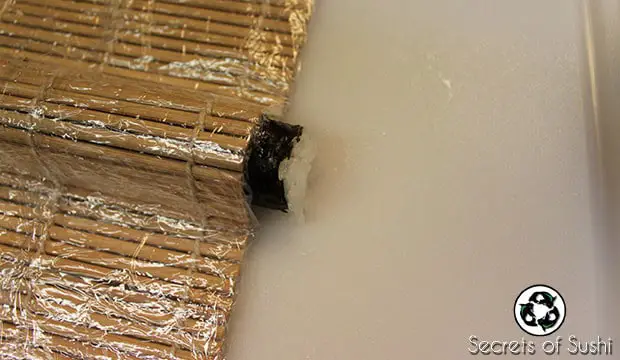
That should help make your end pieces look much cleaner.
6. Now that the wet nori has had some time to dry and adhere to itself, it’s time to cut! Slice the roll in half and stack the two halves together.
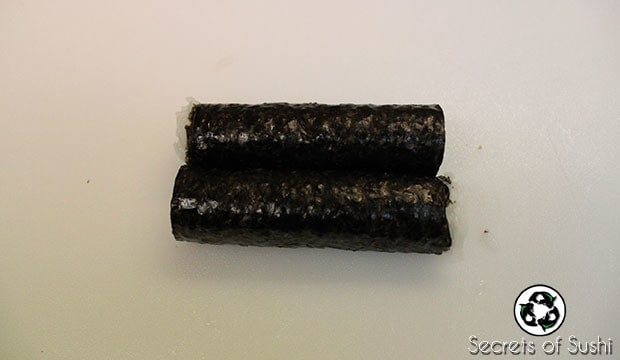
Then, slices the two halves into thirds:
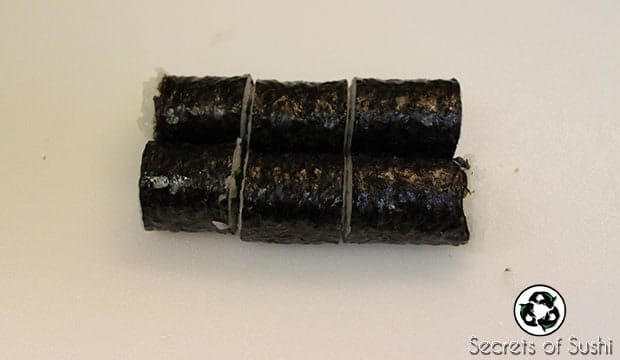
7. Finally, tip the four end pieces on their side and place the roll on a plate. You can add wasabi, ginger, and/or some garnishes to go with the roll as well!
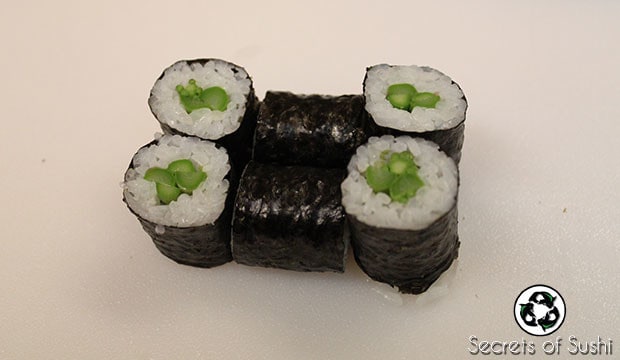
Pro tip: I like to add a little Garlic Mayo or Miso Mayo to my asparagus roll! It adds a nice layer of flavor on top the simple roll.
If you liked this tutorial, share it with a friend on social media! It would mean the world to me if you did. 🙂
I hope you enjoyed this recipe. As always, if you have any questions feel free to leave them in the comments box or shoot me an email: bryan (at) secretsofsushi.com
If you liked this recipe and would like to try a more challenging one, try out the Dark Side Roll!


