One of my favorite things to do as a sushi chef is to come up with a new recipe. Recently, a friend of mine asked me to come up with a recipe for ketogenic sushi.
After doing some research on ketosis and learning about the ketogenic diet, I discovered something that made this tutorial quite challenging:
I can’t use sushi rice for this recipe…
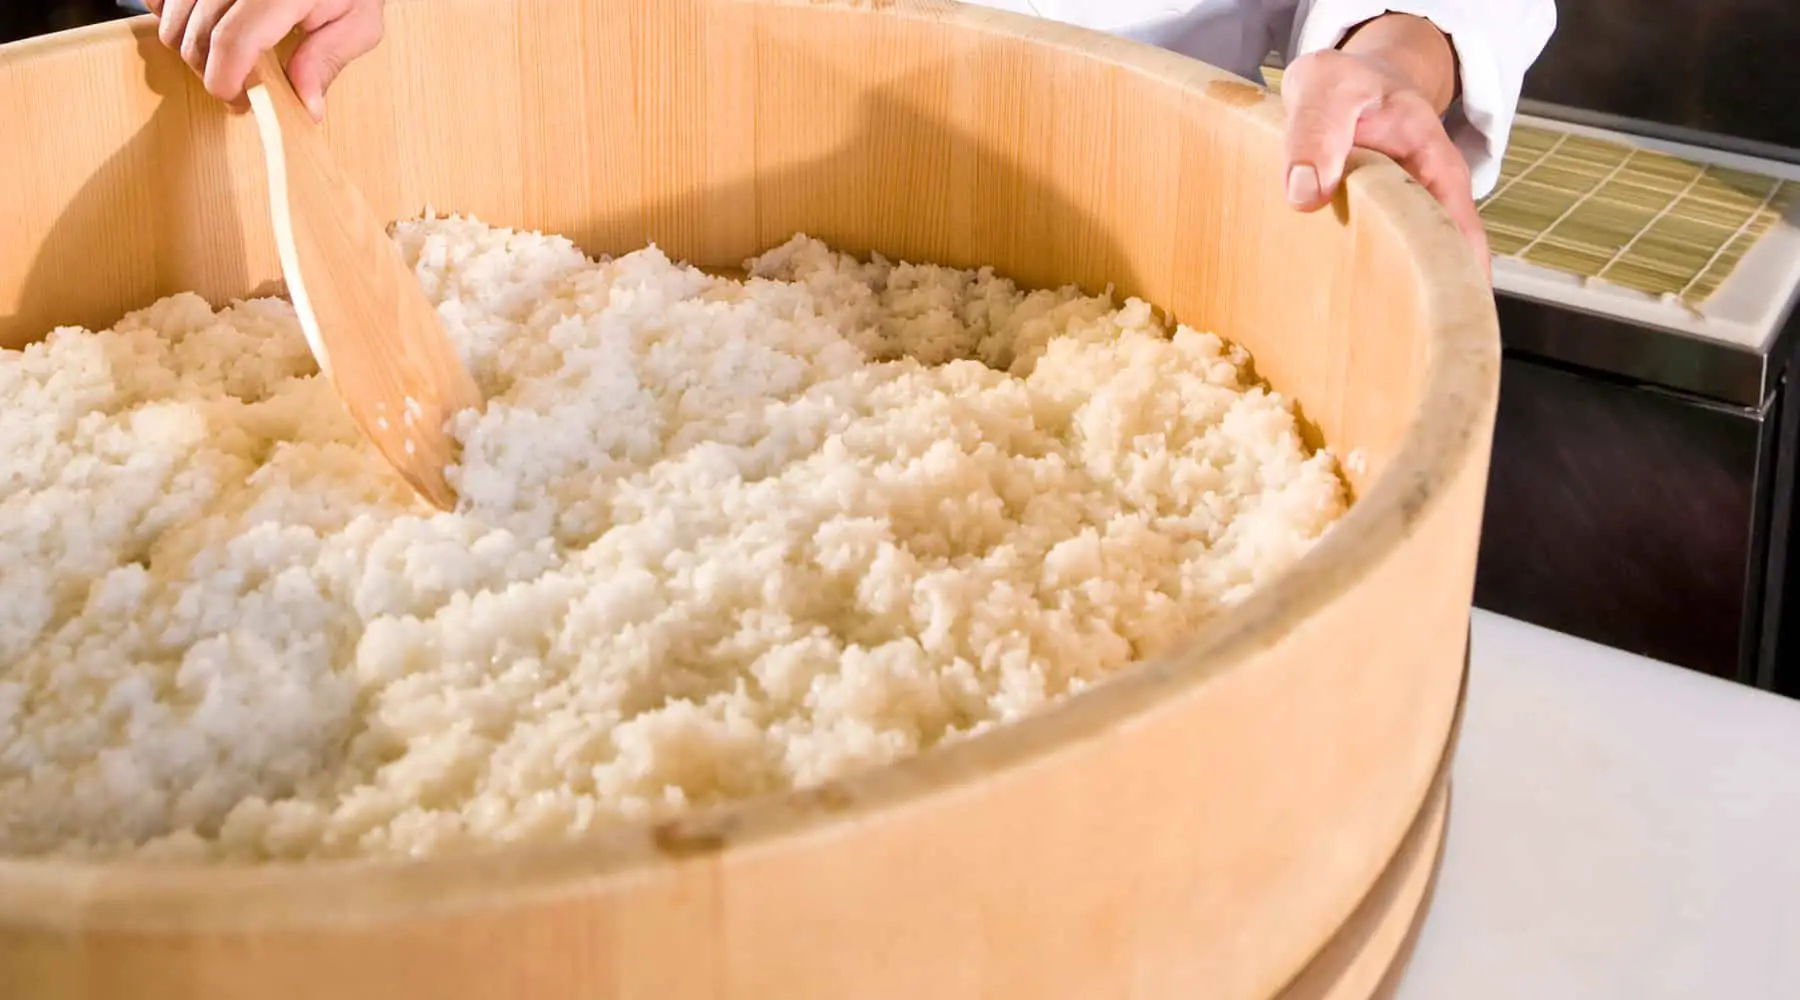
The ketogenic diet is a low carbohydrate, high fat diet that puts your body into a state of ketosis (which uses fat as an energy source instead of carbs). That means rice (and the seasoned rice wine vinegar) is out of the question.
Now, by definition, if a recipe doesn’t have seasoned rice then it isn’t really sushi (sushi literally means “vinegar rice”). But there are a few “exceptions” to this rule: sashimi and katsuramuki.
While they aren’t technically sushi, they still fit within that general category and are obviously still found in sushi bars across the world. So for this recipe, I decided to go with a katsuramuki style.
What is katsuramuki?
Katsuramuki is the Japanese process of peeling a vegetable into a long sheet using only a knife. This process is long, tedious, and very difficult. It is considered one of the primary knife techniques taught to sushi apprentices and it could take months of dedicated practice to master. I am still trying to perfect my katsuramuki technique.
Here’s a quick video I found on a sushi chef demonstrating the technique:
As you can see, the process takes a considerable amount of time – and that’s if you execute the technique flawlessly.
Fortunately, I have come up with a sushi hack on how to do this without spending tons of time practicing!
Sushi Hack: Katsuramuki Crutches
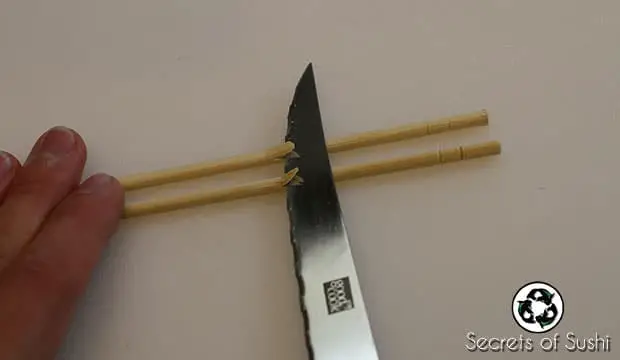
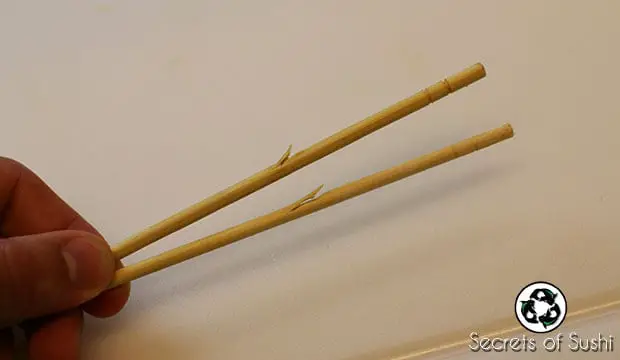
The hardest part about this technique is getting the cucumber to have a consistent thickness. To help solve this, I decided to use a pair of disposable, bamboo chopsticks.
1. Make a cut 3/4 of the way up the chopsticks using a sharp knife. You don’t need to cut very deep – just enough to be able to see the cuts.
2. Angle the knife to 15 degrees and start sawing at that angle.
3. Switch to a serrated knife (I used a steak knife) and continue sawing until you are 50% of the way through the chopsticks.
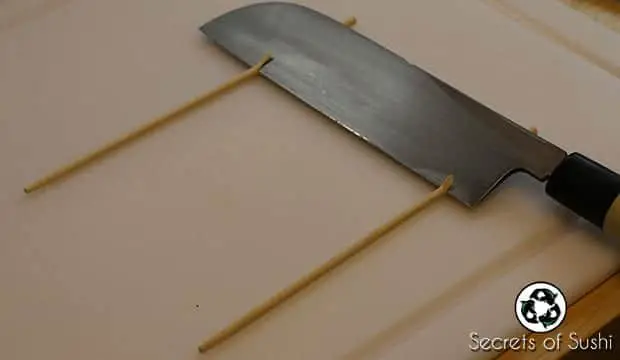
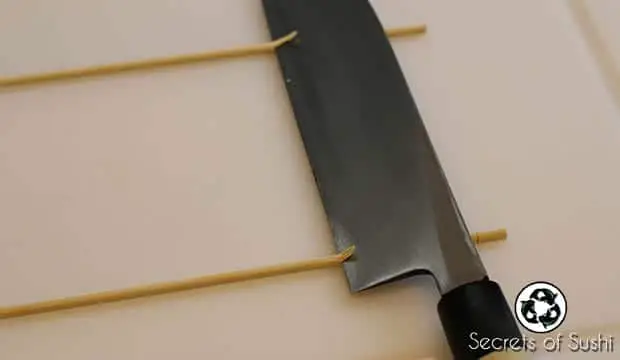
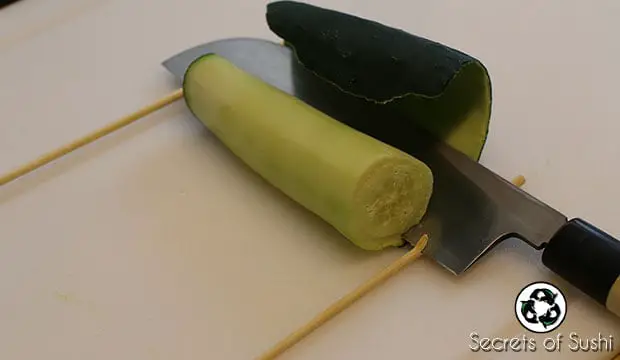
4. Slide the chopsticks onto your non-serrated knife to start peeling your cucumber.
Now we are ready to start making our ketogenic sushi!
Pro Tip: Katsuramuki crutches can also be made with toothpicks!
For this tutorial, you will need:
- 1-2 Cucumbers (standard cucumbers or English cucumbers)
- a Sharp, non-serrated knife (I’m using an Usuba)
- a Cutting Board
- Paper towels
- 1/2 lb of Alaskan King Salmon (Wild Caught)
- 1 Avocado
- Blanched Asparagus (3-4 pieces per roll – depending on their thickness)
- Ponzu
This recipe will make 3-4 rolls.
Making Ketogenic Sushi
The first step in making katsuramuki is peeling the cucumber. I highly recommend buying some extra cucumbers to practice with before making the real thing. Cucumbers are easily found, inexpensive, and they are sustainable (you could even grow your own).
1. Start by cutting a straight section of the cucumber. You want it to be at least 4″ (~10cm) in length.
2. Slide your katsuramuki crutches onto your knife. The crutches will work as a spacer in order to ensure consistent thickness.
3. Start barely sliding your knife back and forth while simultaneously rotating the cucumber away from the knife. Don’t be discouraged if the crutches slide around a bit (mine certainly did) – simply re-position them and continue slicing.
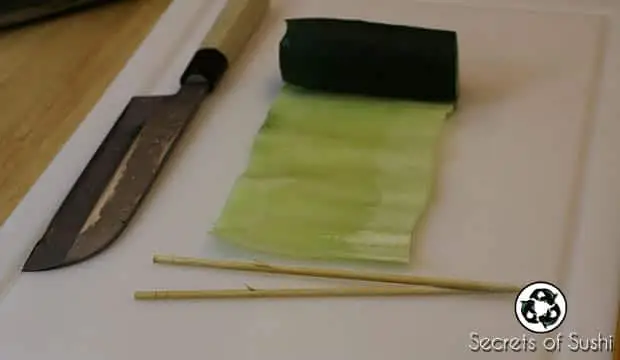
4. Slowly continue this process until you reach the seeds of the cucumber. Once you reach the seeds, slice them off vertically.
Ideally, your katsuramuki peel should be 8-10″ (20.3cm – 25.5cm) in length. You can also cut off the section that still has the cucumber skin on it.
For this tutorial, I washed my cucumber thoroughly and decided to leave the peel on. Leaving the peel on will change the overall flavor, slightly.
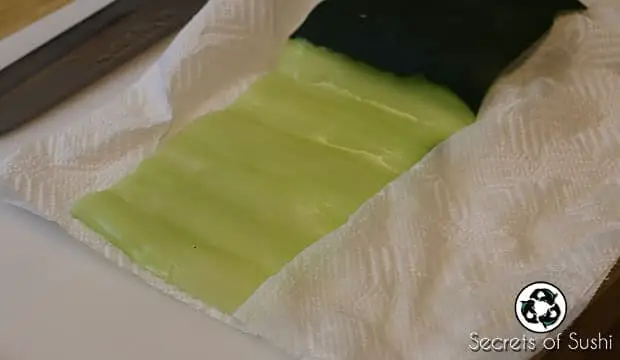
5. Use some paper towels to pat off any excess moisture:
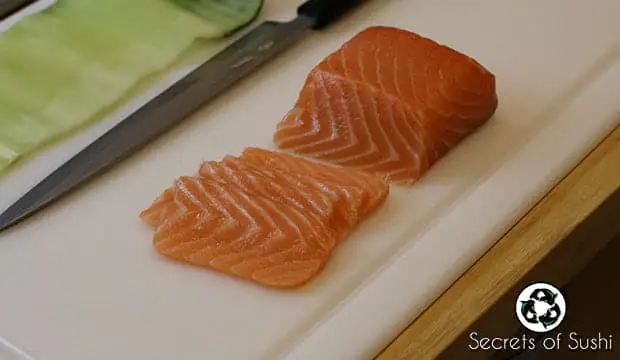
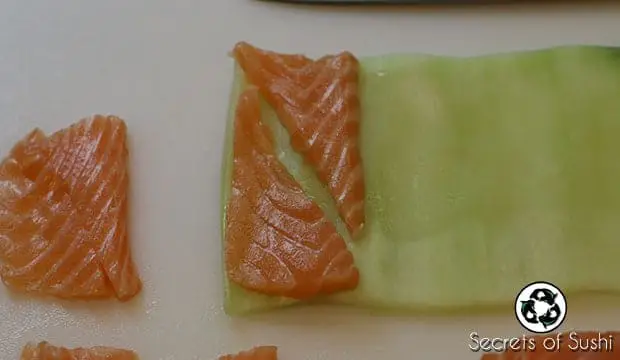
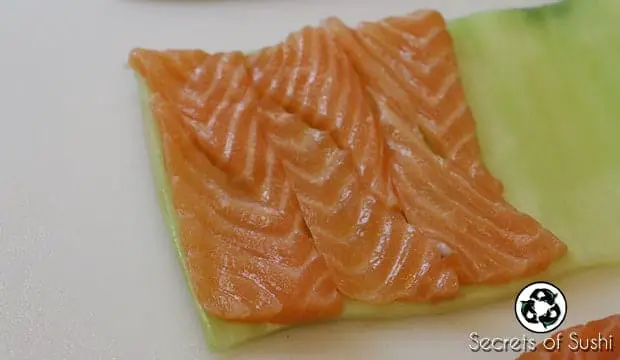
6. Slice 3 pieces of salmon – just like you would for sashimi (that’s to say you will slice it at an angle).
7. Slice the salmon diagonally to make them reach the edges of your cucumber. Place the sliced salmon onto your cucumber peel, starting at the very edge.
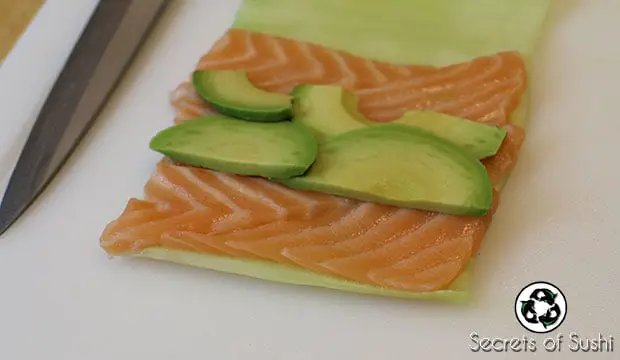
8. Add several slices of avocado on top of the salmon. For more info on how to slice avocado for sushi, check out my Avocado Roll tutorial.
We only want to put the avocado in the center of the salmon – the reason will become more obvious once we start to roll it all together.
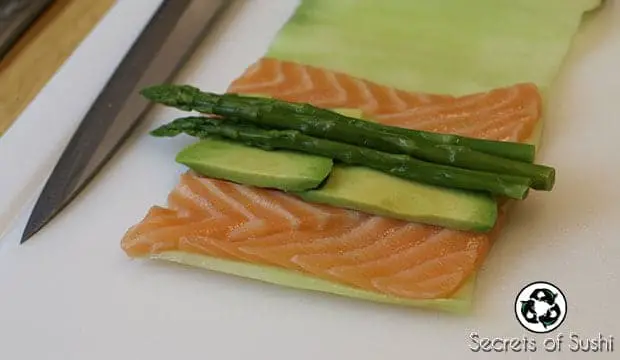
9. Place a few pieces of asparagus on top of the avocado. I used 3 small pieces. You could easily put more, but I wanted to keep the end-result pieces small. Less ingredients = smaller pieces in the end.
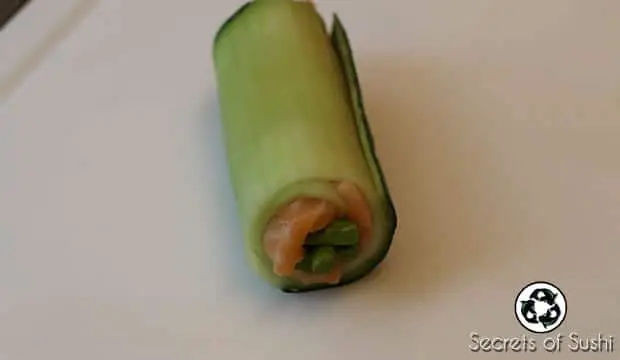
10. Using just your hands, carefully roll it all together. Start by putting your thumbs underneath the salmon and cucumber and using your fingers to hold the ingredients in place. Roll the ingredients from one end to the other, making sure to tighten your roll along the way.
If you’re having a problem with keeping your roll tight, you can use my method of tightening and forming your rolls.
I recorded a short video on How to Prevent Square Sushi, but the technique is exactly the same:
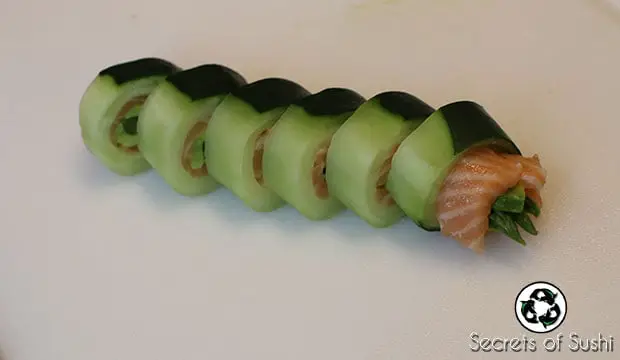
11. Now that our ketogenic sushi is tightly rolled together, it’s time to cut. Slice your katsuramuki into 6 even pieces:
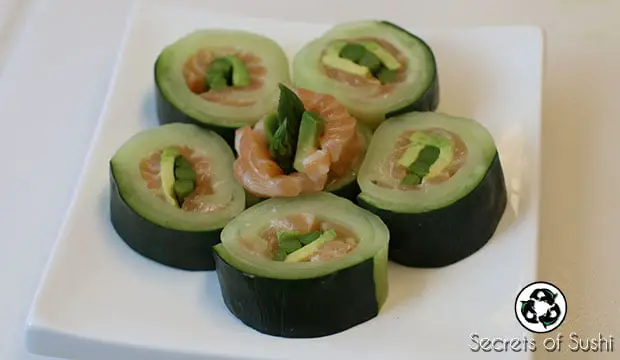
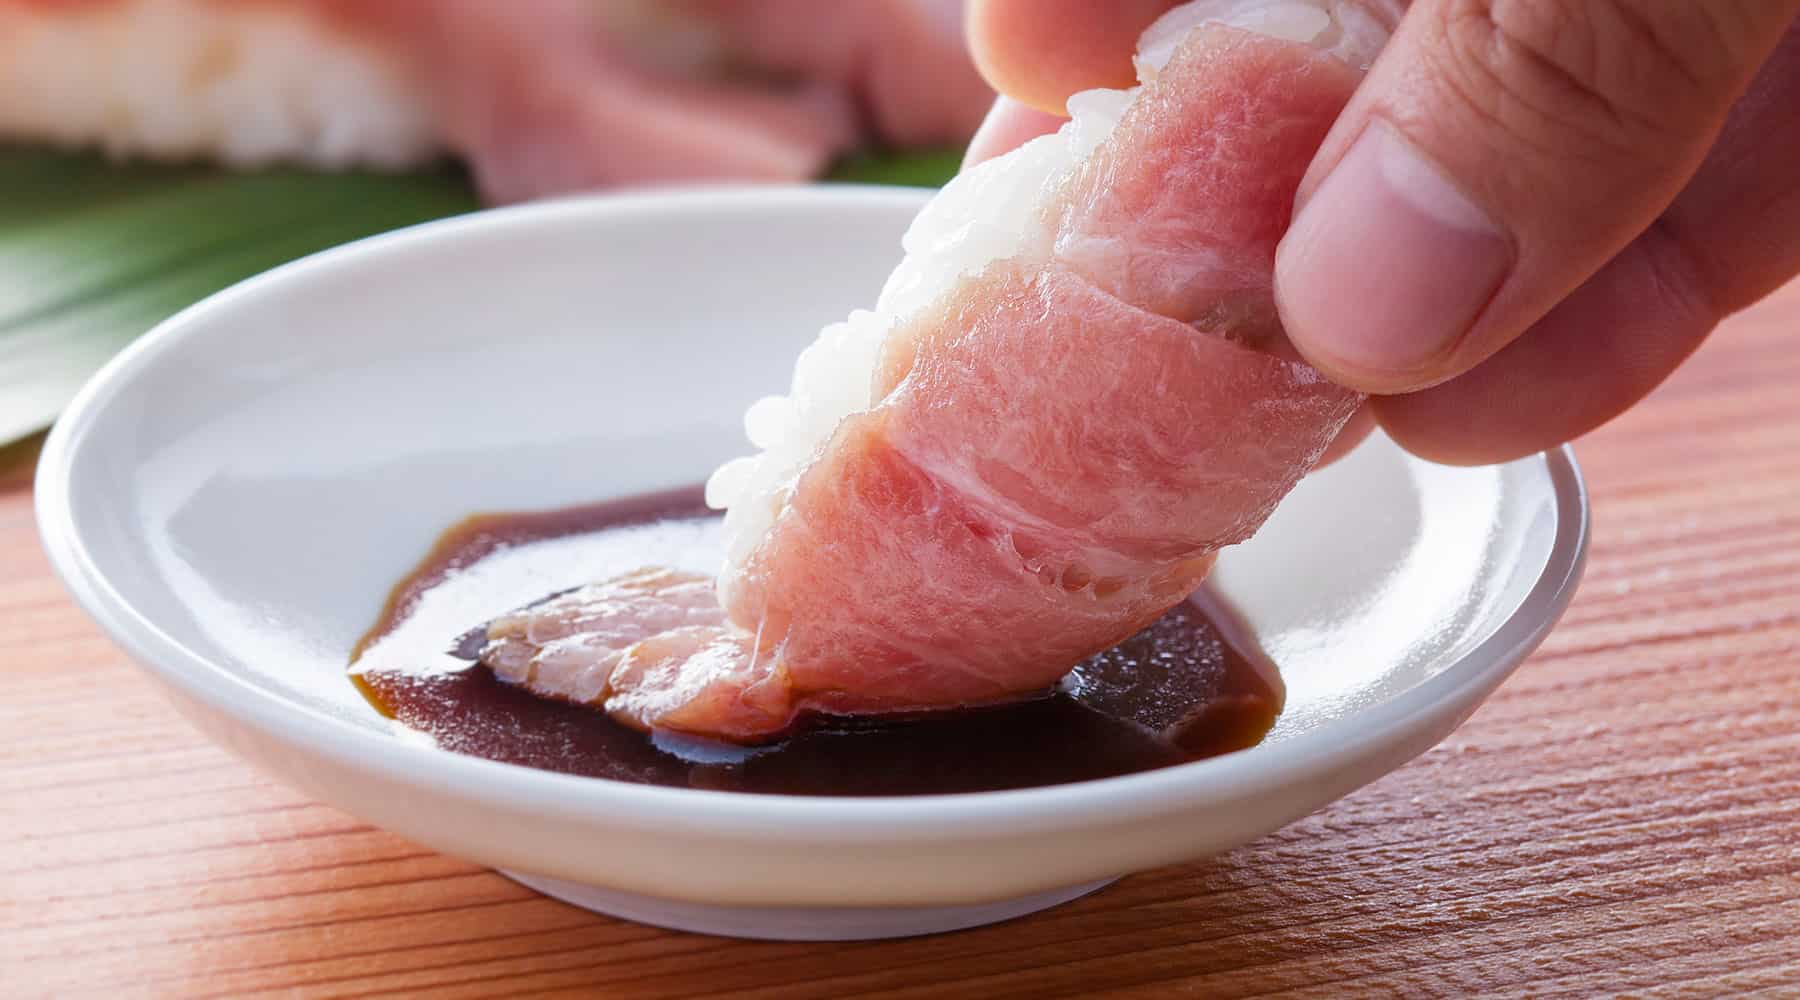
12. Lastly, transfer your pieces onto a place and drizzle on some Ponzu for an extra layer of refreshing flavor.
I hope you all enjoyed this tutorial! I know it’s a long one. If you have any questions or any problems with this tutorial, please feel free to email me: bryan @ secretsofsushi.com – I’m always happy to help and I read every email.
Final Note:
This tutorial can easily be made with different ingredients. The import part of ketogenic sushi is to create something that looks and tastes similar to sushi, but without the rice.
Feel free to experiment with different ingredients and come up with a new recipe! I would love to see your results in the comments sections below (Disqus comments will allow you to post pictures).
Also, for additional Sushi Hacks and rolling tips, Sign up for my Newsletter!
Have a great day!
-Bryan Sekine

