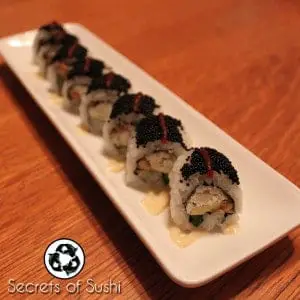
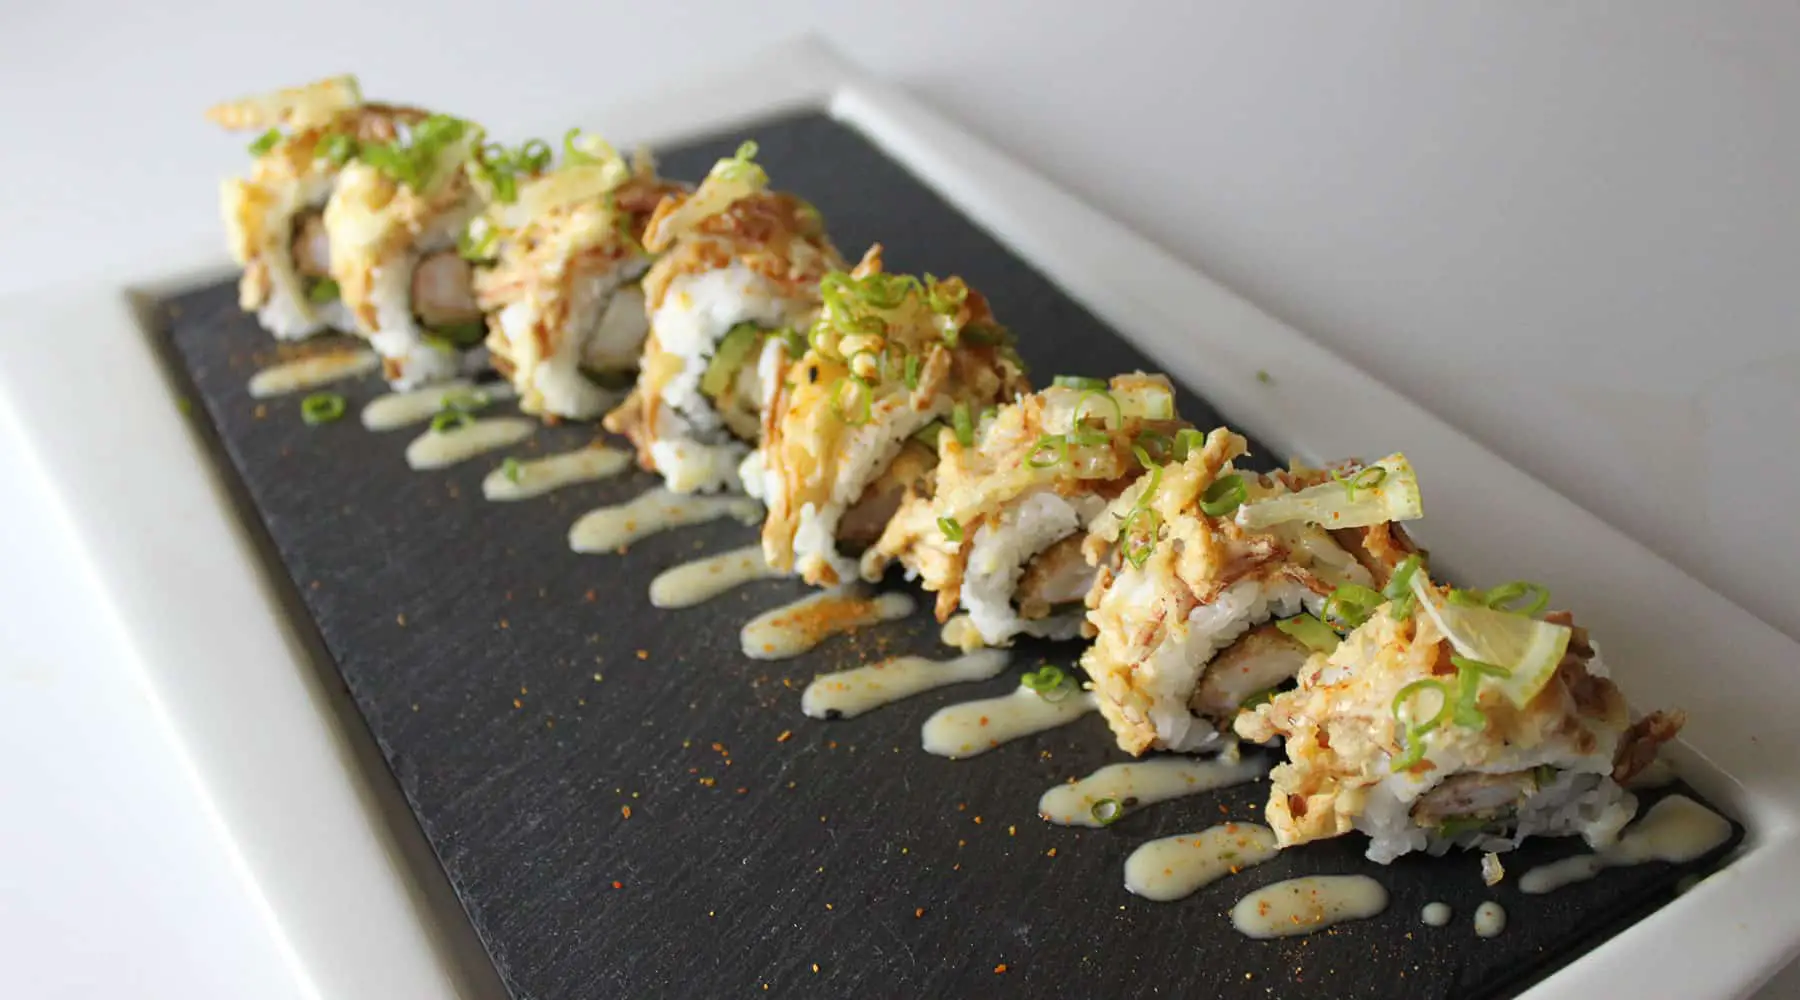
The Dark Side Roll is a creative concoction made by a few friends of mine at Full Moon Sushi. Periodically, the chefs will have challenges to create a themed sushi recipe and this one happens to be one of my favorites.
It’s not just because I am a hug fan Star Wars, the roll tastes phenomenal, too!
For this tutorial, you will need:
- Wonton sheets (small)
- 1 Jalapeno
- 1 Avocado
- 2 Cups of Sushi rice – 380 grams
- 4-6 Half-cut sheets of nori
- 2 cans of Sustainable Crab (Snow crab or Dungeness crab from U.S. or Canada) – 336 grams
- Miso Mayo
- Sharp knife (ideally a yanagiba)
- Makisu (wrapped in cellophane)
- Cutting board
- Sriracha
- 2-4 Tbsps of Black Tobiko
- Large pan
- Peanut oil (or other fryer oil if you are allergic to peanuts)
- Paper towels
Preparing the Ingredients
As the rice is cooking (I use a rice cooker for convenience), we will want to prepare our ingredients.
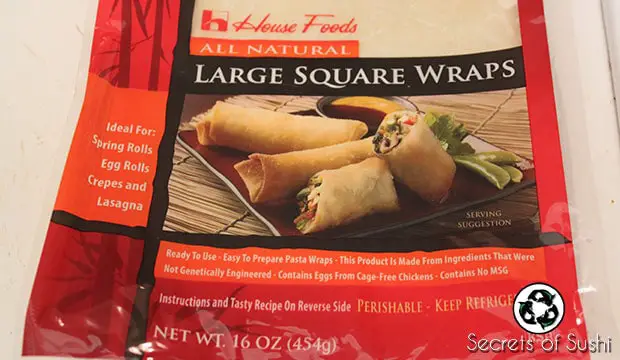
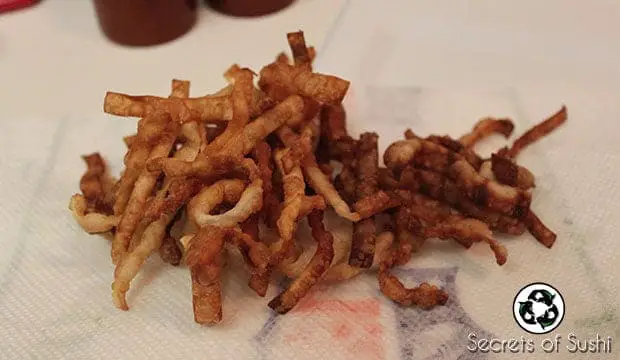
The first ingredient, and the longest to prepare, is wonton crisps. I purchased wonton sheets from my local Sprouts Supermarket. Ideally you will want to get the small sheets because we don’t need a lot, but they only had the larger sheets in stock.
1. Pour your fryer oil into a large pan (2-3cm deep) and put it on a medium/high heat (depending on how quickly your stove heats). We want to get the oil to 375-400 degrees Fahrenheit in about 10 minutes or so.
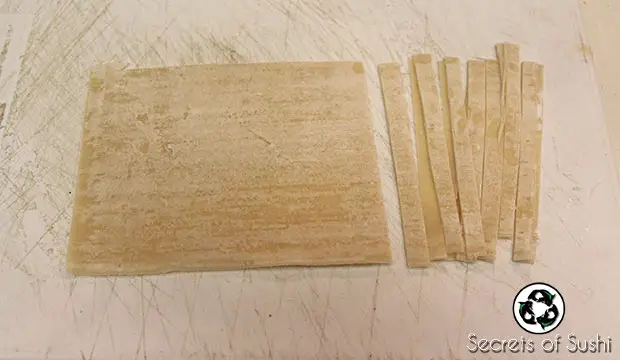
2. Open the wonton package and lay out 5-6 sheets. If you purchased the smaller sheets, they should be square or circular in shape. I cut mine in half because I’m working with the larger sheets – so mine will be rectangles in this tutorial.
Cut the sheets into thin strips, about 1/2cm in width.
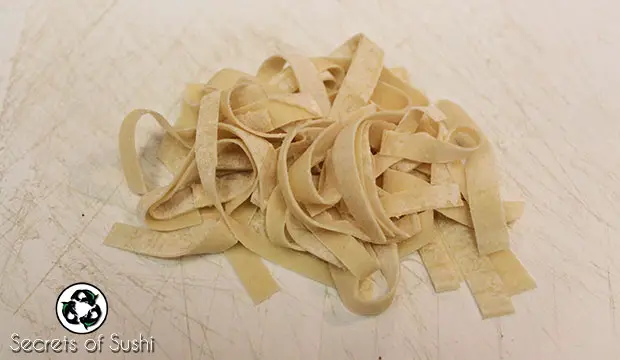
3. Once your wonton sheets have been cut into strips, separate them. They should resemble really short noodles.
Test to see if your fryer oil is at a good temperature by dipping the tip of a wooden chop stick in the oil or by dropping a wonton strip in the oil.
If you see small bubbles around the chop stick, or if you see the wonton strip immediately start to fry, then you know the oil is hot enough to fry the strips. If you see smoke coming off of the oil, immediately remove the pan from the heat until it stops smoking.
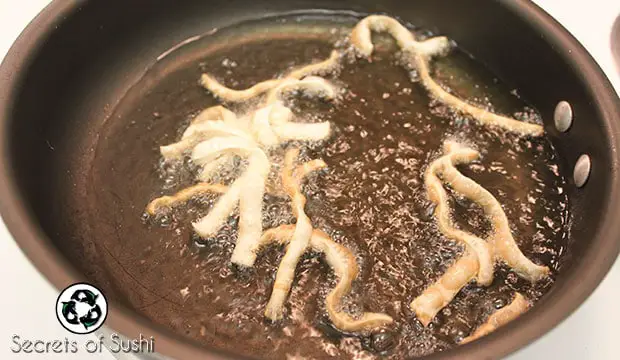
4. Carefully place your wonton strips into the oil in small batches. I set out a few paper towels to place the wontons onto once they are golden brown.
The strips should curl and fry to point of perfection within 10-15 seconds. You want to be sure to pull them as soon as they start to turn a golden yellow color. Use a pair of chop sticks, tongs, or fryer screen to remove them and place them on the paper towels.
Remember: the strips will continue to cook after they are removed from the oil. If you pull them out once they have turned brown, then you will have burnt wonton strips by the time they have cooled down.
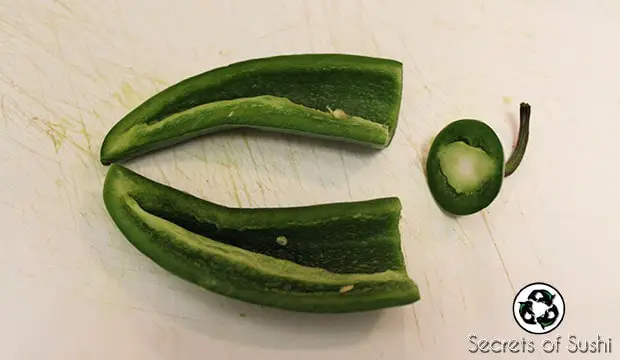
5. While the wontons and your sushi rice are cooling, slice the top off of your jalapeno. Next, slice the jalapeno in half, lengthwise, and remove the seeds with your fingers.
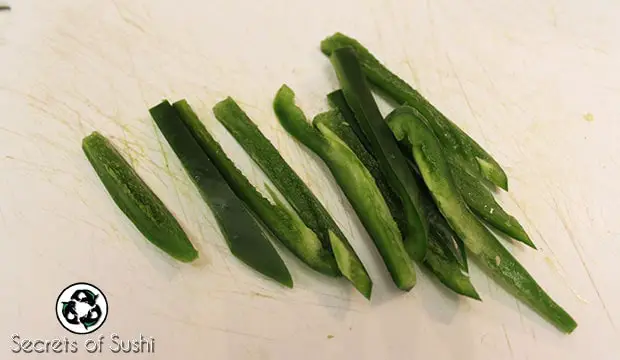
6. Slice the jalapeno halves into strips. These should be about 1/2cm wide.
7. Wash your hands. You should always wash your hands before you start preparing food, but you also want to wash your hands immediately after touching pepper seeds. The seeds contain oil that give jalapenos their heat.
As comical as it sounds, I’ve seen several chefs slice jalapenos/remove the seeds and then accidentally rub their eyes, touch their face, or even go to the restroom (yikes) and transfer that spicy oil. They immediately regret not washing their hands.
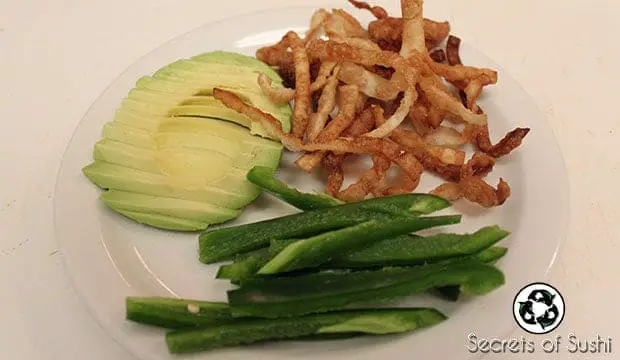
8. Peel and slice the avocado for sushi. For detailed instructions on how to do that, check out my tutorial on the Futomaki Roll.
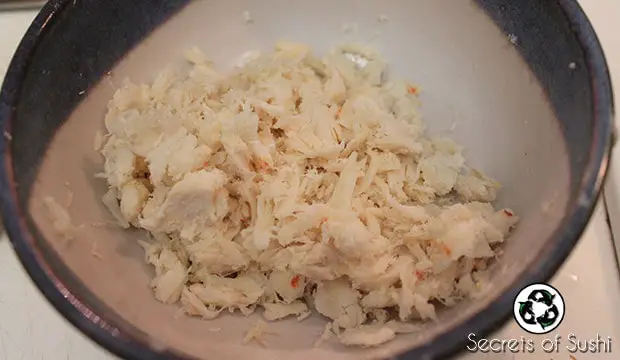
9. Open your can of crab meat and drain the water out into your sink. Crab meat is usually packaged in water and we will need to squeeze out as much of that as possible. To do this, you can either squeeze by hand or use a linen – I just used my hands.
It’s important to squeeze out all of the water so that it doesn’t make the nori soggy or make your roll fall apart while cutting.
Rolling the Dark Side Roll
Now that we have all of the ingredients prepared it’s time to get rolling! Make sure that your rolling station is all set up with your cutting board, knife, wrapped makisu, and your hand water (tezu).
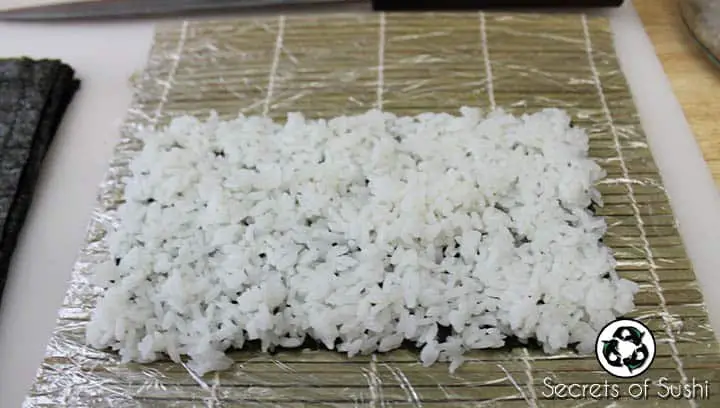
1. Add a handful of rice to the rough side of the nori. You should make sure that the rice goes all the way to the edges and that you can still see a bit of nori through the rice (that’s how you know you’re not putting on too much rice).
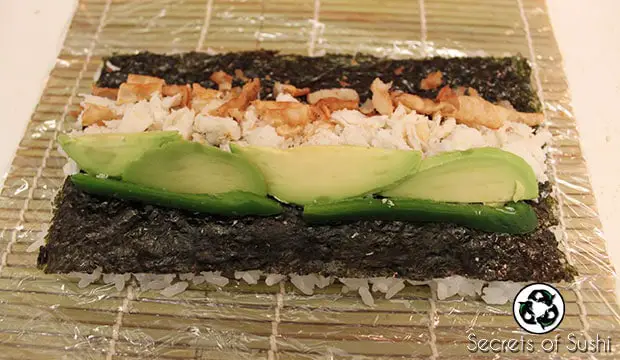
2. Flip the rice mat over and add your crab meat, jalapenos, wontons, and avocado. I always put the avocado on the side closest to me to make it easier to roll.
You will likely have to crush the wonton crips in your hands before adding them to the roll.
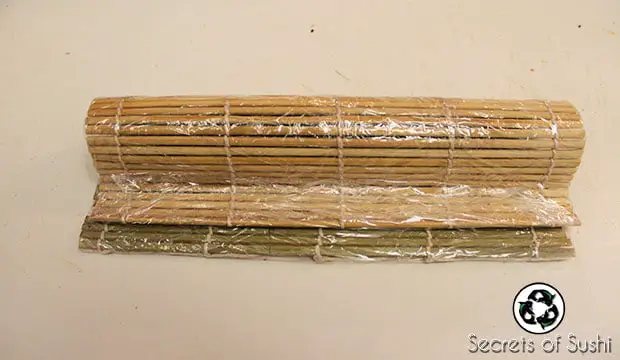
3. Place your thumbs underneath the makisu and use your fingers to hold the ingredients in place. Slowly roll your thumbs up to your fingers until the edge of the nori (closest to you) rolls over the ingredients and meets nori again. Give the roll a firm squeeze to make sure that all of the ingredients are condensed.
To finish the rolling process, simply continue to roll your makisu until you’ve reached the end of the nori.
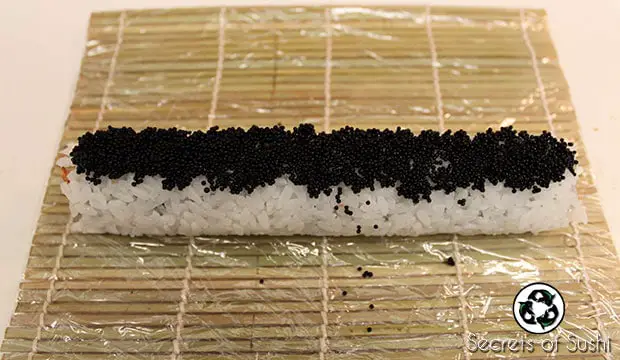
4. Add your black tobiko to the top of the roll. Tobiko is notorious for sticking to your fingers so I recommend doing this step with a spoon.
5. Wrap the makisu back over the top of the roll. Gently press down on the makisu, ensuring that the tobiko is pressed into the rice.
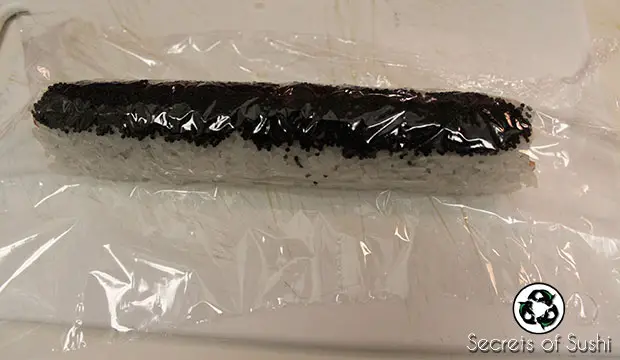
6. Remove the roll and place a piece of cellophane wrap over the top. You can press the cellophane onto the roll with your hands. This will help keep the tobiko on the roll while cutting.
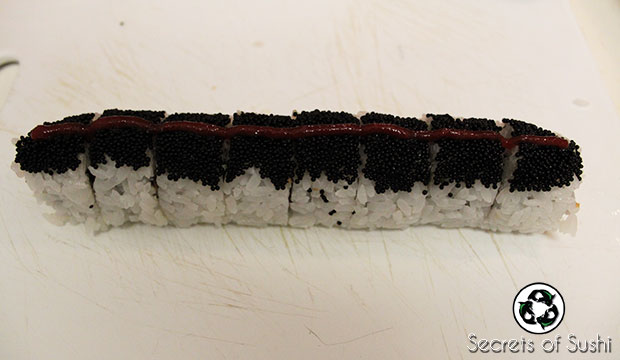
7. Cut the Dark Side Roll into eight even pieces and add a line of Sriracha sauce down the center of the tobiko.
8. Draw a continuous, “zig-zagging” line of miso mayo down a long plate. This could also be done on top of the roll, but I think for presentation purposes it looks better on the plate.
9. Stagger the pieces by 1cm and place them onto the plate. Garnish with some wasabi/ginger and Enjoy!
If you enjoyed this recipe, be sure to share it with a friend! It really helps the website to share with someone who you think will like it too. I would greatly appreciate it!
Also, if you make this recipe at home, be sure to take a picture of it and post it in the comments section below. I would love to see your work!

