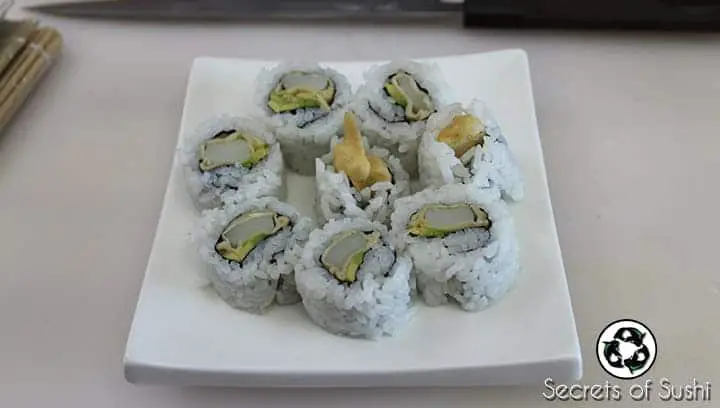
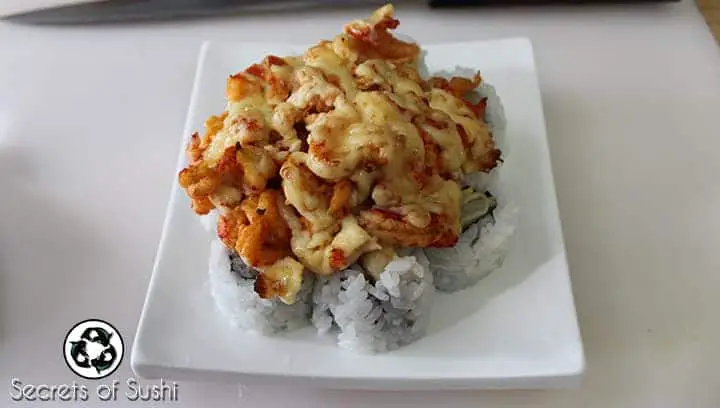
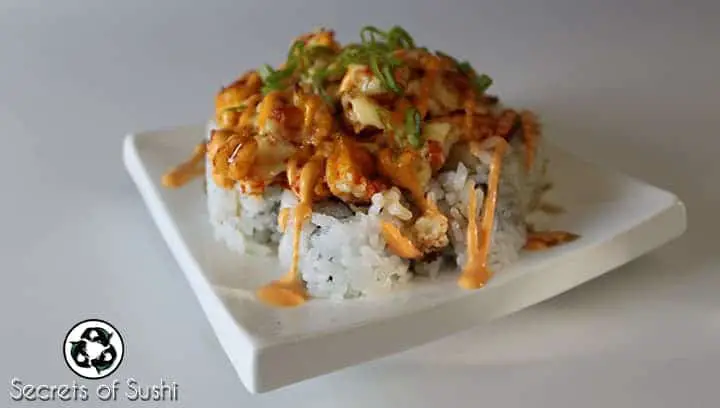
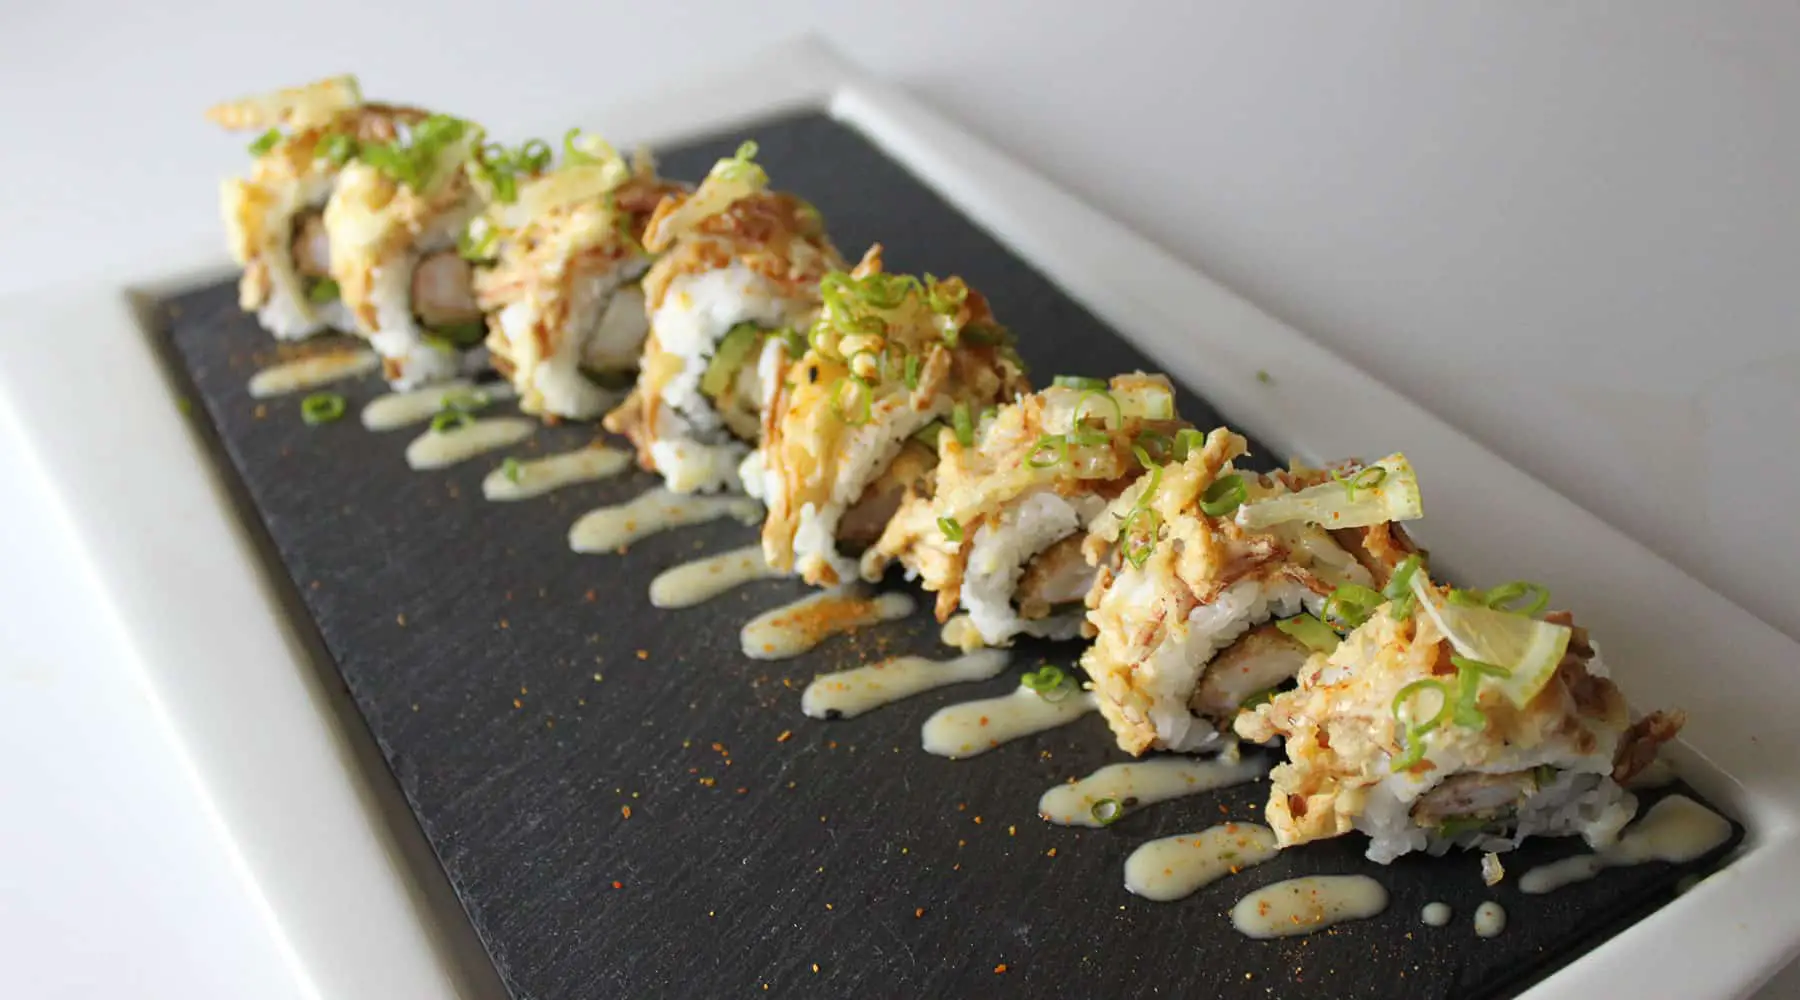
The Canyon Roll is a mouth watering, contemporary sushi recipe. This roll uses not only tempura fried ingredients, but also introduces baked ingredients as a topping as well!
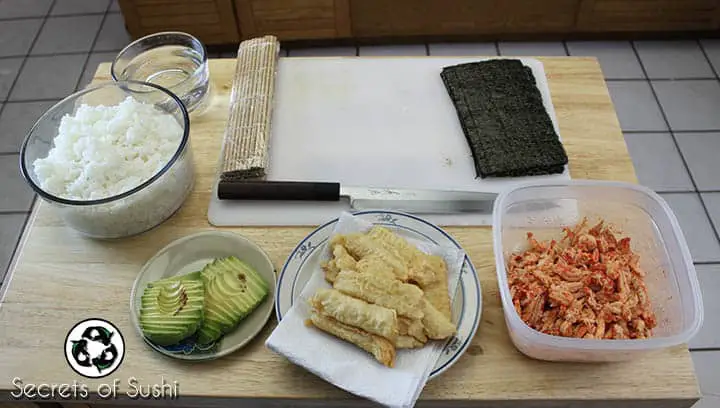
For this tutorial, you will need:
- 2 cups of Sushi Rice
- Half sheets of Nori
- 2-3 Squid Tubes (link available to the right)
- Crawfish Salad
- Spicy Mayo
- Eel Sauce
- Avocado
- Green Onions
- Kewpie Mayonnaise (link available to the right)
- Vegetable Oil
- Cast Iron Skillet or Deep Fryer
- Paper Towels
- Sharp Knife
- Cutting Board
- Chopsticks
- Makisu (bamboo rolling mat)
- Toaster Oven
- Aluminum Foil
This recipe will make 3 Canyon Rolls.
The first step is to prepare the squid:
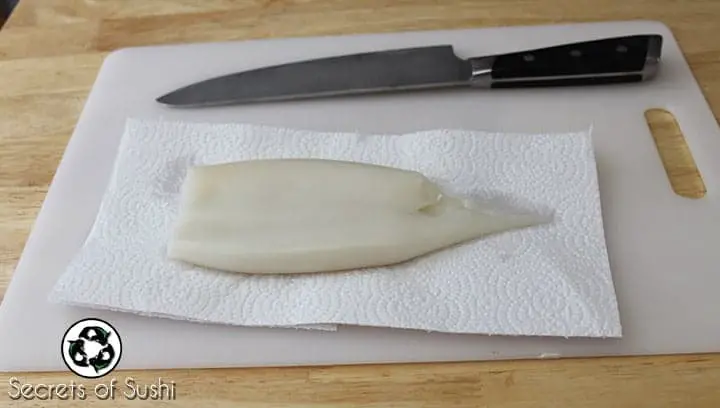
1. Remove the squid from it packaging and dry them on a few paper towels. You want to make sure you remove as much of the excess water as possible before frying them.
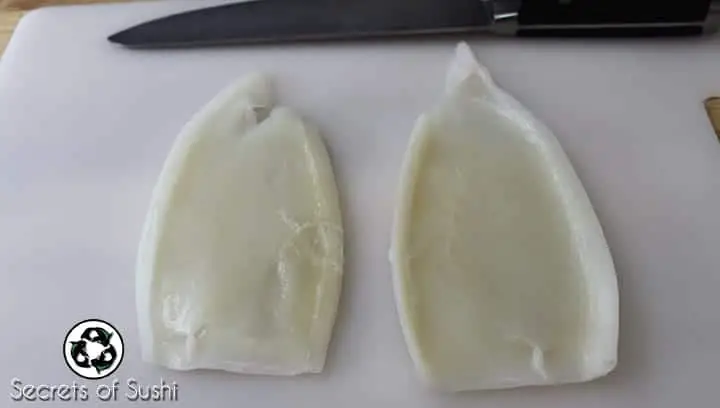
2. Carefully slide your knife inside the tube and slice it in half.
3. Using some additional paper towels, dry off the inside of the tubes as well.
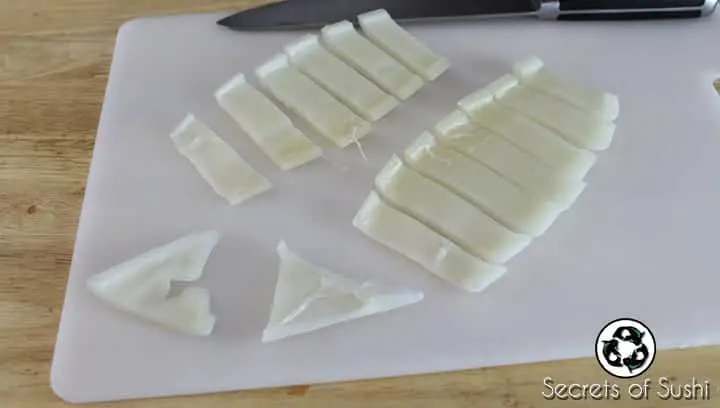
4. Slice each tube into 1cm – 3/4 in. slices.
I like to fry to triangular ends and eat them. Their shape doesn’t work well with sushi, but I try my best to avoid throwing away any food.
Preparing to Fry:
Next, we need to start heating our vegetable oil and preparing our tempura batter.
1. Put your cast iron skillet on the stove and pour oil into it until your pan has at least 2 inches of oil (5cm).
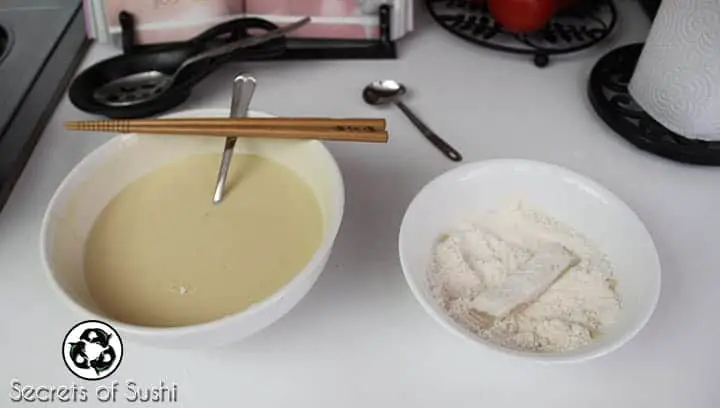
2. To make the tempura batter, add 1 egg, 1 cup of all-purpose flour, and 1 cup of ice cold water (or cold seltzer water) into a bowl and whisk together until all of the clumps have dissolved. It is very important to make sure that your tempura batter stays cold.
3. Fill a separate bowl with flour.
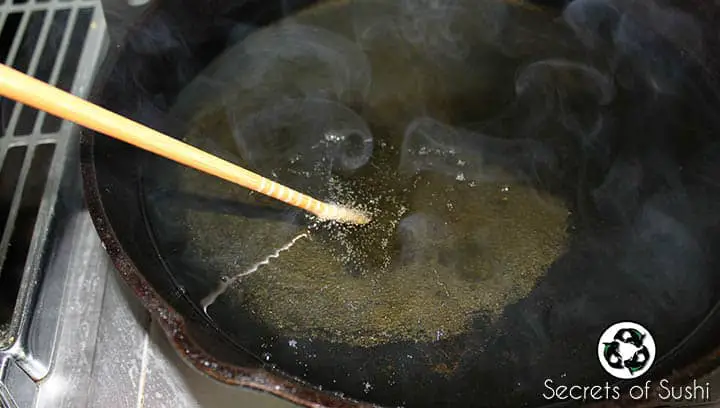
4. Once our oil is at a temperature of at least 375 degree Fahrenheit (190 degrees Celsius), we are ready to start frying! You can also check the approximate temperature by dipping a chopstick into the oil. If small bubbles appear around the chopstick, you know that your oil is hot enough to start frying.
Notice how there is smoke coming from the oil? This means that the oil is about to burn. If this happens, remove the oil from the heat until it stops smoking. Also, using ventilation is recommended so you don’t set off your fire alarm!
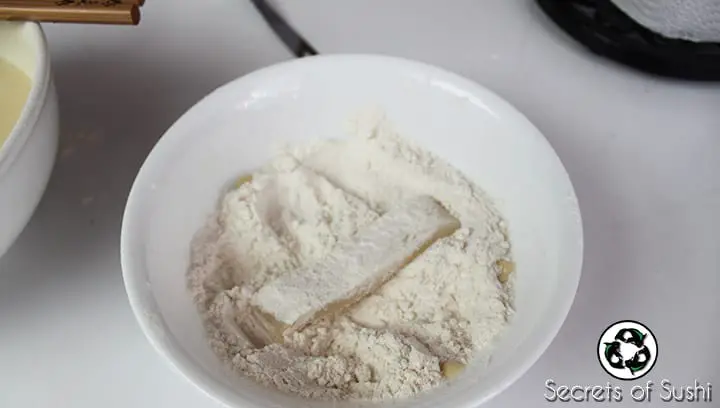
5. Dip your Ika (squid) into the bowl of flour and coat the entire surface. Be sure to shake off any excess flour.
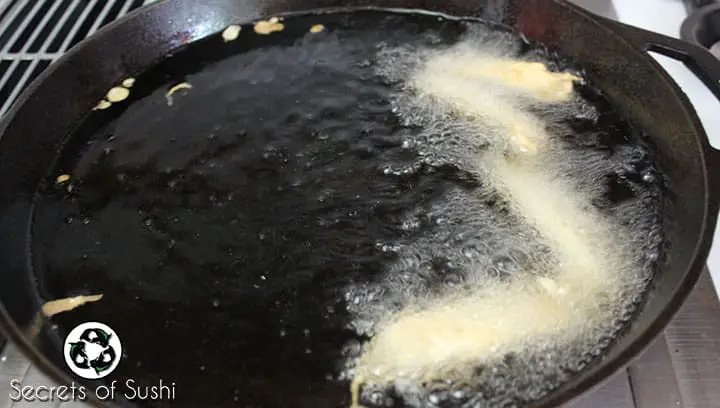
6. Next, dip it into the tempura batter and immediately place it into the oil. Be sure not to drop it into the oil, as you don’t want hot oil splashing around!
7. Repeat steps 5-6 until you have fried each piece of squid. Make sure that you only fry a few pieces at a time (filling your skillet/fryer with too many pieces will lower the temperature of the oil and make your pieces too soggy)
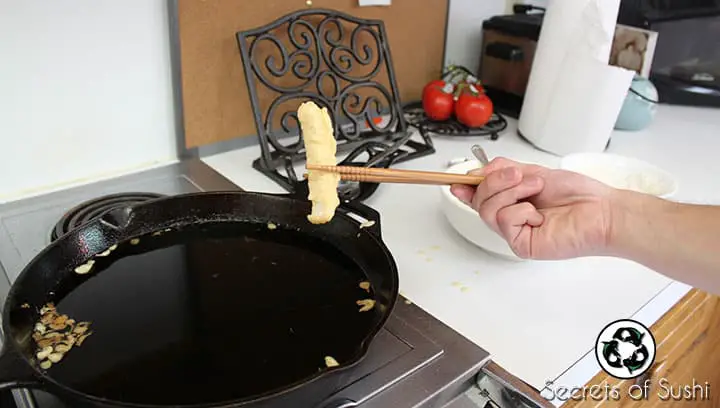
8. Once the pieces have turned a light, golden-brown, you can remove them from the oil using your chopsticks or a fryer net.
I like to remove the pieces while they are still light in color. As the pieces cool down, they will turn a darker golden-brown.
Preparing Additional Ingredients
Once you have fried your Ika tempura, you can prepare the rest of your ingredients. To keep this tutorial from being too long, I will refer you to a few other tutorials to make the other ingredients:
- Spicy Mayo
- Eel Sauce
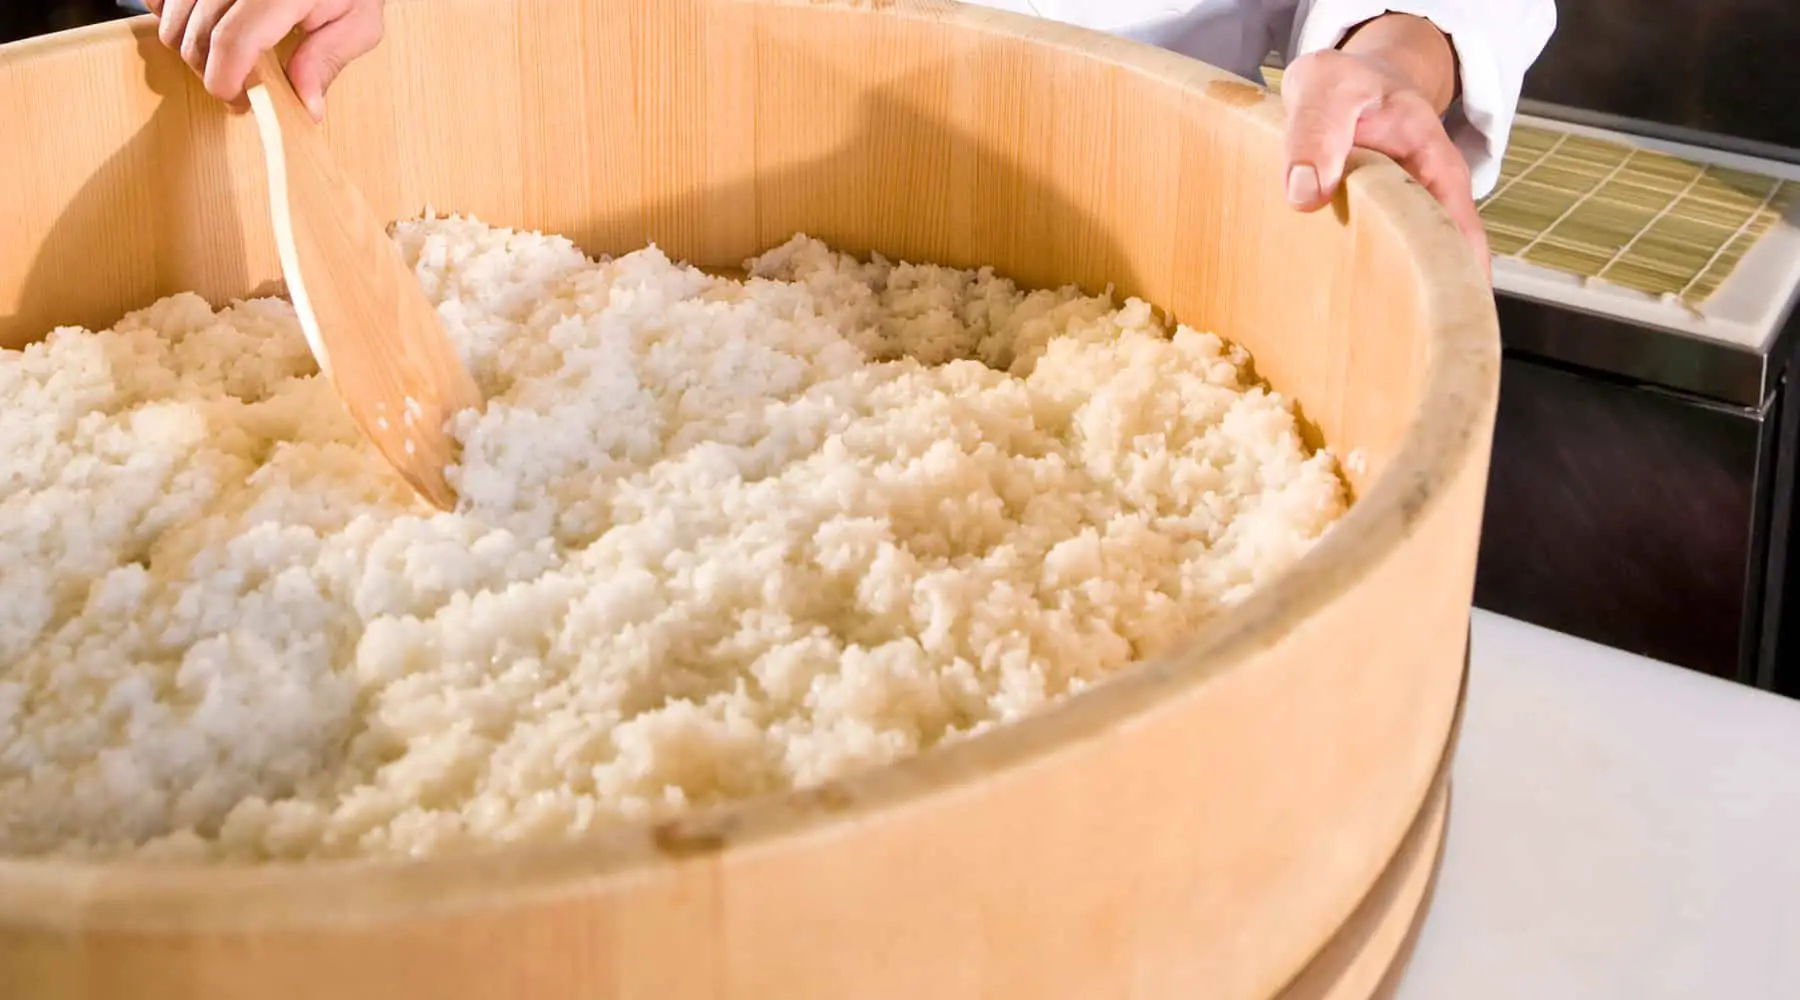
- Sushi Rice
- Crawfish Salad
- Futomaki Roll (this is to show you how to cut avocados)
Once you have all of your ingredients ready, it’s time to make a Canyon Roll!
Time to Roll
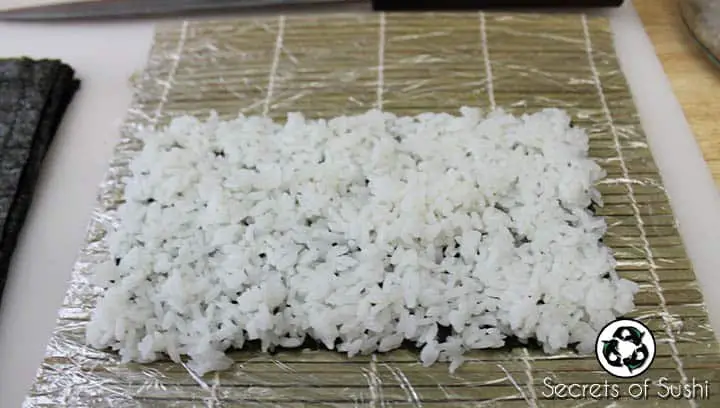
1. Apply a tennis-ball sized amount of sushi rice to the rough side of a half sheet of nori. I always do this on top of my wrapped makisu so I don’t have to move it around too much.
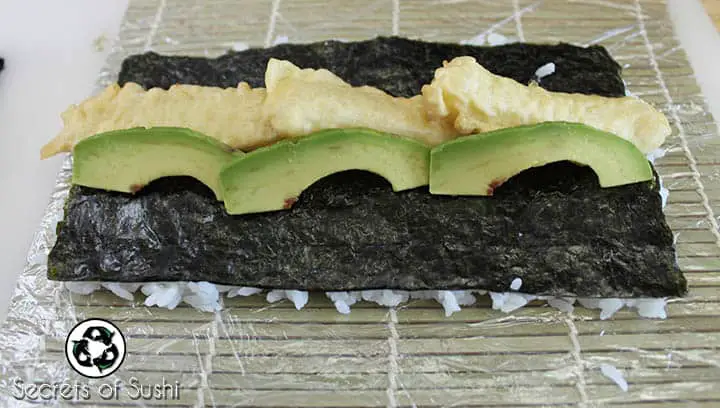
2. Flip your rice mat (as we so fondly refer to it in the sushi industry) and add your ingredients. In this case, add 2-3 pieces of Ika tempura and about 3 pieces of avocado. It is very important to have consistency with your ingredients when rolling sushi.
Placing the avocado pieces on the side closest to you will ensure that they don’t get smashed during the rolling process. Its not necessary to do, but I find that it’s good practice and makes rolling a bit easier.
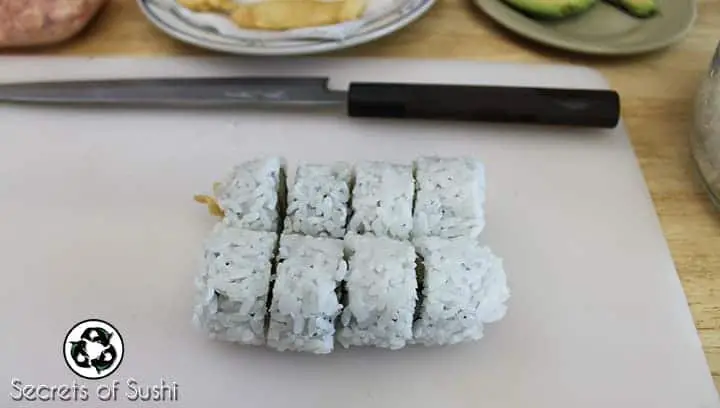
3. Roll your ingredients and cut the roll into 8, even pieces. For more information on how to do this, please visit my page on How to Roll Sushi.
While the ingredients inside the roll are very simple, the real allure of the Canyon Roll comes from the use of baked toppings.
4. Grab a plate and place each piece of sushi on it’s end, in a circular or flower pattern.
Making Baked Crawfish for the Canyon Roll
Now we need to prepare our baked crawfish. Baked ingredients are fairly rare in the sushi industry, but the Canyon Roll is a great example of how you can utilize multiple culinary techniques to create truly contemporary sushi!
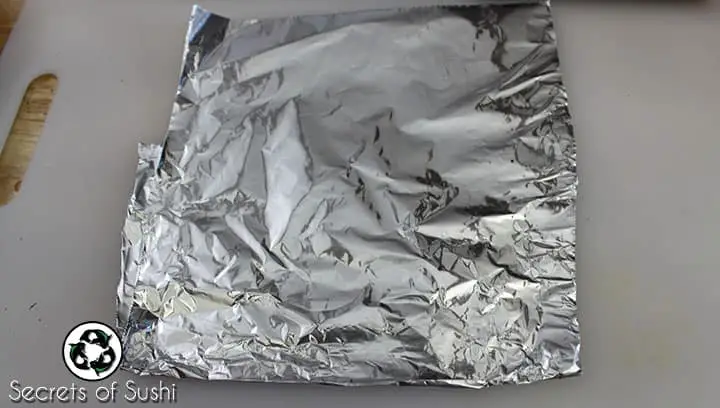
1. Take a piece of aluminum foil (approx. 7in or 18cm) and fold it over until it roughly makes a square. You don’t need to be precise about this part.
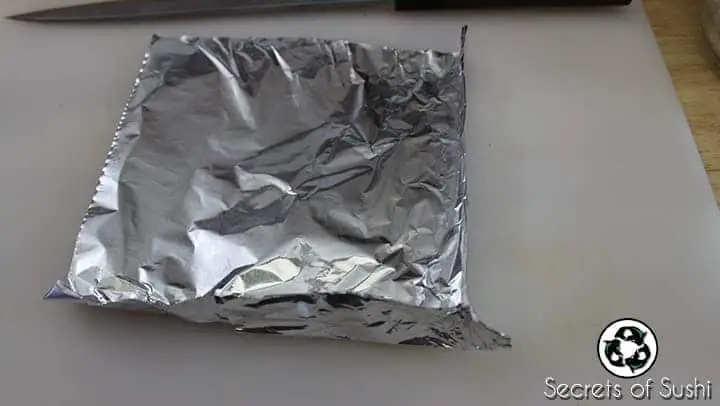
2. Fold one side up about an inch (2.5cm). The fold should make a 90 degree angle.
3. Fold a side adjacent to the first in the same fashion. Now you should have a corner that look similar to this:
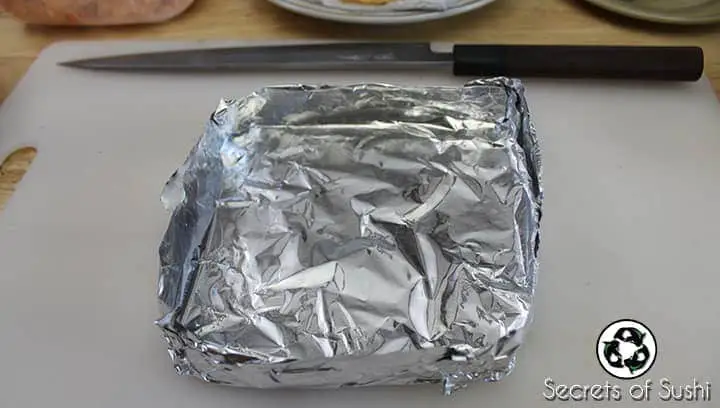
4. Repeat step 3 until you fold all 4 sides. The objective is to make sure that we prevent any liquid from leaking while the crawfish is baking.
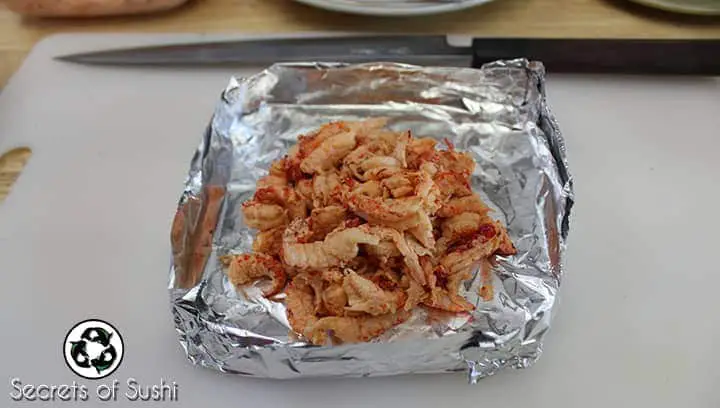
5. Now place a small portion of your crawfish salad into your folded aluminum. This amount doesn’t have to be precise, but we want to have enough to cover the top of your sushi roll.
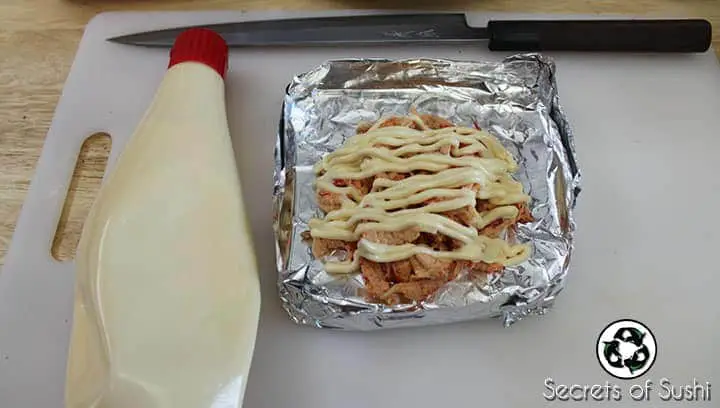
6. Add Kewpie mayonnaise so that it covers the majority of the surface – try not to overlap the mayonnaise too much.
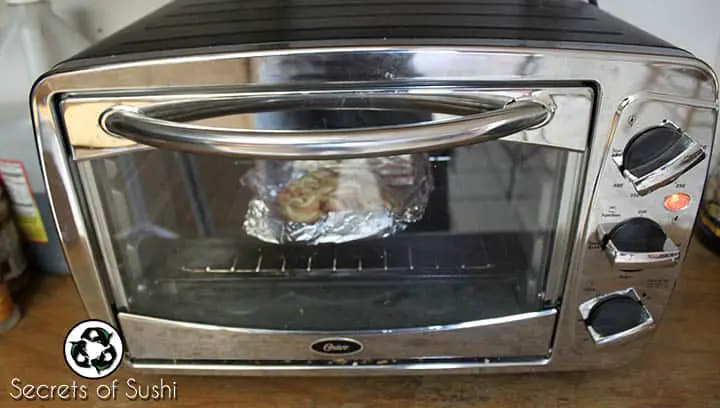
7. Now place your crawfish into the toaster oven at a temperature of 350-400 degrees Fahrenheit for about 7 minutes (or until the mayonnaise turns golden-brown).
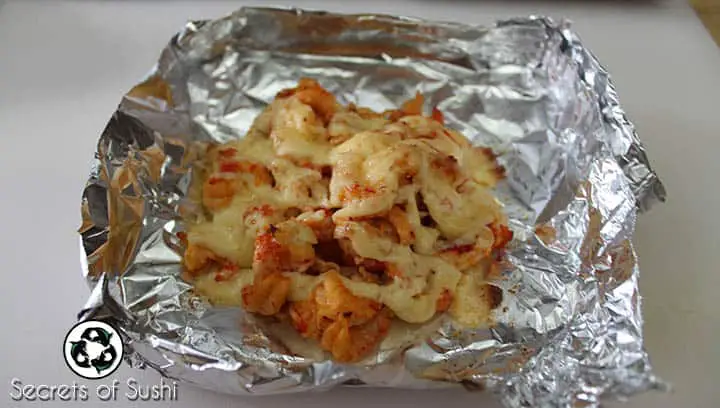
8. Once the mayo has “caramelized” or turned golden-brown, it’s ready to be removed. Carefully grab the aluminum foil by the corner tabs to remove it from the oven. Be careful not to burn yourself!
9. Carefully unfold the aluminum foil so that it’s flat and gently pour any remaining liquid out.
10. Place the foil onto your sushi roll. After dipping your fingers into your bowl of water, use that hand to prevent the crawfish from sliding while sliding the foil out with the other hand.
11. Finally, add your Eel Sauce, Spicy Mayo and sprinkle some finely chopped green onions. Enjoy!
Feel free to leave me your feedback on the Canyon Roll in the comments section below.

