Wasabi
What is Wasabi?
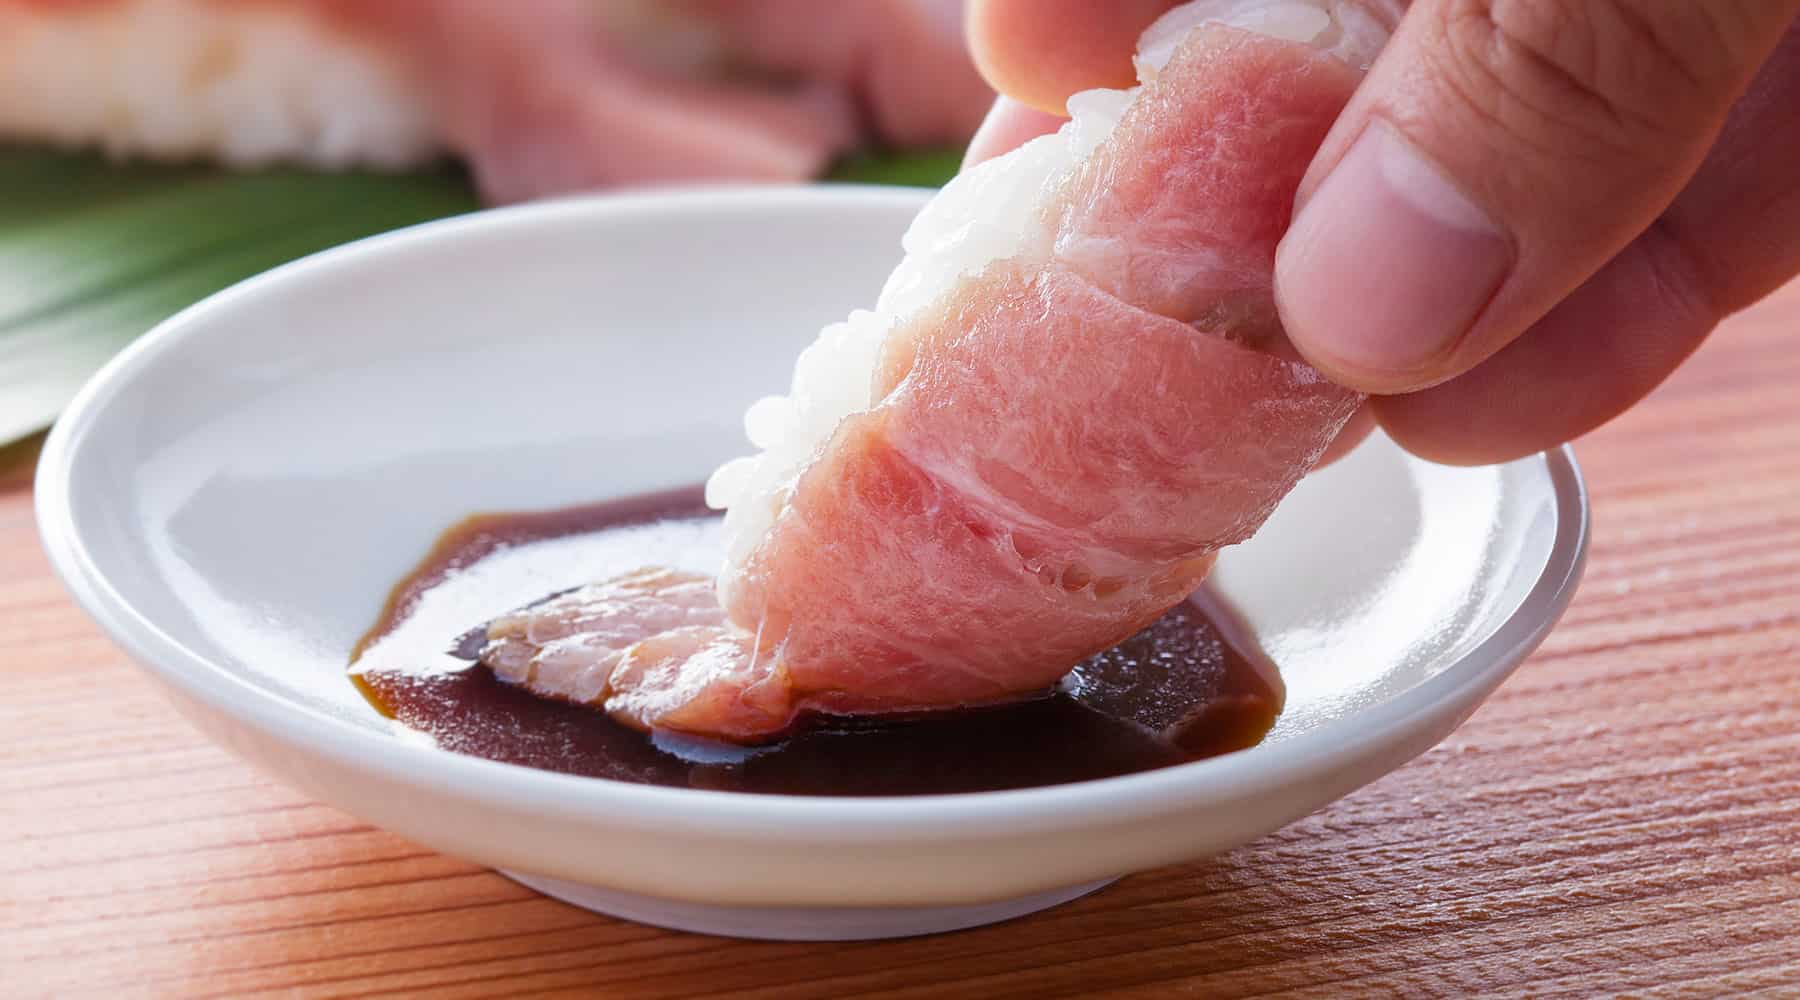
The tiny ball of green paste on your plate of sushi is, unfortunately, not authentic wasabi. It’s actually a mixture of horseradish, mustard powder, and green food coloring.
Unless you absolutely must try authentic wasabi (and I do recommend trying it!), the horseradish and mustard substitute works just as well. You can find premixed powder in most Asian supermarkets for a good price and it only takes a minute to make it!
Make Your Own
- Open your container of powder and measure out your desired amount.
- Add the powder to a zip-locked bag and add a little bit of water.
- Make sure your bag has a small opening for air to escape, mix until you have a clay-like consistency.
- Allow at least one hour to set and then serve and enjoy!
*There is no exact measurement of how much water you should use. Some sushi bars prefer it softer (in which case they use more water), whereas other bars use a firm ball (less water). It is your personal preference on which one you make.
WARNING- Wasabi is corrosive to your skin. It is also known to release painful vapors. Please wear gloves.
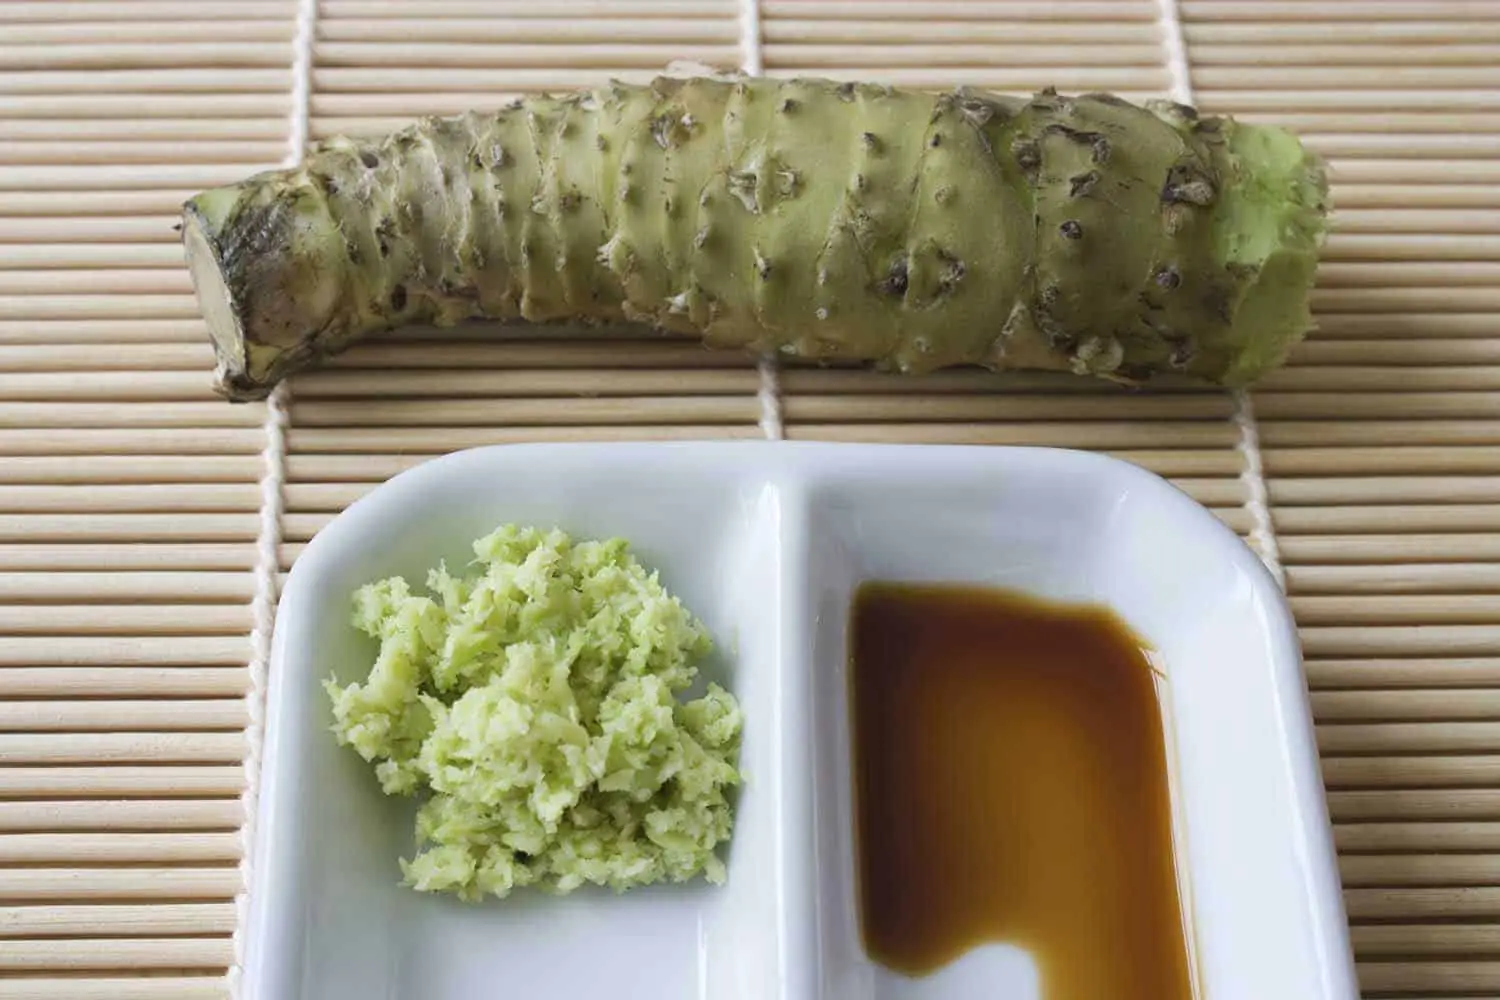
Why isn't real wasabi used in sushi restaurants?
There are several factors that have led to the fall of using real wasabi.
- Price – Wasabi rhizomes (the stem of the plant that is underwater) cost $200 per kilogram, on average.
- Availability – There aren’t very many wasabi farmers anymore and wasabi is very difficult to grow. Wasabi grows naturally in riverbanks, so the plant needs constantly flowing water to grow properly!
- Science – Real wasabi loses its flavor too quickly (typically within 15 min).
Real wasabi is made from grating a rhizome against dried shark skin. Once grated, the plant’s volatile sulfur compound allyl isothiocyanate (AITC)—which gives the paste its signature bold kick.
The formation of AITC is triggered immediately upon grating the wasabi root very finely before a pungent compound present in wasabi (known as sinigrin) reacts with the enzyme myrosinase, Comprehensive Natural Products II states.
Wasabi Garnish
Rose leaf garnish
The best part about wasabi is that it’s malleable. You can make it any consistency you want!
A firm, almost play-doh, consistency is ideal for sculpting as a way of garnishing. I love to sculpt rose leaves in this fashion.
Here’s how:
- I take a gumball-sized amount and roll it around my hands until it makes a smooth ball.
- With moist hands, I slightly cup my left hand while pressing the ball into it.
- Mold the ball into the desired shape, in this case, the profile of a rose leaf.
- Using the back of my knife, I press the knife down the middle of the leaf and then add accent marks.
- Place the leaf with some nicely decorated ginger or a strawberry rose and enjoy!
The directions may seem hard to understand, at first, but once you watch the video I believe it will make much more sense.
Rose Garnish
If you want to make the softer version, add more water and mix it thoroughly with a spoon or fork. I learned this next trick from a friend of mine in culinary school:
**This next portion will require some additional equipment**
This is a simple cake decorating bag and tips. I bought this at a local hobby store (like Michael’s or Hobby Lobby) for under $10.
You can choose any size bag, so long as you get corresponding sized tips. The tips are personal preference.
Here’s what you will need:
- Cake decorating bag and tips
- Wasabi powder
- Clean surface
- Knife
- Rubber band
- Wash and rinse out the bag and tips before use.
- Slide the desired tip into the inside of the bag.
- Add watered-down wasabi to the bag and twist the top of the bag.
- Secure the top with a rubber band.
- Now, do a few test runs by squeezing the bag and learning how your desired tip performs.
- Using a medium bag and “pedal” tip, squeeze a small glob onto the middle of your surface.
- Start moving the bag, while squeezing slowly, in a clockwise fashion around the center glob.
- For this tutorial, I am making a rose. To do this, make small triangle motions around the center glob while you’re moving the bag.
- Once you’ve got the size of flower you want, use your knife to scrape off the rose and add it to a plate.
If you have any prior experience with decorative icing, like icing a cake, then this will feel much more natural to you. The more practice you have, the better your garnishes will look! Don’t be afraid to experiment and get creative with it!
I would love to see your own garnishes on my Facebook page!


