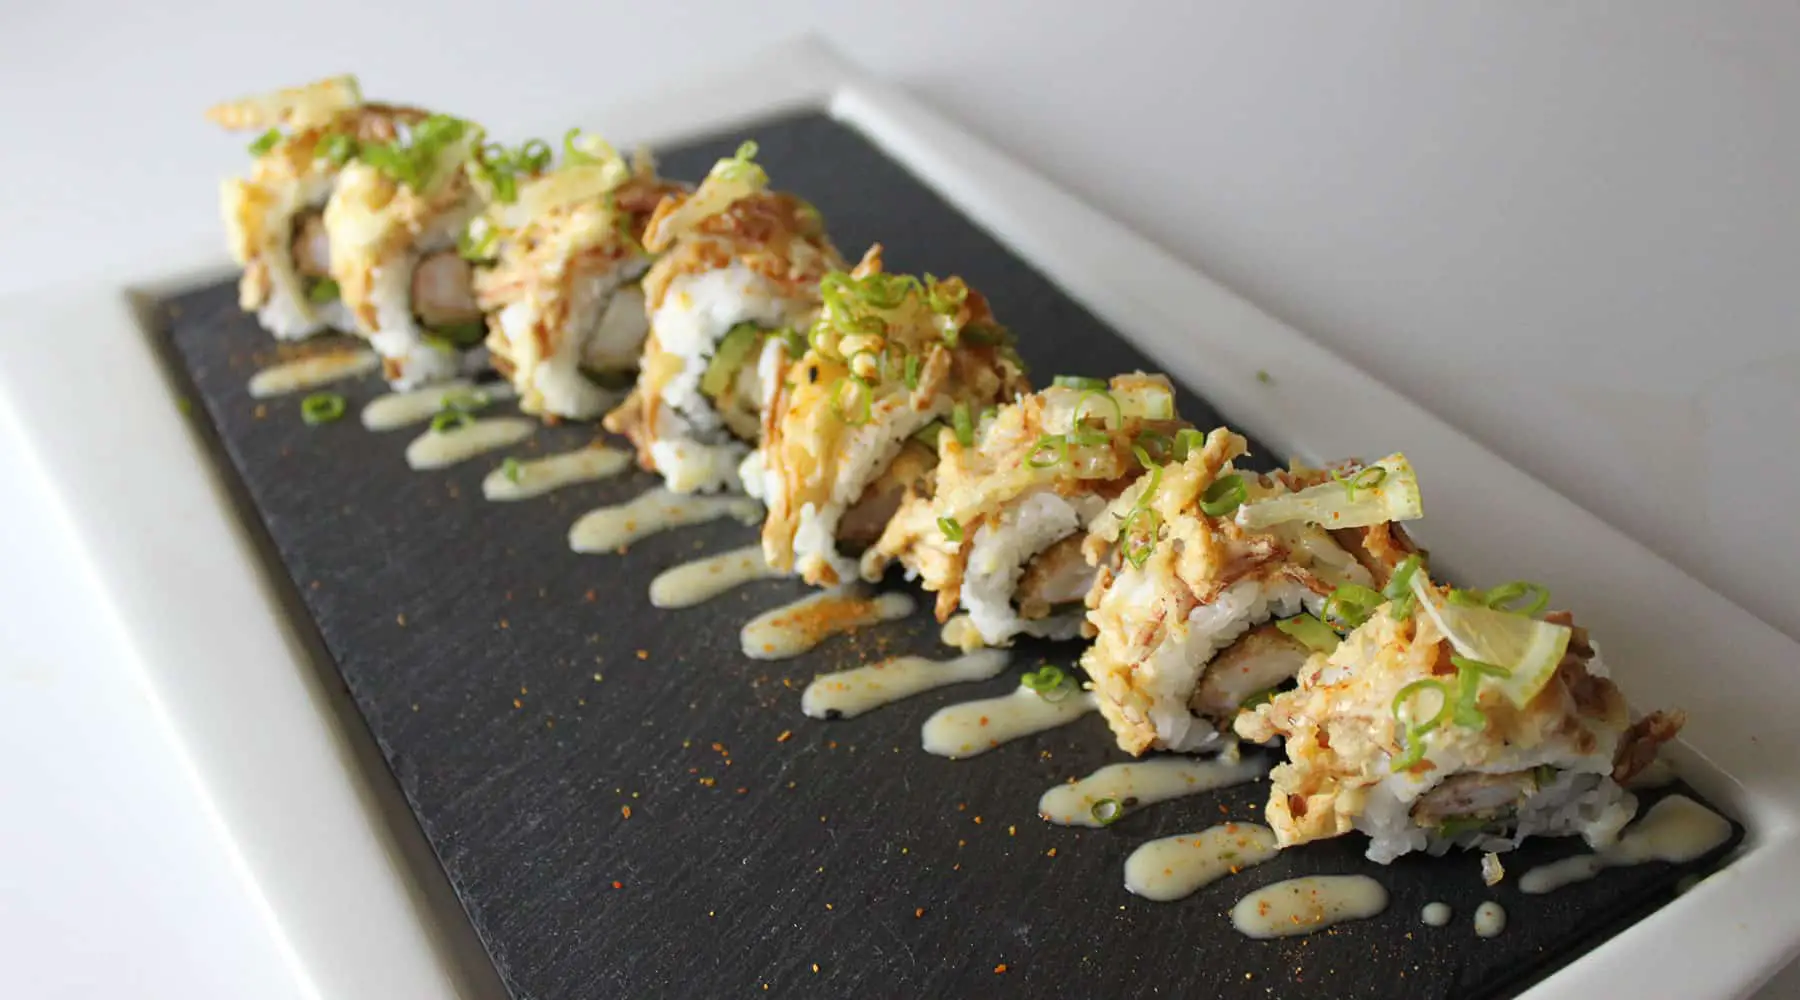
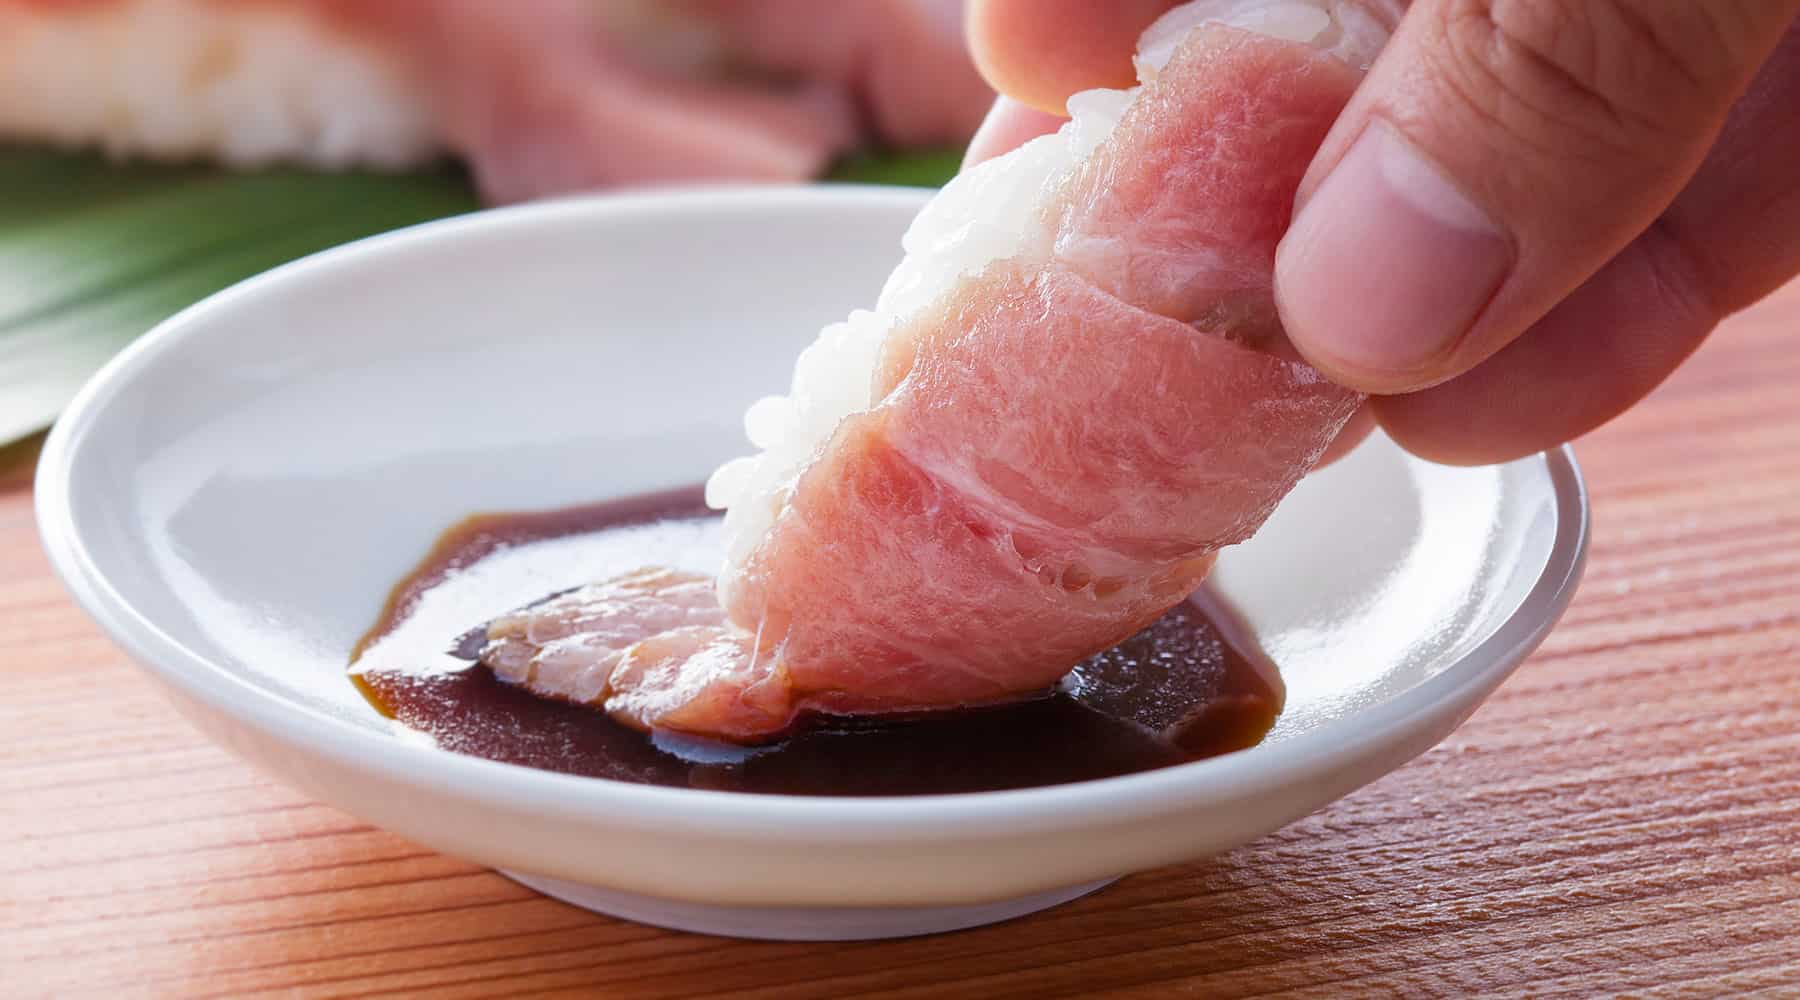
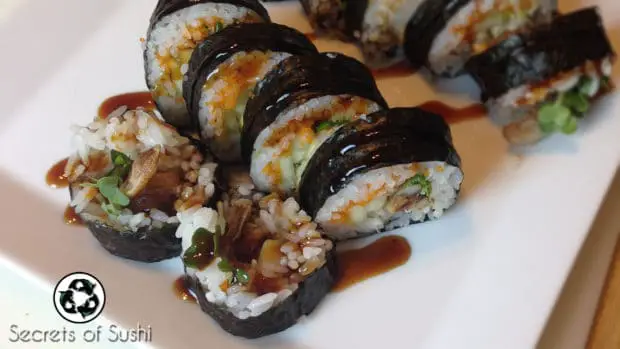
The Spider Roll is a sushi recipe that really shows off how to tempura fry soft shell crab. This roll is simple to make, beautiful to look at, and delicious to eat! You can also top the roll with Eel Sauce, but that’s optional.
It’s iconic appearance makes it a crowd favorite at sushi restaurants all across the United States and a commonly requested roll for people making sushi at home.
It’s important to mention that the soft shell crabs that I use in this article/video have already had the gills and apron removed.
For this tutorial, you will need:
- 2 soft shell crabs
- Kaiware (Radish Sprouts)
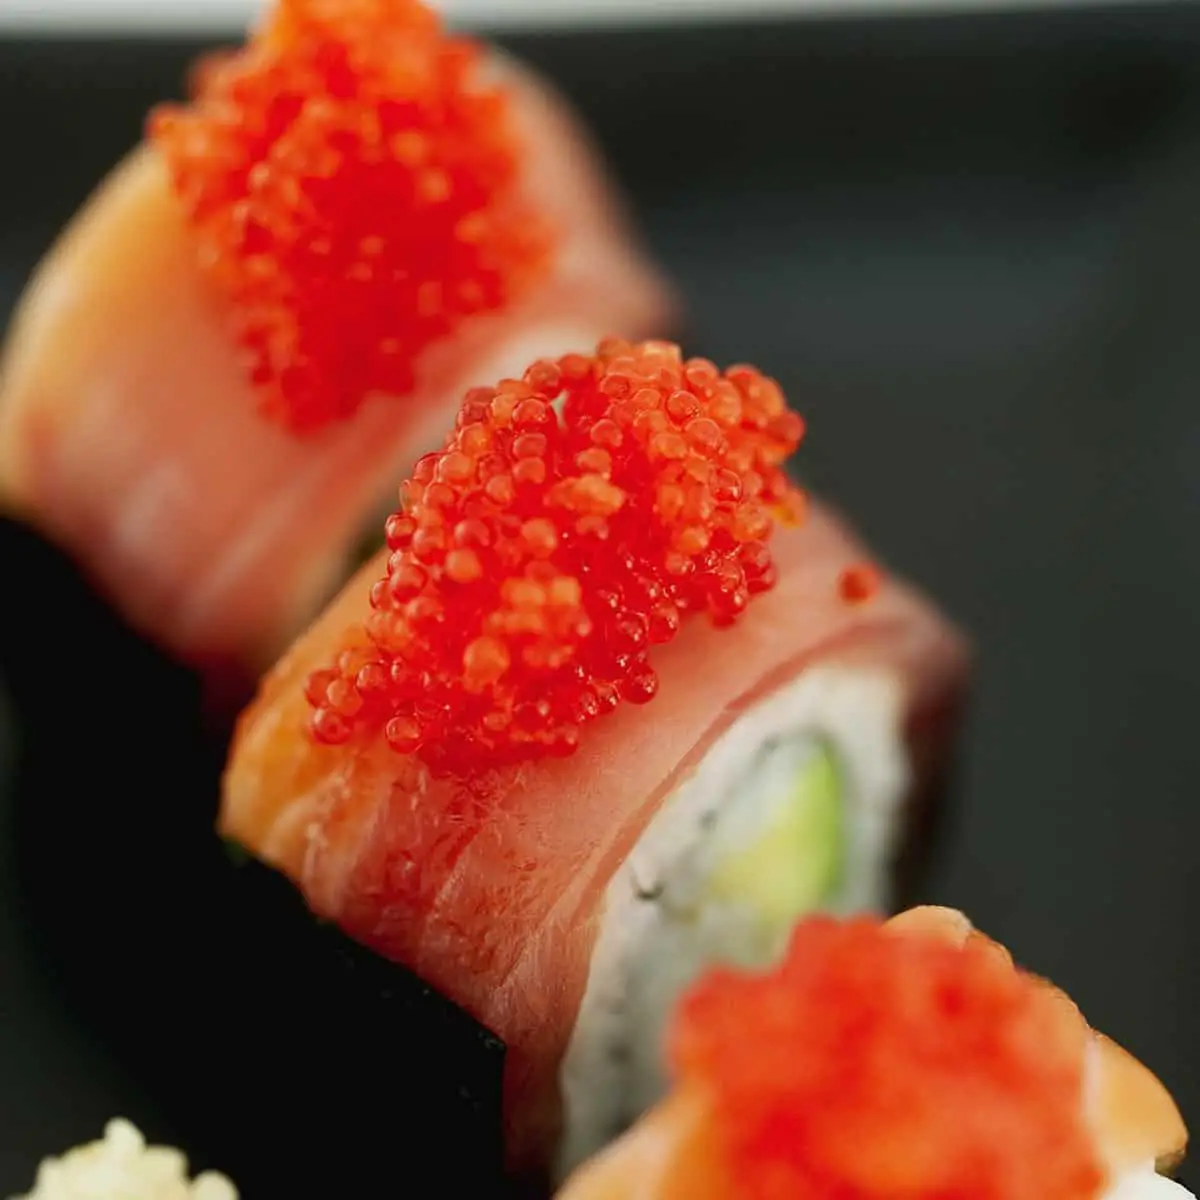
- Masago
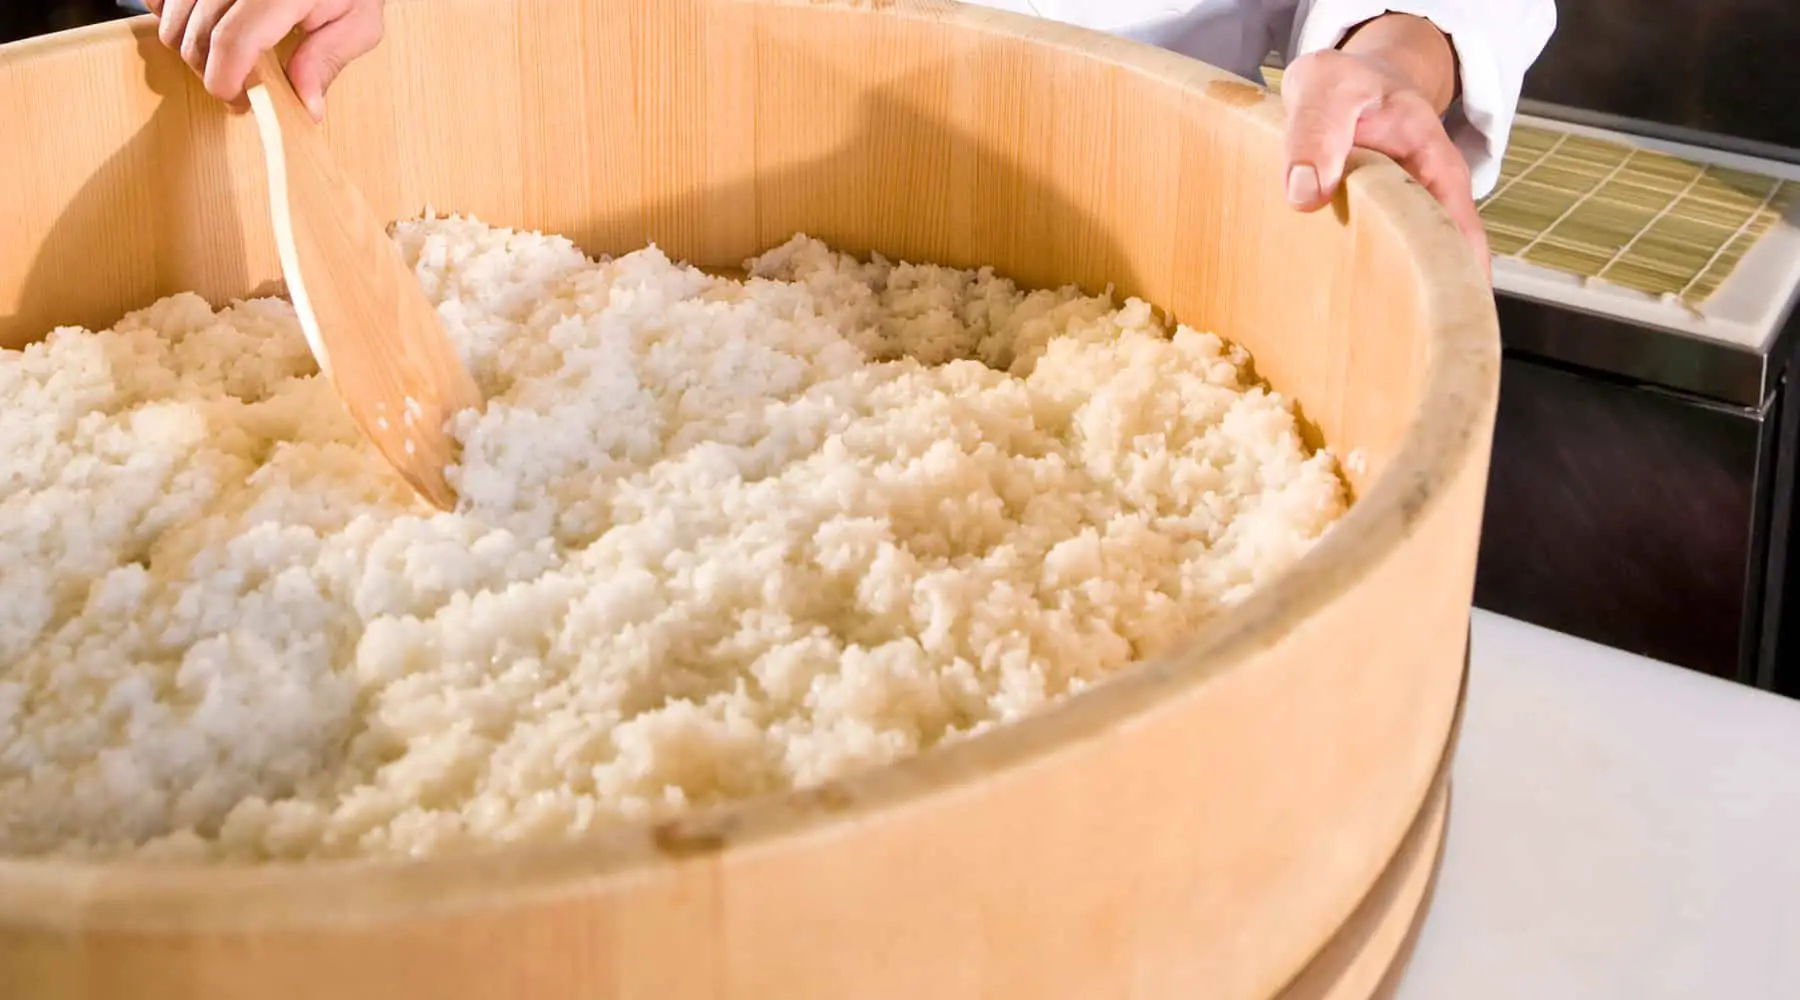
- 2 cups of Sushi Rice
- 2 sheets of half-cut Nori
- Eel Sauce
- Sliced Cucumber
- Flour
- A deep pot for frying
- Vegetable oil
- Paper towels
- Splash screen
- Tongs
- Cellophane wrapped makisu (bamboo mat)
- Tezu (hand water)
- A sharp Knife (I recommend a yangiba)
This recipe makes 2 Spider Rolls.
How to Fry Soft Shell Crabs
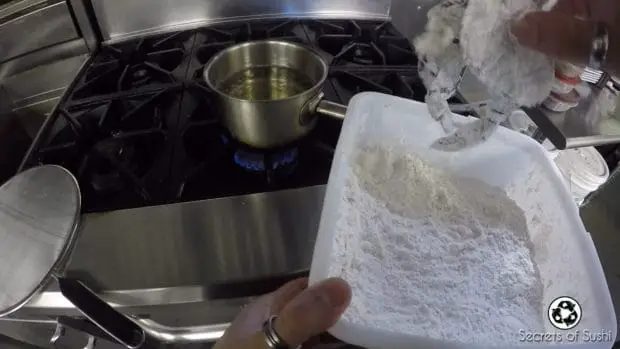
1. Start by pre-heating your pot of fryer oil to 350 degrees Fahrenheit. I like to use peanut oil for frying food because it has a high smoking point, but you can use vegetable oil if you’d like. Just be sure not to use canola oil because it’s extremely harmful to our forests!
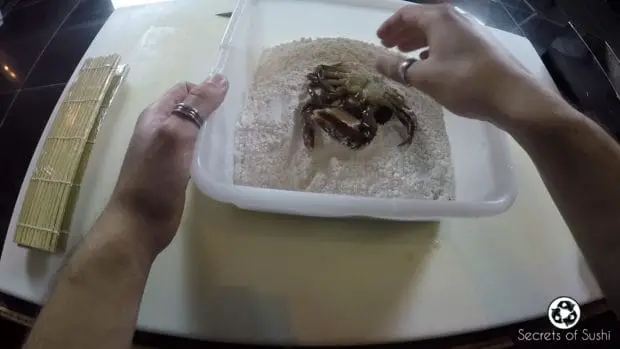
2. Open your soft shell crab and pat it dry with a paper towel. Place your crab onto a plate or container of flour and lightly coat the crab with flour on all sides.
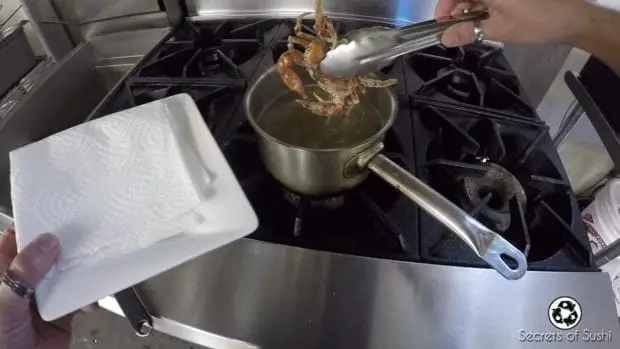
3. Once your oil has reached the appropriate temperature, you can gently set the soft shell crab into the oil and place a splash screen on top of the pot. The splash screen is important to use because the soft shell crab contains a lot of water and the water will make the oil pop!
4. After the crab has been frying for 3-5 minutes, you can remove the screen and take out the crab using a pair of tongs. The crab should be firm, but still squish a little bit when you squeeze it with the tongs.
Rest the soft shell crab on a plate with a paper towel to catch excess oil. Let the crab rest for 5 minutes before rolling.
How to Make the Spider Roll
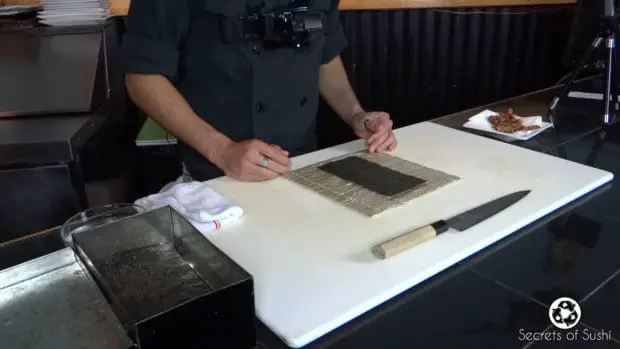
1. Set up your rolling station with a cutting board, nori, tezu, and makisu. Set your makisu on the cutting board and placing one sheet of nori on the bamboo rolling mat in a vertical orientation.
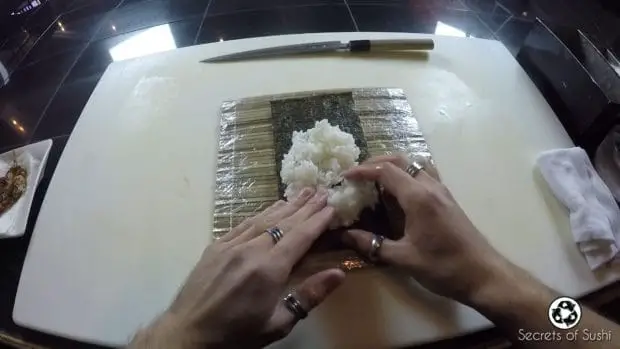
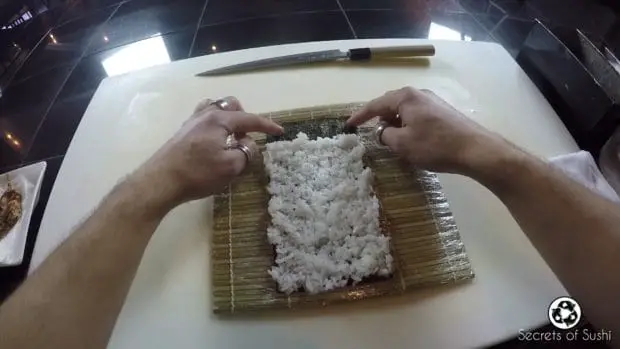
2. Grab a handful of rice and start rolling it out to the bottom three edges – leaving about 2cm of the top exposed. Make sure you are gentle with the rice! You don’t want to smash any of the rice grains by pressing down too hard.
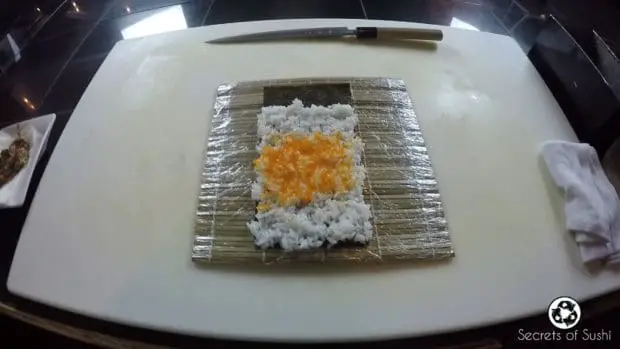
3. Apply the masago by grabbing a gum-ball-sized amount and rubbing it onto the rice:
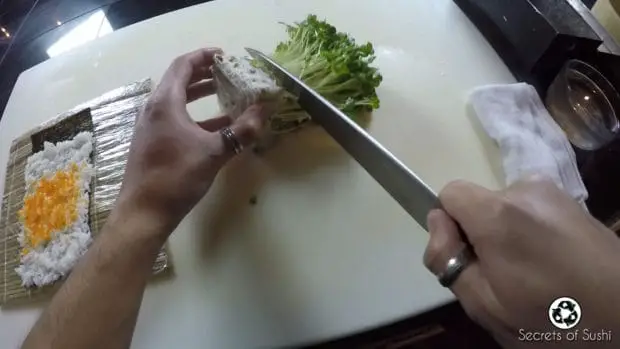
4. Next, remove your kaiware (radish sprouts) and cut off the bottom of the sprouts.
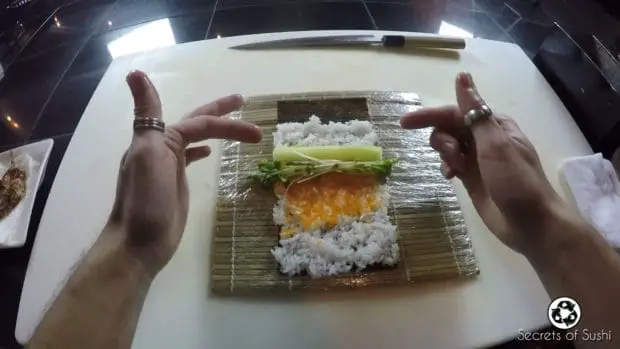
5. Grab a small bundle, no larger in diameter than 1 cm, and place it on the center of the rice along with two slices of cucumber:
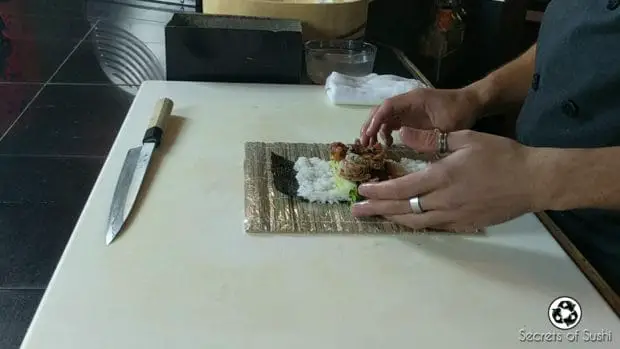
6. Place your fried soft shell crab on top of the other ingredients, on the side closest to you.
Rolling the Spider Roll
1. Place your thumbs under the bamboo rolling mat and use your remaining four fingers on each hand to hold the ingredients in place.
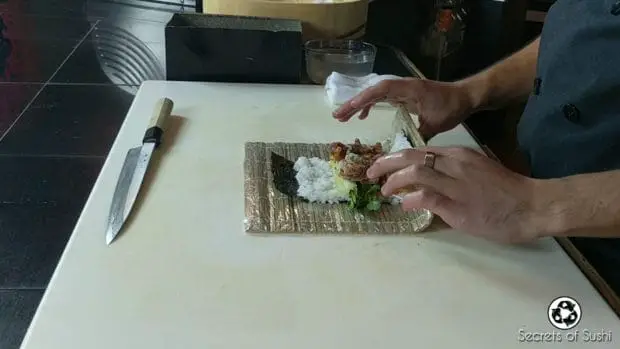
2. Curl your thumbs up and over the ingredient until the bottom edge of the rice and nori meet the exposed rice on the other side of the ingredients:
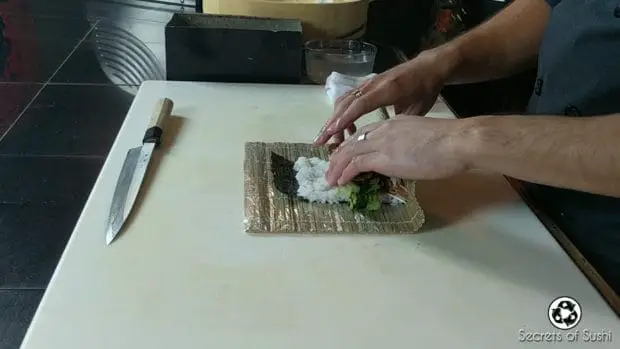
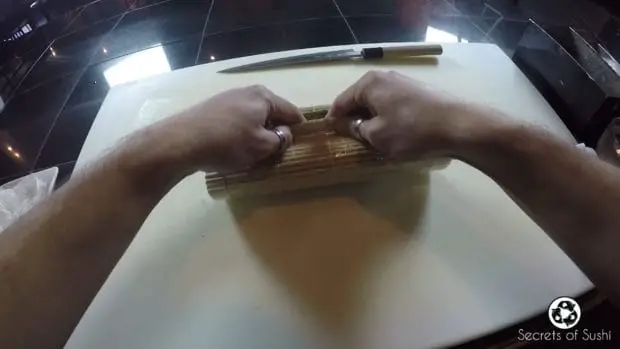
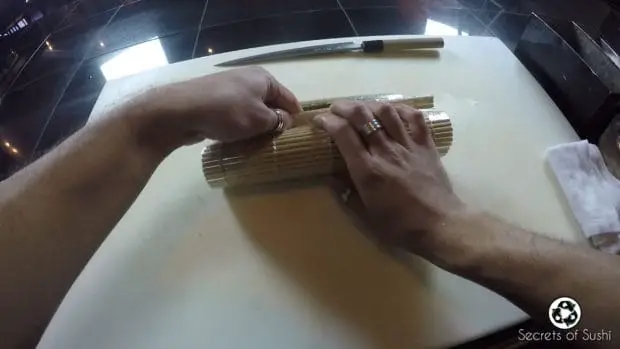
3. Once you have reached the other side, squeeze back towards your stomach firmly until the exposed nori is vertical.
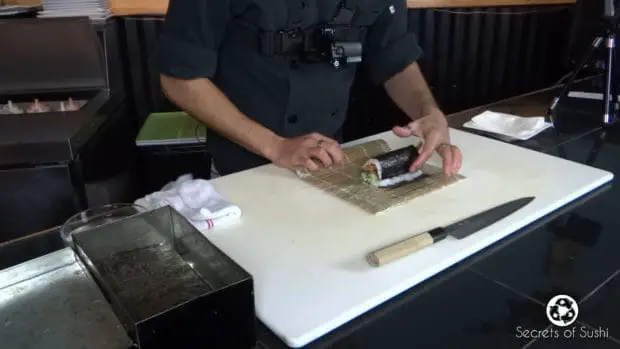
4. Now place a few grains of rice onto the part of the nori that doesn’t have any rice on it. Use your thumb to smash the grains of rice into rice paste!
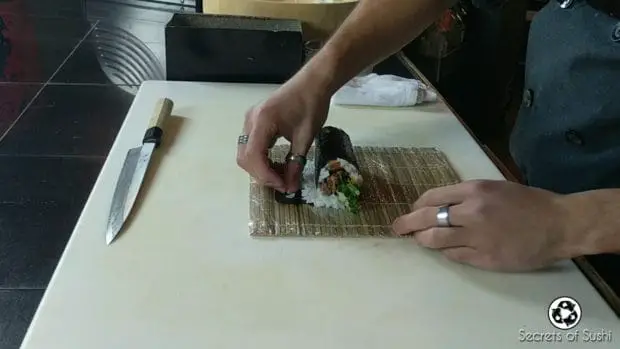
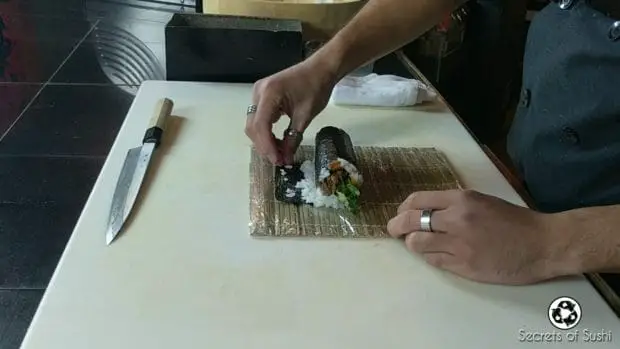
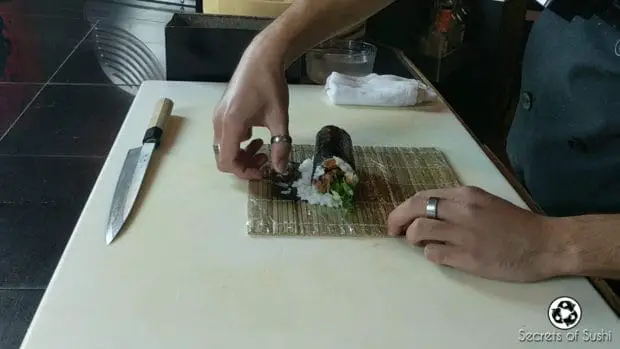
5. Once all of the grains of rice have been smashed into rice paste, you can finish the rolling process. To do this, continue rolling the makisu and spider roll forward until you reach the end of the mat.
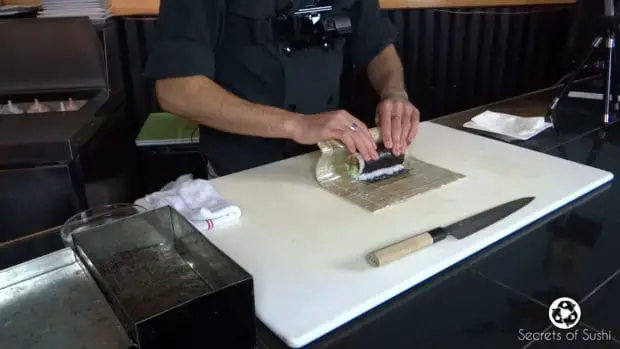
6. Once you finish rolling the whole roll forward, you can gently press down on the top of the roll – keeping the top of the makisu rounded as you press down.
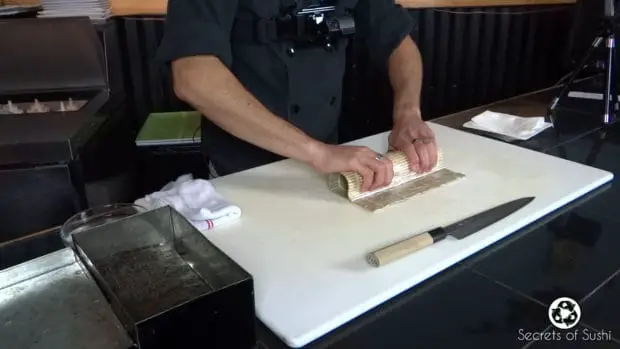
Slicing the Spider Roll
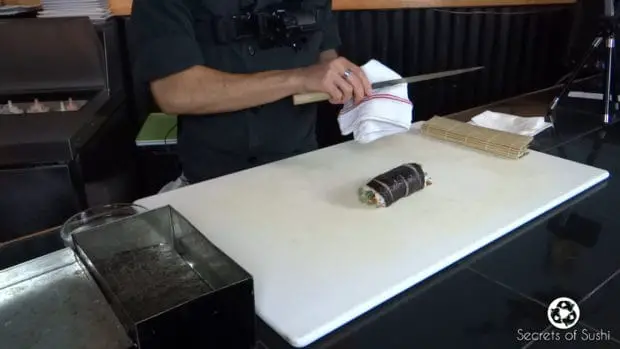
Now that you have successfully rolled the Spider Roll, it’s time to slice it! Remove the roll from the makisu and set it onto the cutting board. Set the makisu off to the side.
Since this roll is so short, you will need to slice it into 6 pieces instead of 8 pieces.
1. Start by slicing the roll in half with your sharp knife (I recommend using a yanagiba).
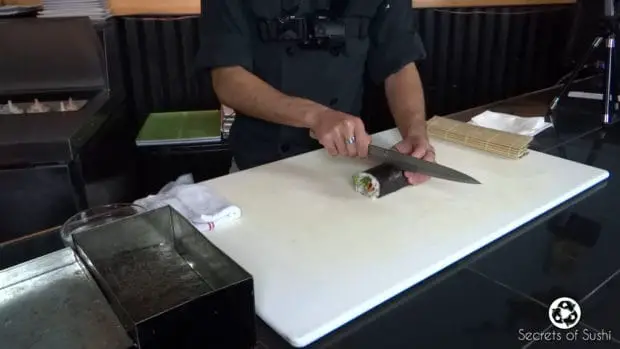
2. Wipe your knife off with a damp cloth and slice each half of your roll into thirds:
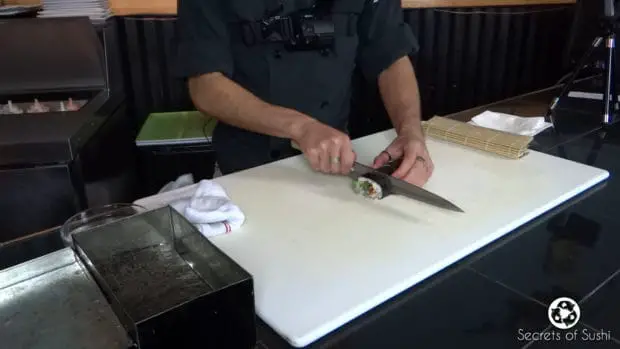
3. Repeat the previous step for the other side so that you have 6 pieces total. Be sure to wipe off your knife between each slice and after you’re done slicing the roll!
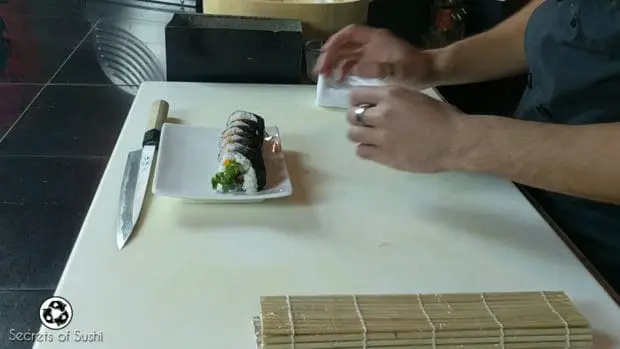
4. Rotate each piece diagonally by approximately 45 degrees and place the roll onto a plate:
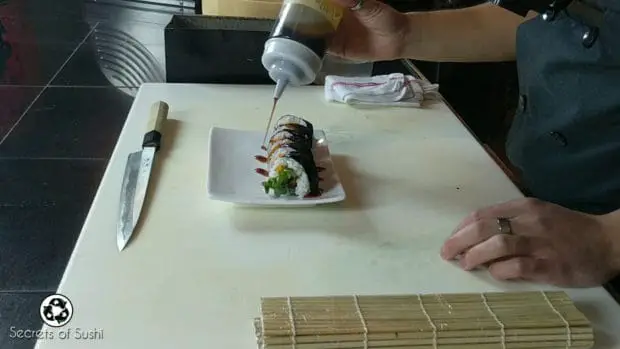
5. *Optional Step* You may then top the roll with some Eel Sauce and garnish it with wasabi & ginger!
I hope you enjoyed this article! For more information on how to roll a spider roll, please watch my YouTube video on the top of this page.
Be sure to subscribe to my email newsletter for weekly information, tips, and tricks on how to make sushi at home! You can also subscribe to my YouTube channel for more sushi videos.
Best Fishes,
Bryan Sekine


