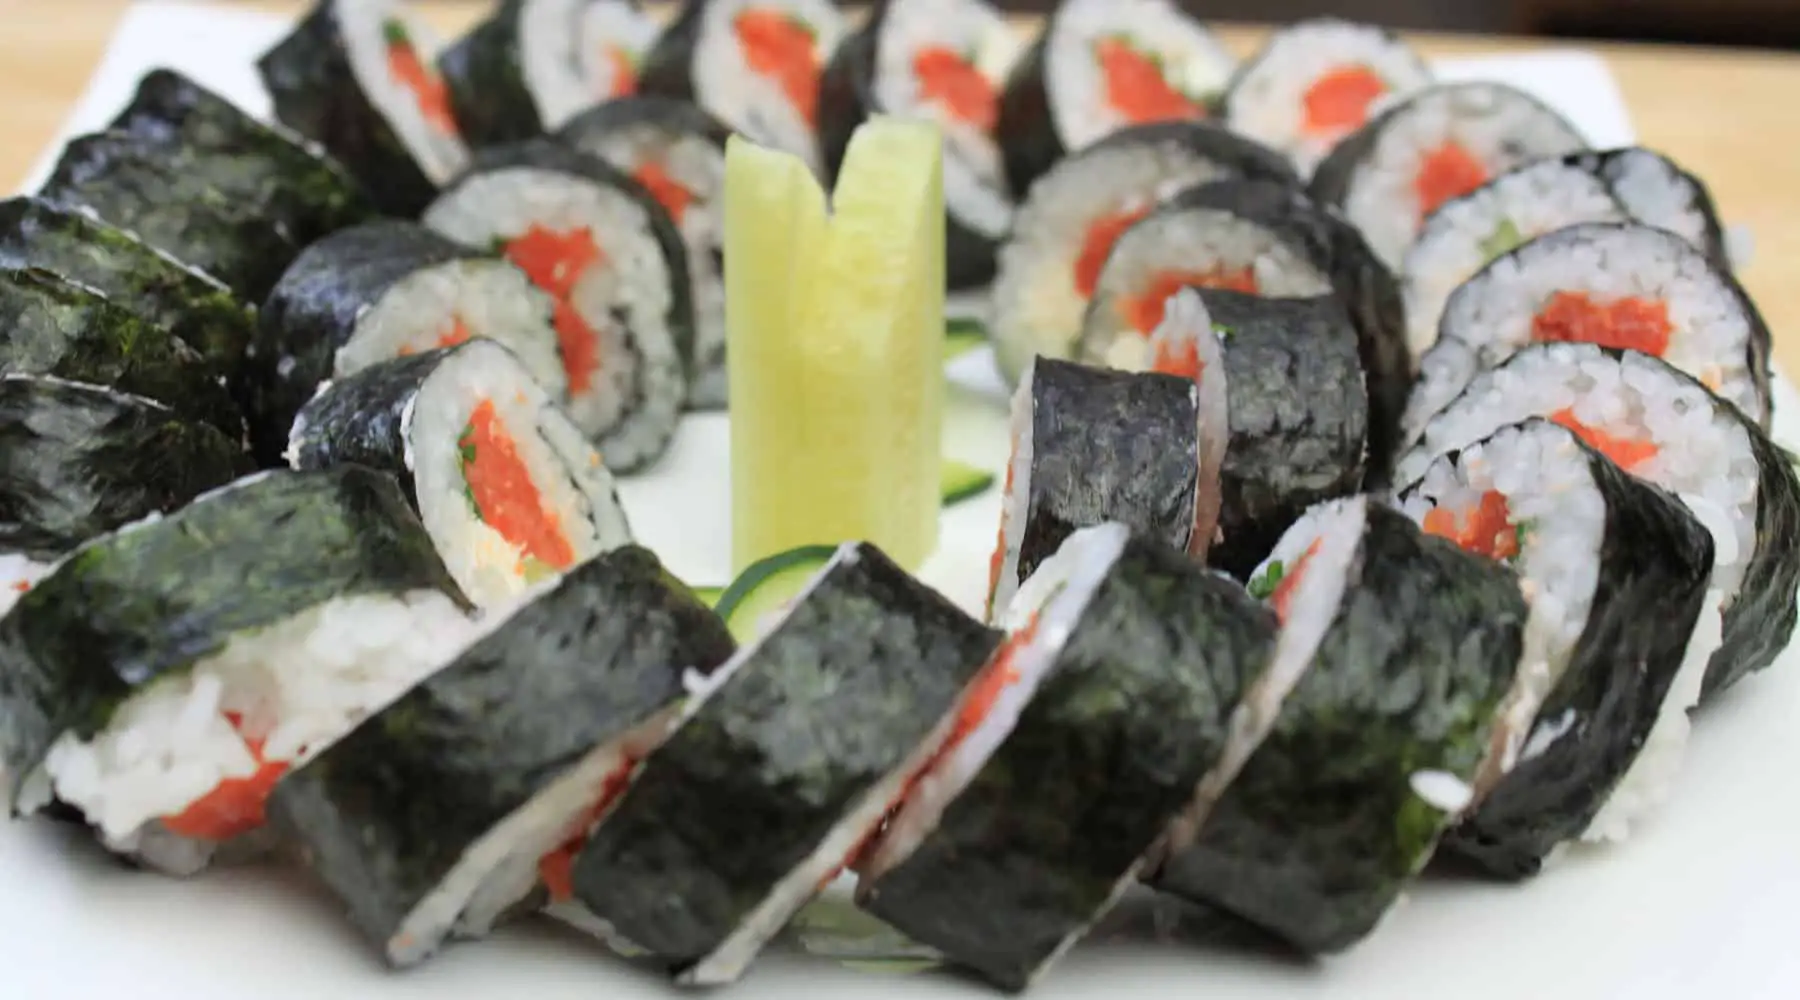
The Futomaki is one of my all-time favorite vegetarian sushi rolls. This roll is named after a style of sushi roll, not an actual recipe. Its considered to be fairly traditional, as it uses Tamago (sweet Japanese omelette) and Gobo (pickled burdock root). It is also rolled in a more traditional manner by having the nori on the outside. While its preferred to use Gobo for it’s distinctive pickled flavor, I have also seen several sushi chefs that used blanched carrots instead.
As a disclaimer, this recipe will likely have a wide spectrum of variations depending on which sushi bar you go to. Below, I will show you how to make the version that I have seen the most in my area.
For this tutorial, you will need:
- 10-12 pieces of Asparagus
- 1 Avocado
- 1 Cucumber
- 2 cups of Sushi Rice
- 3 pieces of Full Sheet Nori
- 1 block of Tamago
- 6 pieces of Gobo (pickled burdock root) or sliced carrots
- Cutting board
- Makisu
- Paper towels
- Sharp knife
- Vegetable peeler
- Bowl of water
- Garlic Mayo
- Sesame seeds (optional)
This recipe makes 3 rolls.
Preparing Vegetables for the Futomaki
In sushi, preparation is everything. The vast majority of a sushi chef’s day consist of preparing vegetables, sauces, carving fish, and making rice; while only a small portion is actually rolling sushi for their guests.
The Futomaki roll is a great time to show you the extent of the vegetable preparation that goes on (and this isn’t even all of the vegetables that we use!).
Cutting the Cucumber
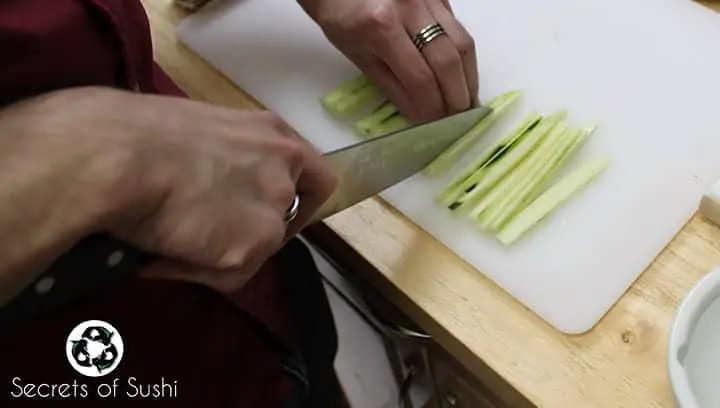
Chef’s tip: Cucumbers have a larger cellular structure that retain a fair amount of water. Instead of using a chopping technique to cut cucumbers, which crushes the cells and releases a lot of this water, use a slicing technique instead. This way, the water is only released when the sushi is being consumed. Its important to note that any kind of excess moisture in ANY of your ingredients will result in your sushi roll falling apart during the rolling or cutting process. This is particularly important for the Futomaki roll, as the nori is on the outside of the roll.
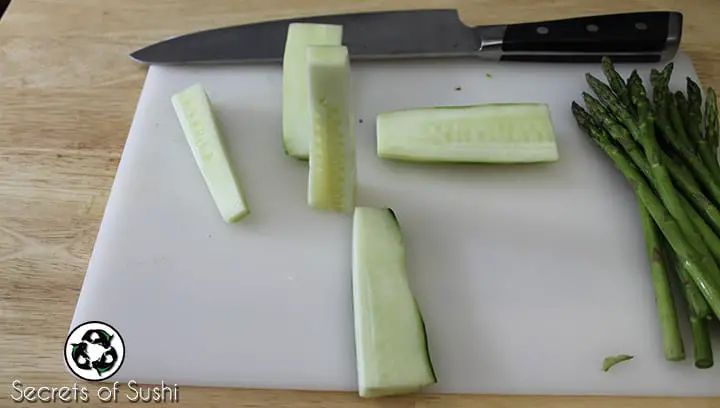
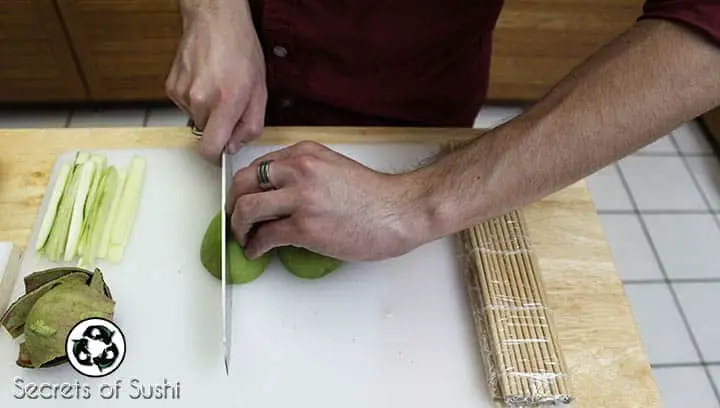
1. Peel the cucumber and cut it in half.
2. Cut off the rounded end of one half and set it upright.
3. Using a slicing motion, cut the “meat” of the cumber away from the seeds.
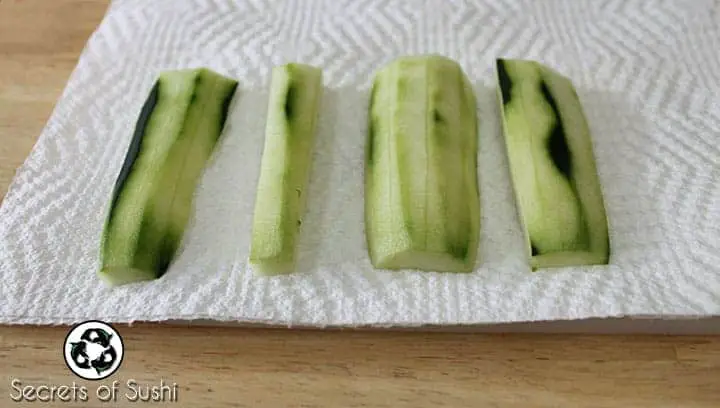
4. After the seeds have been removed (which I recommend eating or carving up for a garnish), place the cucumber pieces onto a paper towel and set it aside to dry for a few minutes.
5. After about 10 minutes, remove your cucumber and slice them vertically in a Julienne fashion.
6. Finally, place all of your cut cucumber onto a place for later use. If you feel like your cucumber is still fairly wet, you can place a paper towel underneath them while you’re waiting to use them.
Blanching Asparagus
Next, we will need to blanch our asparagus (and carrots, if you are using them).
1. Bring a shallow pot or a pan of water to a boil.
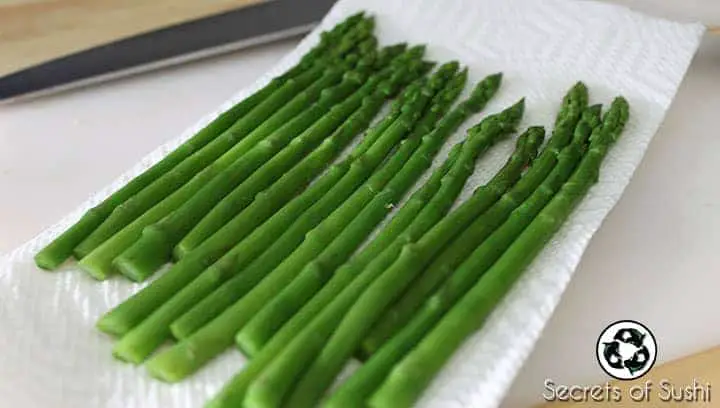
2. Place your vegetables in the boiling water (separately!) and boil them for 2-3 minutes.
3. Drain the hot water into your sink and immediately fill the pot or pan with cold water and ice (aka an ice bath). This will stop the cooking process and make our vegetables soft, yet crisp.
4. After your vegetables are back at room temperature or slightly colder, remove them from your ice bath and place them onto a few paper towels to drain/dry.
Cutting Avocado
This is probably one of the more peculiar vegetable preparations that sushi chefs do. I am constantly asked how I cut avocados the way that I do. But beyond the aesthetic appeal, there is a two-fold functionality to why I cut them this way:
- Ease of use – when the avocados are cut and fanned, they are easy to grab and use within the roll.
- Versatility – with the thin slices, I can use the same avocado pieces on top of a roll or within the roll.
I have seen avocados cut at least 6 different ways in the sushi industry and I have found this method to be the best (for me).
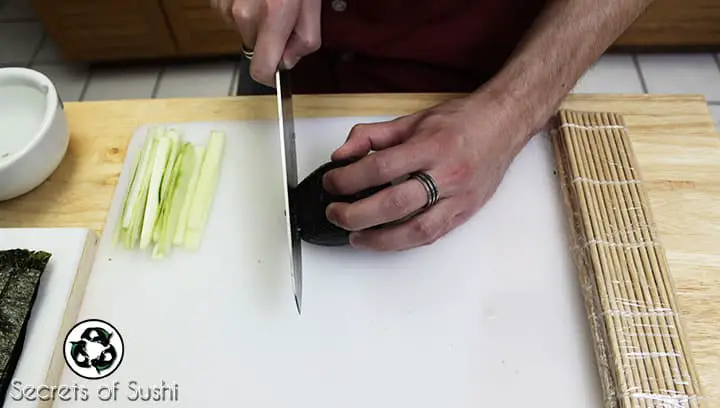
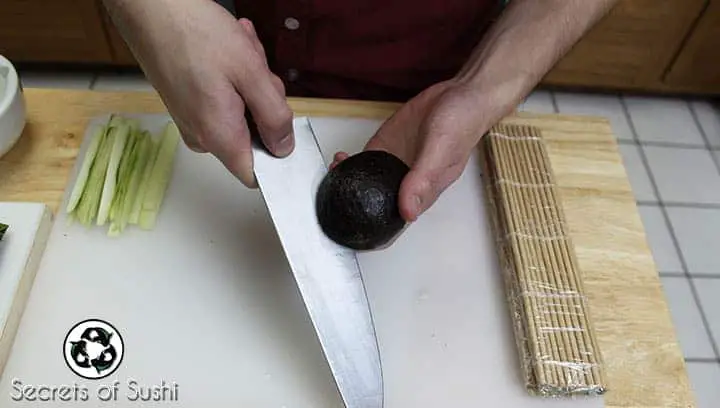
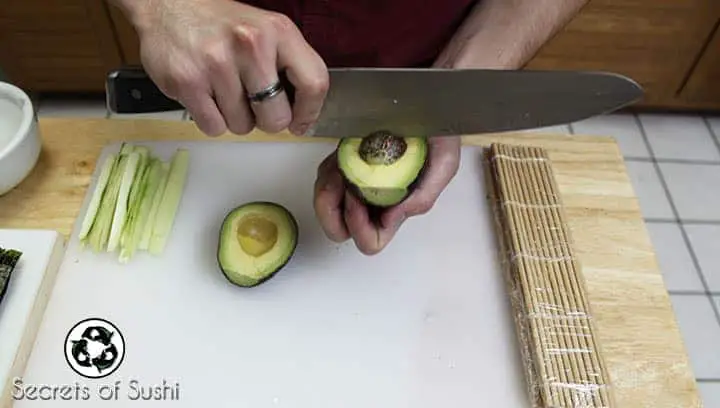
1. Just below where the stem meets the fruit, cut off the tip of the avocado.
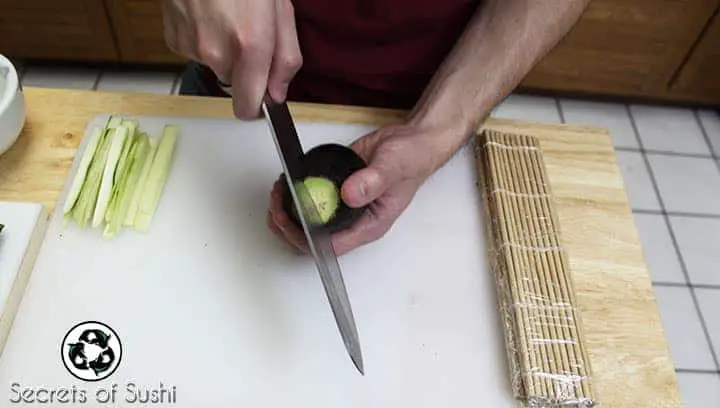
2. Picking up the avocado in your off-hand, carefully insert your knife where you made the first cut. As you gently push the knife into the fruit and pull back to make a slicing motion, you should bump into the pit in the center.
3. When you feel the pit, stop your slicing motion and carefully slide the avocado towards the tip of your knife. Now, we are going to gently rotate the avocado around the pit. As you are rotating the avocado, your knife should be slicing it down the center:
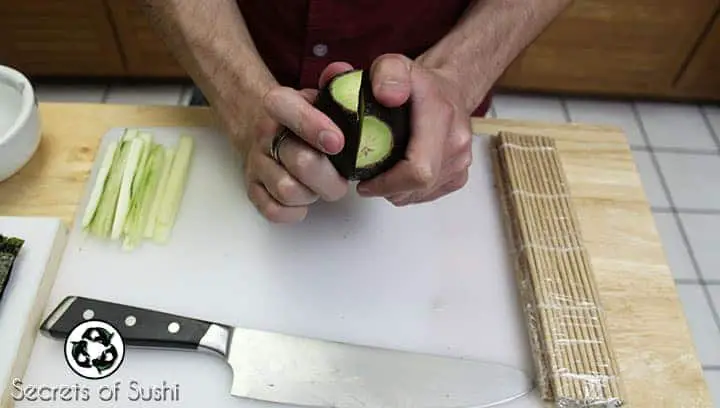
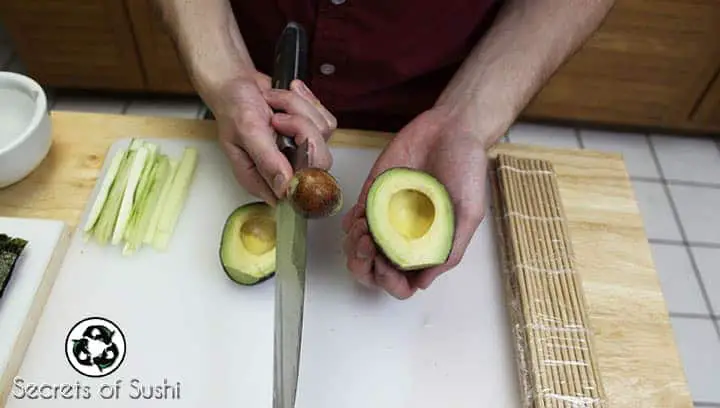
4. If done carefully, your cut should end where it started – though, its okay if it isn’t perfectly aligned. Set your knife down on the cutting board and grab each half of the fruit with your hands. Now twist the two halves in opposite directions to separate them.
5. Set the half without the pit aside and pick up your knife. Make sure that the hand that is holding the avocado has all of it’s fingers below the edge. VERY CAREFULLY tap your knife into the avocado pit.
WARNING: Avocado pits come in all shapes and sizes. Some pits are deceiving in how “solid” they are. I have carelessly done this step and cut straight through the pit and right into my own hand. Please be careful.
6. Using the same twisting motion as before, twist your knife and remove the pit. Carefully remove the pit and discard it (or save it and grow your avocado tree!).
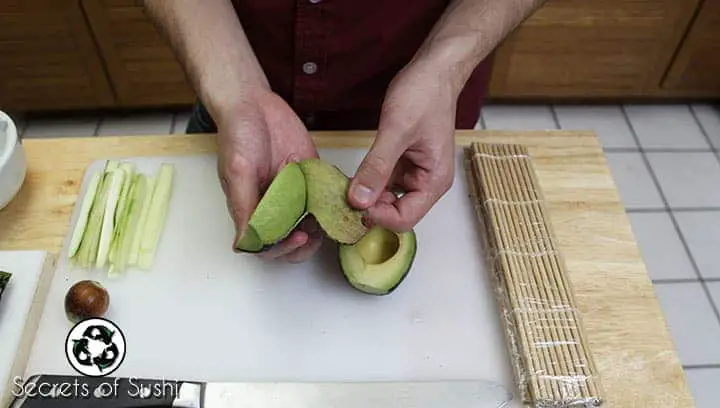
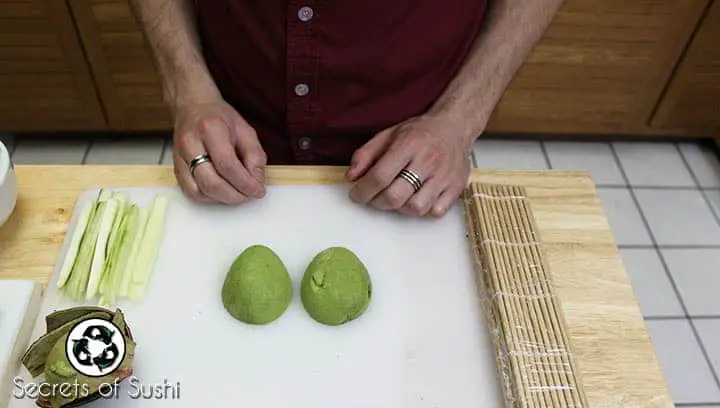
7. Now use your hands to peel off the skin. I think it important to use your hands instead of using a tool (spoon, peeler, etc.). Peeling it by hand gives each avocado an ideal texture and prevents them from becoming too “mushy” on the edges.
8. Repeat step #7 for both halves. Place each half, flat side facing you, onto your cutting board.
9. Using the cutting practices that you learned in the Knife Etiquette tutorial, use a chopping motion to create 4mm cuts across the entire avocado.
10. After repeating step 8 for both halves, set your knife down and slide one half into your hand. Using both thumbs, gently slide the avocado slices forward, creating a fan out of your avocado! Do this for both halves.
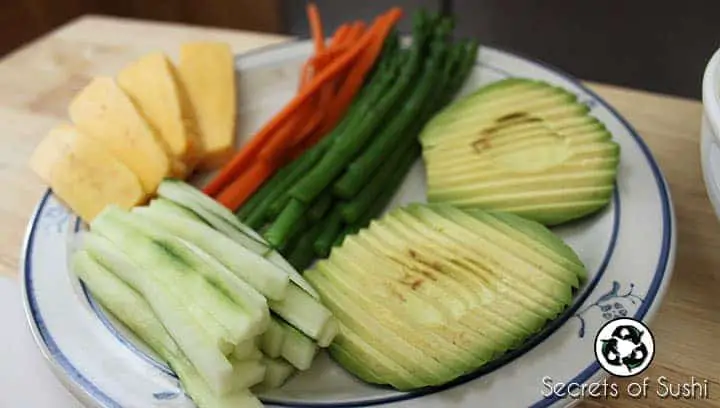
See what I mean about aesthetic and functionality? After fanning out the avocado, it becomes very easy to grab a few slices and get to rolling.
For the Futomaki tutorial, I purchased the Tamago and Gobo from a local sushi bar. The Gobo roots were a bit thick, so I cut them into long Julienne pieces. The Tamago came in a large rectangle shape, so I cut them into 1cm wide slices.
Rolling the Futomaki
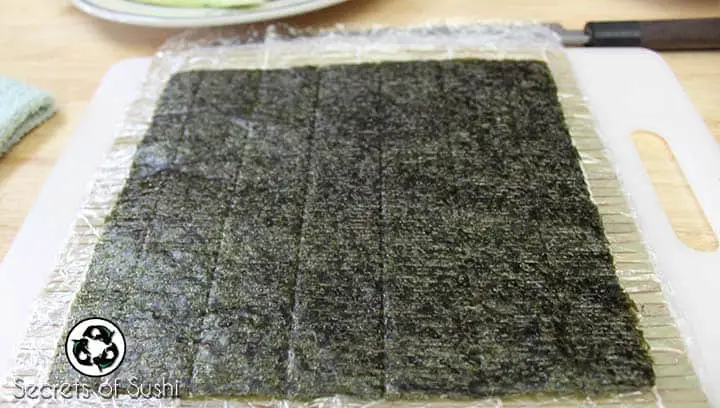
1. Any recipe that calls for the Futomaki rolling style uses a full sheet of nori. Place it rough-side up on your makisu (if you purchased half-sheet nori, you can simply use two pieces to get the same effect).
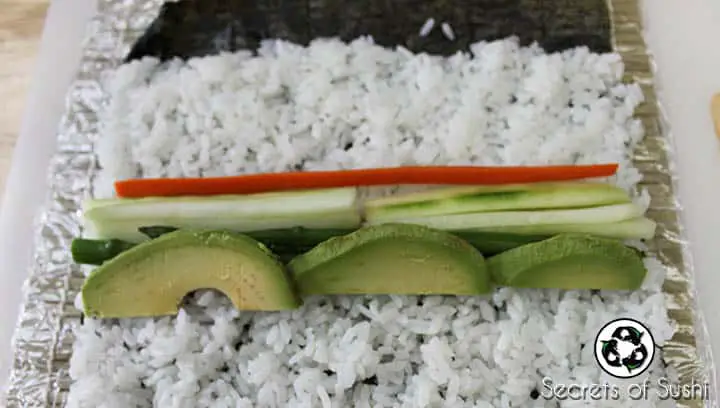
2. Apply your sushi rice to the entire sheet, but leave approximately 2cm uncovered at the top.
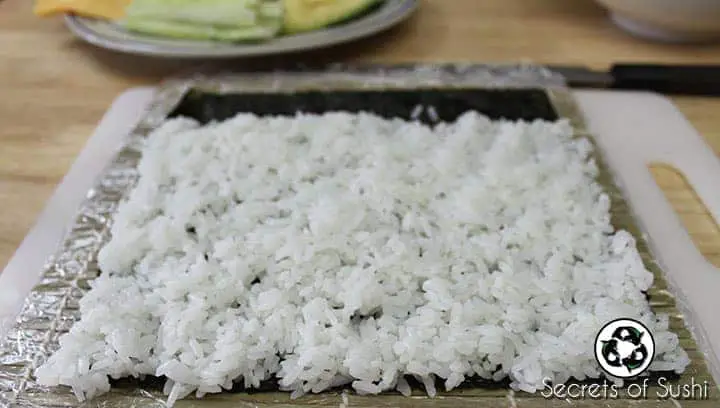
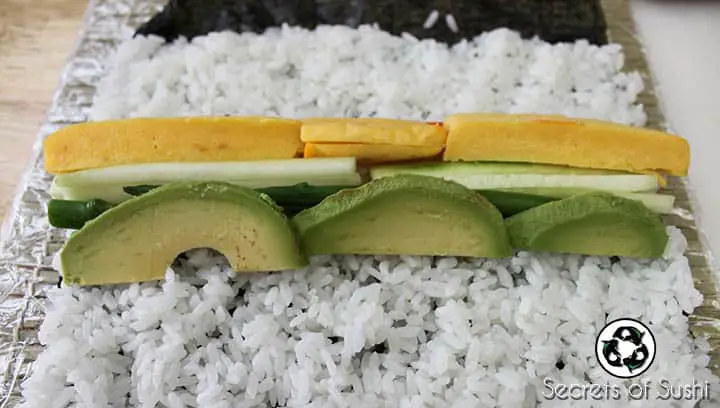
3. Place your Gobo, sliced cucumber, asparagus, and avocado onto the center of your sushi mat.
4. Next, add your Tamago. Mine is cut into 1cm x 1cm rectangles. Make sure that you are getting consistent coverage of each of your ingredients.
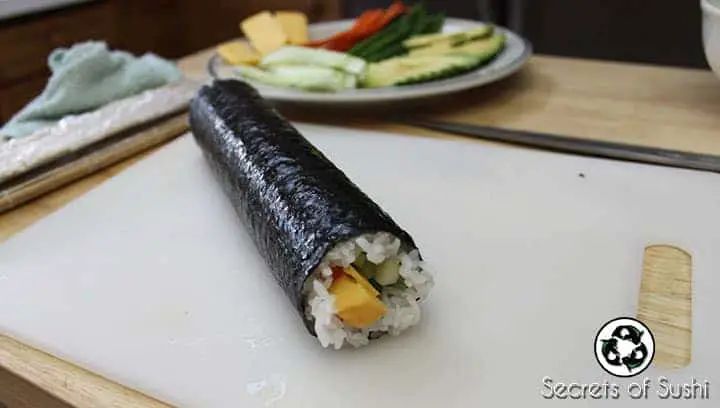
5. Apply a few drops of water to the uncovered nori and roll it up! For detailed instructions on how to roll, check out the How To Roll Sushi tutorial.
Make sure that you give your nori about 30 seconds to dry and adhere to itself.
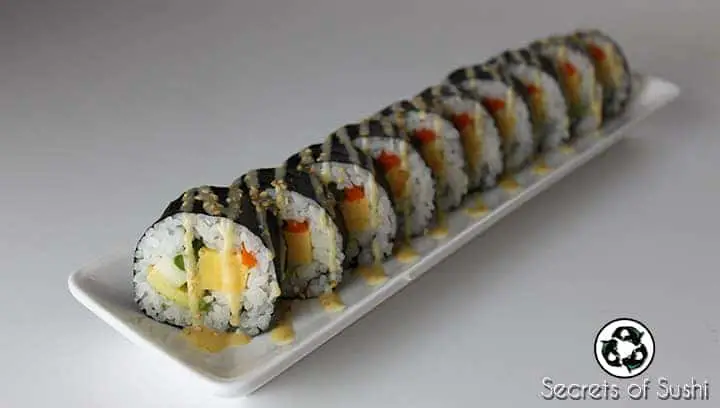
6. Lastly, cut your roll into either 10 or 12 pieces (depending on your knife skills and desired piece size). and place it onto a plate!
While this roll tastes great all on it’s own, I like to drizzle Garlic Mayo and sprinkle some sesame seeds on it to add an extra layer of flavor and crunch.
I hope you enjoyed the Futomaki roll tutorial! Feel free to leave me your thoughts in the comments section below.

